Since the roof and skylight materials are done, it’s time to get the windshield in place for good. I used the felt tape that came with the windshield to pad the bottom.
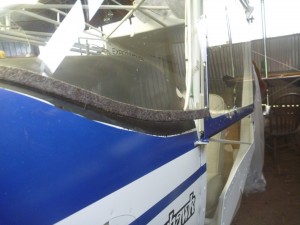
The left and right post fairings worked pretty well, and the fiberglass fairing fits nicely. I used a bead of Lexel to try and keep the rain out. A line of masking tape on either side of the bead helped keep the lines straight.
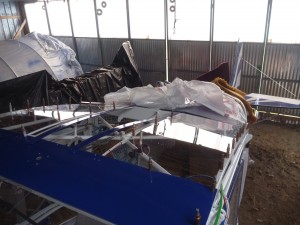
I used the same stuff to apply a bead on the outboard side of the skylights.
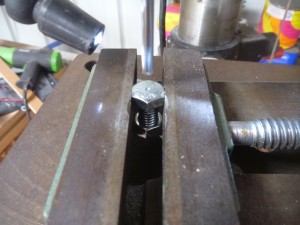
I had been wondering aobut the best course of action for getting the various small control cables through the firewall. I found a great thread on vansairforce.net about using bolts. Bolts are inherently fireproof, and while not super lightweight, they are cheap and available locally. The thread author used 1/2″ diameter fine thread bolts, but that sounded pretty heavy. Instead, I used 3/8″ coarse thread bolts. The smaller size will still have plenty of edge distance and some weight savings, and the coarse thread makes it easier to find the bolts locally, along with all-metal lock nuts. Also in the VAF thread, the original poster used a lathe to make the hole in the middle. I don’t have my own lathe, so I tried it out with the drill press instead. There’s no need for that center hole to be perfectly concentric, so the lathe is probably a little overkill.
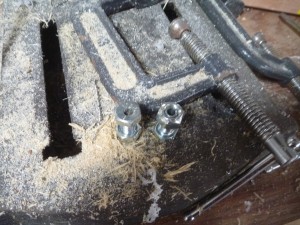
Here are the first two, ready to install.
This afternoon, Tabitha came over to help with a few things. We worked together for about two hours and made all of the instrument panel labels. I would tell her which ones to make, and she would take care of spacing them to minimize loss of the label tape on our little Casio label maker.
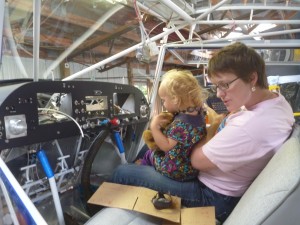
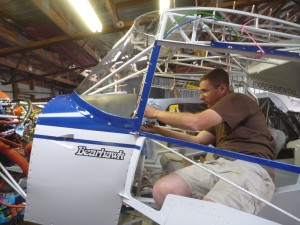
After she left, and now that we have an enclosed, locking cabin, I reinstalled the avionics and hooked up the pitot, static, and AOA lines.