Much of the work lately has been sequential. I have a list of tasks that can’t really be done out of order. Today I was finally to the point on the list where it is was time to test the fuel flow. I did it in almost the same way that Eric Newton did, although I used a little bit different method for lifting the wheels. I used the calculations in AC90-89A and Eric and Russ’s test descriptions to arrive at a fuel flow requirement of around 24-25 gallons per hour. I used the engine lift and a webbing strap to lift the left wheel high enough for a concrete block underneath. I was surprised at how low the right wingtip was during this arrangement, and it was quite clear that I was going to have to set one block per side at a time.
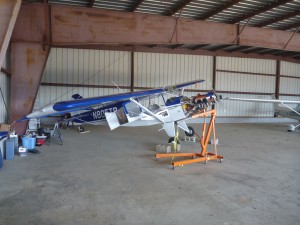
So that’s what I did. Once the left wheel was under a block, I moved the lift to the other side and lifted the wheel high enough for two blocks. Then I moved the lift back over to the other side and added the second block on the left.
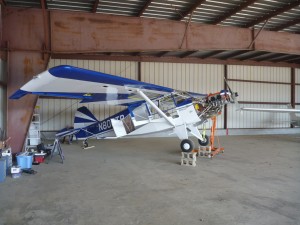
I disconnected the fuel line at the carburetor and rigged up a gas can at the same height as the carb inlet. I put my little digital scale under the gas can. I zeroed the scale, ran around and turned on the fuel valve while starting the time. After a minute, I turned off the fuel selector and went back around to check the fuel flow. Even with the sensor in place, I was able to get a pretty consistent 24-25 GPH. That’s not much above the minimum required, but the minimum already accounts for a 50% margin and essentially empty tanks.
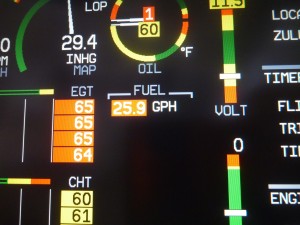
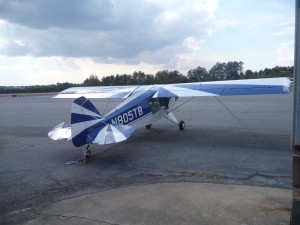
With a few successful tests producing repeatable data, I lowered the airplane back to the ground and breathed a sigh of relief to know that it was back on the ground safely. Since the test was successful with the fuel flow sensor in place, I secured the wires for it and reinstalled the stainless tunnel after one more leak check. I did find a minor leak on the parking brake valve fittings, but was able to snug those back up and stop the seep. I used a length of 2″ SCAT tubing to create the duct from the carb heat muff to the carb heat inlet and secured it with hose clamps. Tabitha stopped by to help with the first engine run, and to bring some delicious lunch. We pushed the airplane out onto a tiedown spot, and tied it down very securely with our own ropes.
We conducted a thorough briefing about what she should expect to see, what she should expect not to see, how she would communicate the most important information, and how she would stay safely clear of the prop. I positioned a fire extinguisher off of the left wing, and she carried one on the right wing. She positioned a ladder so that she could see the top of the engine too.
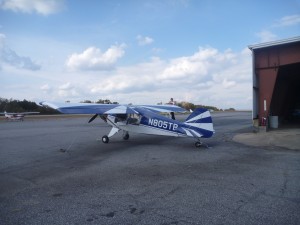
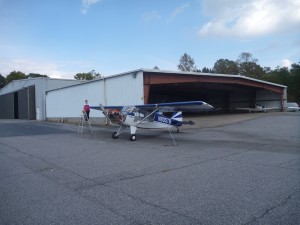
She took a few more pictures just to show off the paint scheme.
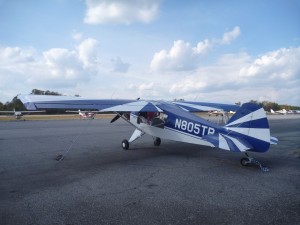
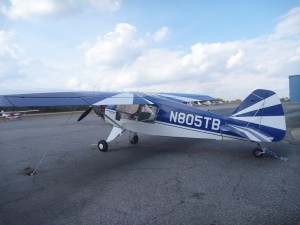
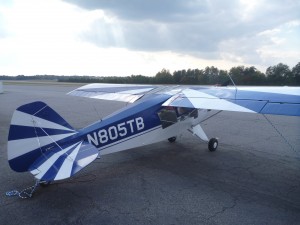
With all of that preparation out of the way, there wasn’t anything else to do but start it up. I conducted a pre-start flow (fuel on, mixture rich, prop low pitch, throttle cracked, carb heat off, master on, right mag off, left mag start) and after a blade or two it fired right up. I carefully scanned the engine instruments to confirm oil pressure, and looked to my observer to be sure that everything looked good to her. She said all looked good, so I let the engine warm up for a few minutes while I conducted a few function checks. First, I energized the primary alternator and verified that it increased the bus voltage from the battery range to the alternator range. Then, I closed the ebus alternate feed and turned the master off. I turned on the standby alternator and verified that it was providing power. I returned the electrical system to the normal configuration (standby off, master on, alternate ebus open) and cycled the prop a few times. It took a few cycles before the oil filled the prop, but by the third one or so it was working well. I kept the RPM around 1000, and verified that the CHTs stayed low, and the oil pressure stayed up. I checked the mags one at a time and saw a slight drop, and also turned off both mags very briefly to verify that the p-leads were functioning. The engine was smooth and ran well. It does appear that the RPM is indicating half of its actual value, but this is adjustable in the EMS settings I believe. After about 7 minutes I shut it down with the mixture control. I consider it to be a successful run, and now that the alternator wiring is validated, I’ll be able to seal up the firewall. Tabitha helped me push it back into the hangar, and I worked on getting the cowl to fit properly.