Skip to content

Jared and Tabitha's Bearhawk Construction Log

The story of N805TB

Menu
  • Bearhawk Flight Training
  • Recent Posts
  • Search
  • Welcome to Our Building Log!
  • Privacy Policy
Menu

Elevator Patch and Cable Guards

Posted on June 10, 2010September 30, 2010 by Jared Yates

Today’s efforts include a morning session of fabric work and an evening session of sheet metal work.

Richard had started the taping process on the tail pieces, but some are still in the works. Since one side still had exposed rib laces, I figured that I would check to be sure that they were spaced properly. Of course they were.
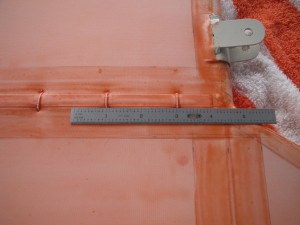
Rib Lace Spacing
I measured the rib lace spacing to confirm that it complies with the Polyfiber chart.

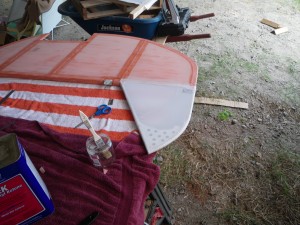
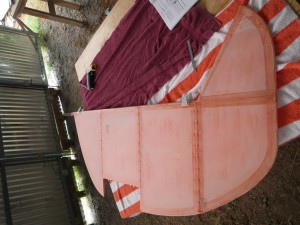
Elevator Overview
Here's a view of the elevator

Hard meets Soft
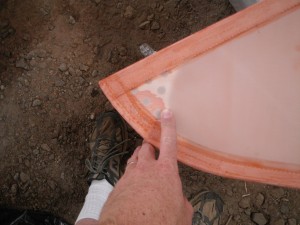
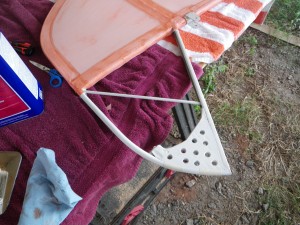
Since the aft edge of the lead weight is a hard spot on the soft fabric, I believe that it needs a reinforcement.

Preshrinking Fabric
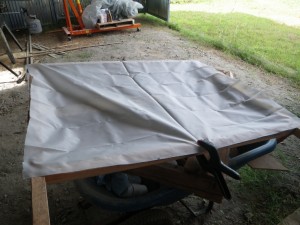
Since the reinforcement is made from preshrunk light fabric, I built a wooden stand to use for the preshrinking.

Ready to Shrink
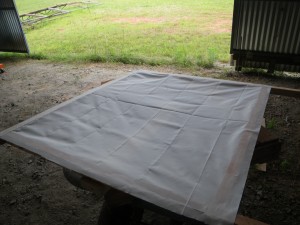
A quick lap with poly tack, 30 minutes of drying, and it's ready for the iron.

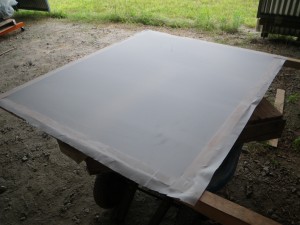
Shrunk and ready to cut
The iron really takes those wrinkles out!

The next task was to investigate the sound of something rattling around inside one of the elevator halves. I narrowed it down to the balance area, and made a cut in the fabric to investigate.
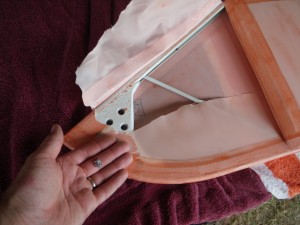
The offending piece of lead
Here's the culprit- a little piece of lead from somewhere.

I know it is counter-productive to cut off pieces of fabric before they are even completely applied, but I wouldn’t be able to live with myself if I knew that something was still in there. It’s much easier to repair now, before the aerothane starts flying.
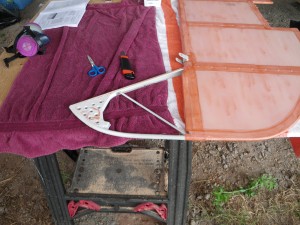
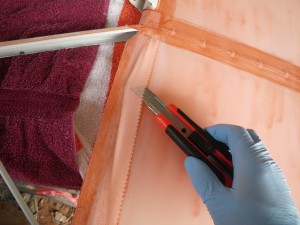
Elevator Surgery
Fabric Removed, Ready to Clean

Lifting the Polyfiber Tape
A little bit of MEK and some rubbing made it easy to lift off the old tape.

Cleaned and Ready to Cover
Now I just need to recover the balance area.

First Comes the Fabric
First Comes the Fabric... (with adequate overlap per the polyfiber manual)

Stay tuned for the rest of the repair. This week featured especially moderate morning temperatures, which is why I’m able to do any fabric work at all in June. Even so, I’m limited to working in the mornings. Now skip ahead to later in the evening, when I came back out to the hangar to work on the rudder cable guards in the cabin.
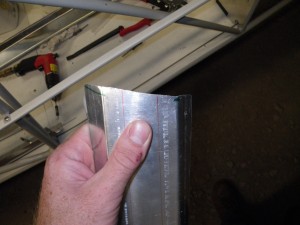
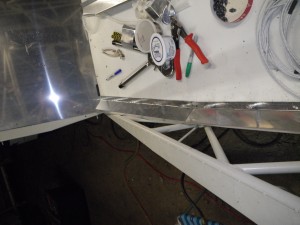
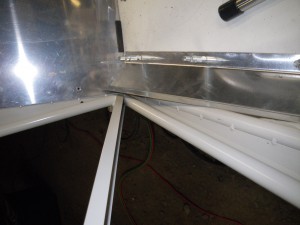
Trimming the Aft Edge of the Rudder Cable Guard
Here I've trimmed the trailing edge of the rudder cable guard to match the angle that it forms with the aft cabin bulkhead.

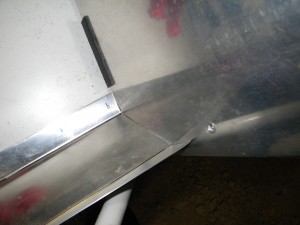
What a nice fit!
What a nice fit! I'm going to replace that aft bulkhead with fabric instead of aluminum, but it will still fit nicely then too.

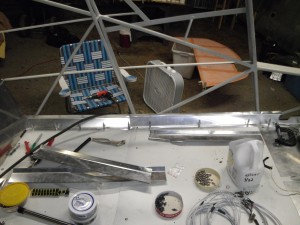
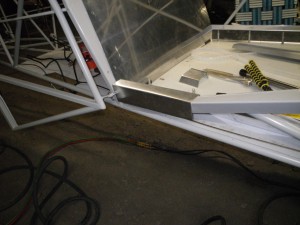
Left Side Guards
Here are most of the left side guards in place.

Right Side Guards
Here are the right side guards. Do you see the problem yet?

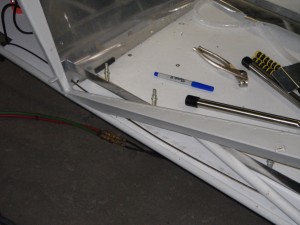
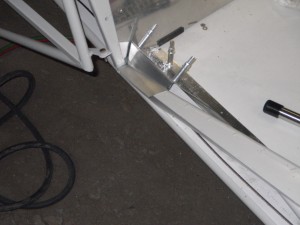
Rudder Cable Guard Interferes with Door Opening
As you can see from this angle, the aft cargo door opening coincides with the aft right guard. How am I going to fix this?

First, put the door on.
First, I should put the door on and see exactly what I'm working with.

This is how I'm not going to fix it
Here's a great idea that didn't work. I can't move the door sill up without shortening the door.

Here is where you can insert the picture of some serious head scratching. It’s time to get out some paper or card stock and try some different ideas. After a few more failures, here’s a promising possibility:
This looks better
The new and improved option.

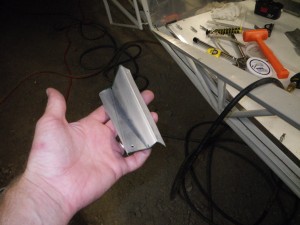
The final result
This is the finished part.

While I was holding this part, I realized that I was unlikely to think up something like this theoretically. The only way that I was going to make something like this was to cut up some templates and mock it up on the actual airplane. I hate to waste shop time scratching my head, but sometimes that is the way it has to be.
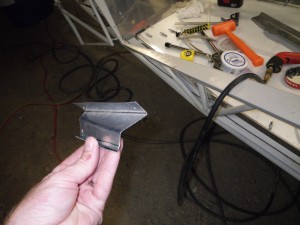
Another View
Here's another view, just in case you are going to try to make something similar.

Working in these two separate sessions worked out well today. I find that in some cases my productivity suffers after 4 hours of continuous shop time, and during the hot part of the day I try to stay out of the hangar/oven.

Leave a Reply

You must be logged in to post a comment.

Navigation

  • The Most Recent Posts
  • Posts about Building
  • Posts About Flying
  • Commentary Posts
  • Bearhawk Flight Training
  • Buy Your Own Bearhawk Kit!
  • Our Bearhawkstore.com
  • Meet More Bearhawk Builders
  • Privacy Policy
© 2025 Jared and Tabitha's Bearhawk Construction Log | Powered by Superbs Personal Blog theme