Skip to content

Jared and Tabitha's Bearhawk Construction Log

The story of N805TB

Menu
  • Bearhawk Flight Training
  • Recent Posts
  • Search
  • Welcome to Our Building Log!
  • Privacy Policy
Menu

Covering Ailerons

Posted on May 19, 2011June 25, 2012 by Jared Yates

The weather is starting to get warmer, so I’m starting earlier and finishing later. Today I recoated the tapes on the right flap. Now it is ready for smoothing
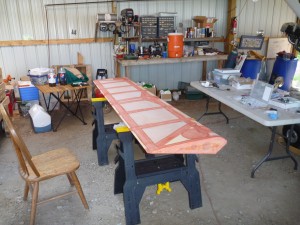
Right Flap Taping Complete

I added the rest of the fabric to the left aileron:
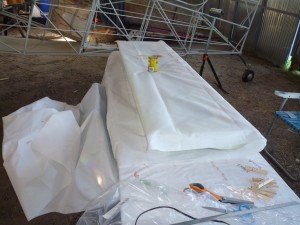
Bearhawk Left Aileron Fabric
Left Aileron Fabric

And used the iron to shrink the fabric:
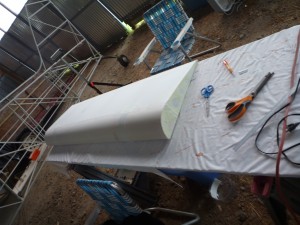
Shrink polyfiber fabric
Left Aileron shrunk, ready to brush.

Then applied the first coat of poly-brush by brush:
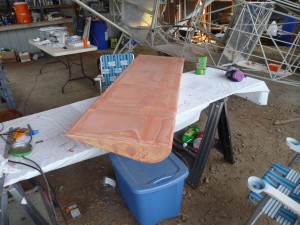
Left Aileron Brushed

And added reinforcing tapes to pepare for stitching:
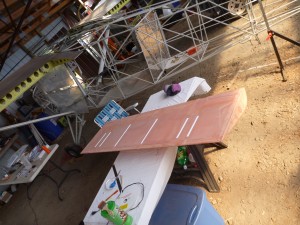
Rib Reinforcing Tapes

I also finished riveting the right aileron’s trailing edge and balance tube in place. It is now ready to cover. I started wiring the audio isolation amplifier, which consolidates the various audio inputs into a single channel for the intercom. I finished the power and ground wires today. I’ve saved the audio system wiring for last, since it is by far the most confusing.

Leave a Reply

You must be logged in to post a comment.

Navigation

  • The Most Recent Posts
  • Posts about Building
  • Posts About Flying
  • Commentary Posts
  • Bearhawk Flight Training
  • Buy Your Own Bearhawk Kit!
  • Our Bearhawkstore.com
  • Meet More Bearhawk Builders
  • Privacy Policy
© 2025 Jared and Tabitha's Bearhawk Construction Log | Powered by Superbs Personal Blog theme