2012 is going to be the year of fairings. And hopefully the year that we fly this airplane! Today was a step in the right direction, with a few advances in the nebulous realm of “90% to go.” Fairings are some of the little parts that have to be made, but yet standing next to an airplane, they aren’t parts that most folks would even realize are there. At least that’s the way it should be if they are made well! After sanding and filling another round on the windshield fiberglass fairing, I trimmed and installed the aluminum windshield post pieces. These will help seal the top windows and smooth the transition from windshield to window.
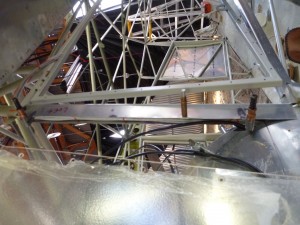
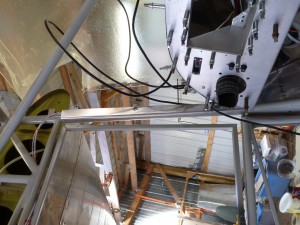
Next I cut out a few strips to make the wing root fairings. These will seal the gap between the fuselage and wing, a very important aerodynamic function. They will also hold the outside edges of the skylight down and provide weather sealing for that area. I’ve laid out these fairings in 4 main pieces- the one in the front that goes around the leading edge curve, the one in the back that bends around the trailing edge, and the two straight strips between those. One of the straight strips goes on the top, and one goes on the bottom. In many airplanes, these fairings will have to be removed to inspect the wing attach bolts. Since we’re not going to put any covering on the wing root area in the fuselage, I’ll be able to inspect the wing root bolts from the cabin, so our fairings should only have to come off if we need to take the wings off. The straight strips are very easy to make, so I started there.
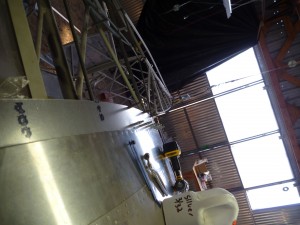
I made the front fairing out of paper first, then transfered that pattern to aluminum.
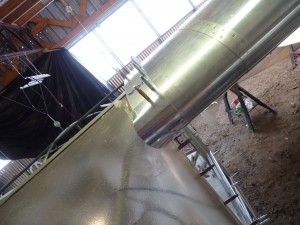
The back fairing is a little bit more of a challenge for a few reasons. First, that section will be covered with fabric, and the fairing needs to meet that fabric. It’s not covered yet though. The other challenge is that the fairing has to transition from being on top of the fuselage to beside the fuselage. Fortunately my photo library of other Bearhawks helped me figure out where this transition should happen. I left off without getting the aft piece in place, but that will give me a good starting point for next time.