asting complete on 1, elt brscket on, control sticks done, cast 2, cover front seat bottoms and backs 1800 lunch?
With one aileron balance tube done, the second was easy. I’ll elaborate more on the process this time.
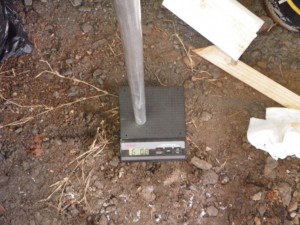
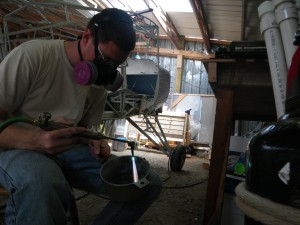
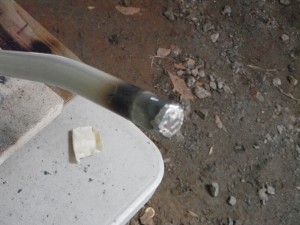
I used tire weights that were really dirty. I would tilt the pan, and direct the torch at a tire weight. It was amazing to watch the bright silver liquid run out and leave the dirt, oxidation, and steel clip behind. A few passes with the torch helped be sure that all of the good lead was out. From there I would reach in and remove the nasties with needle nose pliers, putting them into a nearby rotel can. I would repeat this process until I had a fairly large puddle of bright lead, then I would reheat that puddle so that the whole thing was molten, and pour it into the tube. I would try to preheat the aluminum tube some too, in hopes that the lead would make it all the way to the bottom. Once the whole thing was cool and finished, I flipped it over and heated the other end. This caused all of the dirt and gravel to float up to the top, so I removed each of those with pliers. That left me with about a 1/4″ lip of aluminum as the lead settled into places that used to have little bits of rock in them.
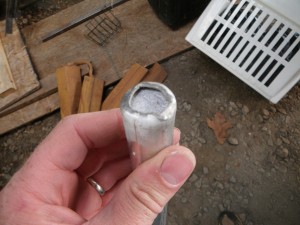
This would have been especially tidy if the whole tube was full, since then I could have the extra lead security on both ends.
Danny was telling me about an oil cooler that he didn’t use during his RV construction. Bob and others seem to think that it is adequate, and the price is great, so I think I’ll use it.

The control sticks are ready to repaint:
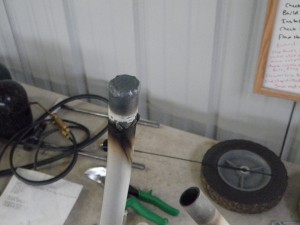
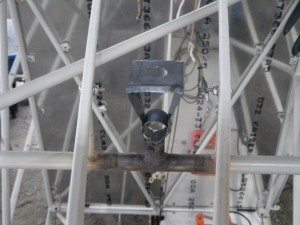
I also finished the ELT bracket, except for cleaning and painting.

Today was a great productive day, and the weather was nice, so I figured I’d try a little bit of covering. I’m making the seat pans out of polyfiber covering, the same stuff as the exterior of the fuselage. The seats will be different from the airframe in that they won’t have any reinforcing tapes, UV protection, or color finishes.
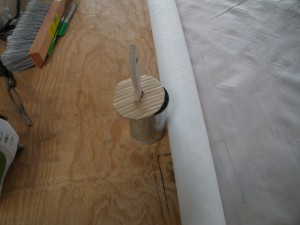
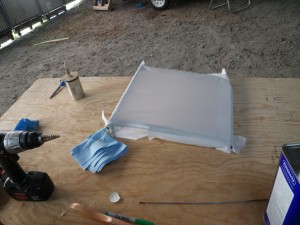
Today I finished covering the front seats, except for shrinking. I wanted to make this a priority so that I could get the seats ready for upholstery, which also involves cutting the foam cushions.