Skip to content

Jared and Tabitha's Bearhawk Construction Log

The story of N805TB

Menu
  • Bearhawk Flight Training
  • Recent Posts
  • Search
  • Welcome to Our Building Log!
  • Privacy Policy
Menu

Welding and Priming

Posted on July 1, 2010September 30, 2010 by Jared Yates

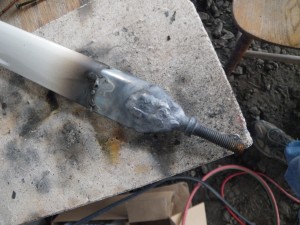
The only parts that didn’t survive the move when we purchased the project were the tail struts. I haven’t been able to find them anywhere, and neither has Richard. This is unfortunate, since they are fairly expensive. I was able to buy another set from Mark, though he cautioned that they may need a length adjustment. After getting everything level for the tail pieces, I realized that one of the the struts was just a little bit too short. As you can see below, I removed the original end and welded in a new end that Mark also provided.
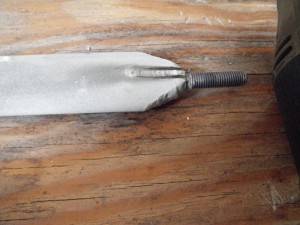
Adjusting the length of the tail struts

New end in place
I also added a small patch tab to the part of the tube where the old fitting was.

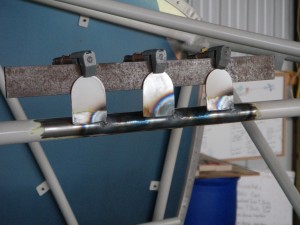
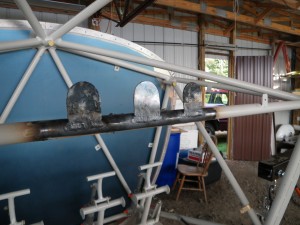
I never was able to understand why the two engine control tabs are mounted where they are. I am going to have three engine controls, and I’d like to have the prop control centered in the panel. Since these two tabs are situated around that location, it would be hard to use them. The solution was to cut them off, make a third tab, and put them where they needed to be.
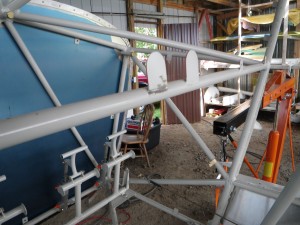
Cut them off
Step one- cut the existing tabs off

Step Three- Put them where they should have been

Step 4- finish weld
Step 4- finish weld. Don't they look like little tombstones?

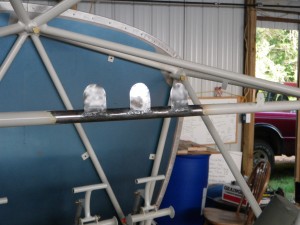
Shiny Tombstones
Shiny tombstones, ready to prime

I also cleaned up and primed several other welding areas. The bare steel rusts so quickly that it makes sense to prime these areas as soon as possible after cleaning them.
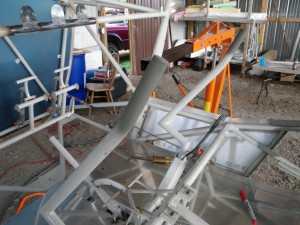
Control Stick Ends
Here are the cleaned and primed control stick ends

Panel adjustment area
Panel adjustment area cleaned and primed

After some more considerable measuring and head scratching, I noticed that when the elevator halves are joined at the middle, they don’t line up with each other.
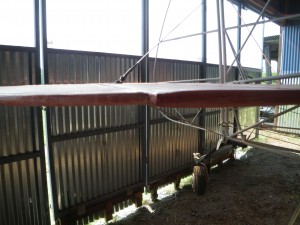
Right Elevator
Right Elevator aligned with Stab

Left misaligned
...means that the left half doesn't line up with the left stab.

Elevator Trailing edges
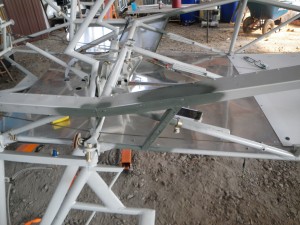
Here is the same view of the trailing edges. Note that the left is lower than the right by a measurable difference.

I’m still not really sure about exactly what is going on here. The suggestions from Mark and others are to make sure that all of the pieces are installed correctly, but it certainly seems as though they are.

Leave a Reply

You must be logged in to post a comment.

Navigation

  • The Most Recent Posts
  • Posts about Building
  • Posts About Flying
  • Commentary Posts
  • Bearhawk Flight Training
  • Buy Your Own Bearhawk Kit!
  • Our Bearhawkstore.com
  • Meet More Bearhawk Builders
  • Privacy Policy
© 2025 Jared and Tabitha's Bearhawk Construction Log | Powered by Superbs Personal Blog theme