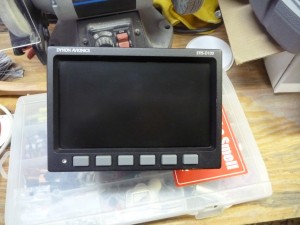
In another stressful moment of truth, today I powered up the D100 for the first time. I started by verifying each pin in the wiring again. Here’s the unit that I found on eBay. It’s slightly used but in great shape:
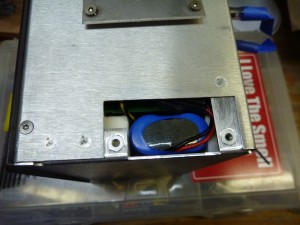
Here’s where the backup battery hatch is. I was surprised to see a battery in there, since the seller didn’t advertise it as being included. This little hatch is on the right side near the bottom.
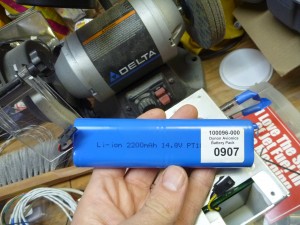
Here’s what the pack looks like:
With no other excuses, I put in a fuse and turned it on.
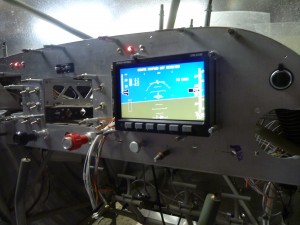
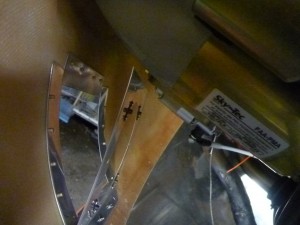
It works just like it is supposed to, except that the backup battery doesn’t take a charge. That’s probably why it wasn’t advertised as included! I’ll try taking the pack apart to see if I can replace the cells. In this case at least I have the connector and onboard charging circuit to harvest from the old pack. While I was waiting to see if the pack was going to charge, I installed the nose bowl to be sure that the landing aluminum wasn’t going to interfere with the starter. Here’s how it looks:
I shortened the back bracket by 3/4 inch or so just to provide a bit more clearance.
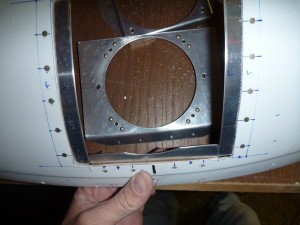
I attached it at the bottom first:
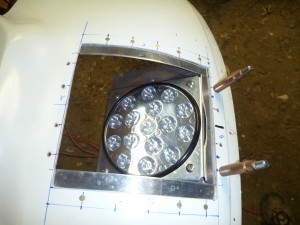
I’ll make a provision for adjustment in the top bracket, which will allow me to aim the light once we try flying with it.
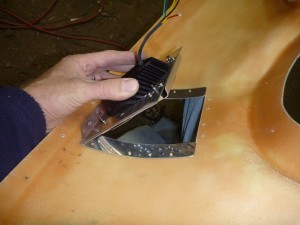
It was so nice to see the D100 in the panel that I also got out the HS34 to see how they would fit together. I found that they won’t fit together very well at all, at least not without more cutting.
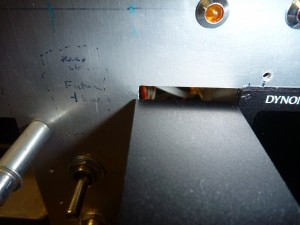
The problem is that I cut the hole based on the published dimensions for each box. Since those dimensions don’t include the outer flange, and since the two share a hole, I needed to add another 1/8″ or so to the width.
648- New Cut Line
The picture above illustrates the problem. It’s not a big problem, and a few minutes with the dremel and file will have it all worked out. If only I could say the same thing for the HS34 mounting bracket! I would rather not drill new holes in the panel, so instead I’ll drill new holes in the bracket. These holes will not have adequate edge distance, so I’ll have to come up with a doubler to put in front of (aircraft forward) the bracket flange. This will make a sandwich, with the instrument panel and doubler being the bread, and the HS34 bracket being the balogna, or cheese for vegetarians.