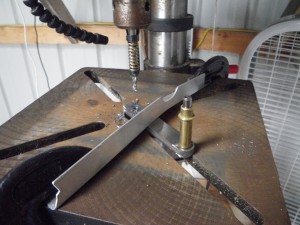
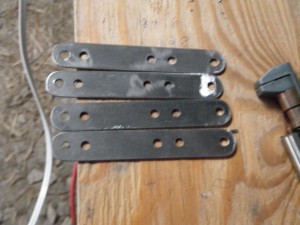
Today was a busy day at the hangar. I started by drilling the holes in my new rudder pedal-cable straps. I wanted to be sure that the four straps were match-drilled, so I used a scrap piece of aluminum angle and some c-clamps to hold the straps stacked in place. After the first hole I added a cleco to keep the straps from sliding around. The aluminum angle didn’t survive very well, but it did the job.
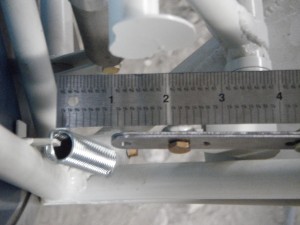
Now I just needed to know what kind of rudder pedal springs to shop for. I measured the distance with the rudder hooked up.
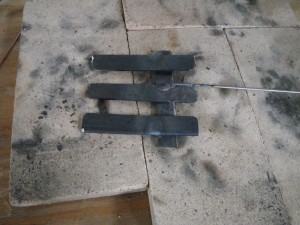
Since welding the skylight tabs was on the horizon, I used some scrap pieces of steel to weld up a jig. This is inspired by one that Eric shared, though it is slightly different. The key is that the middle leg is shorter than the other two, and that each tine is slightly bendable. The idea is that the outer two tabs will rest on the parent tube, while the tab will rest on the middle tine.
With Oshkosh coming, I wanted to measure the length of the engine controls that I’ll need so that I can be on the lookout for some bargains. I tried taking measurements with the engine off, but it wasn’t working too well. I got some hardware store bolts to use as temporary fasteners while I wait to order the AN bolts at Oshkosh. This was all that I needed to get the engine temporarily in place, both to measure the cable runs and to inspire more progress. It was really a fairly simple job. I positioned the fuselage close to the engine on the pallet, propped the tail up so that the fuselage was close to level, and added some weight to the tail (just to be sure that it wasn’t going to nose over).
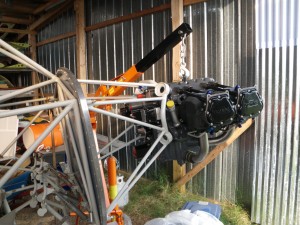
I used the lift to position the engine, then started sticking the bolts in. It was a strange feeling to lower the lift and let the fuselage and mount carry the weight of the engine for the first time. Of course it is strong enough to carry this weight at 6 g’s or more, but it just seems so strange at first.
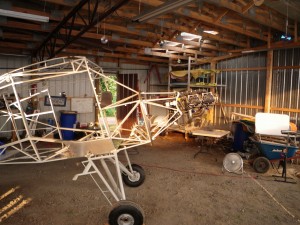
My measurements were a little bit easier with the engine in place. I figure that 48″ will work for all three of the controls, depending of course on how I route them.