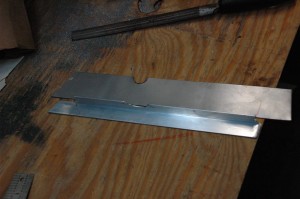
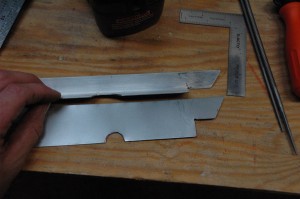
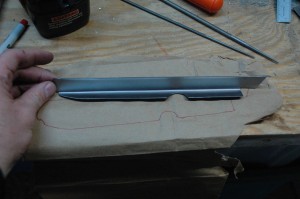
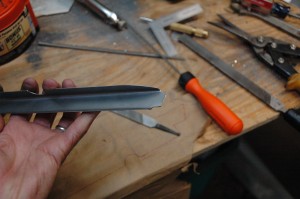
I decided that I didn’t like the idea of using aluminum angle as the aft support for the panel that goes under the door. This was mostly because I couldn’t think of a way to attach the aluminum angle very cleanly, so I figured I’d try to make one out of steel. I would be able to weld the steel to the fuselage, making for a much cleaner attachment. I saw that Bob specified .032 mild steel for the bulkhead at the trailing edge of the boot cowl, so I used .030 for this piece. It took me a little while to get it cut to shape and to bend it on my little toy brake, but I was very pleasesd with the finished product. I bent the trailing edge also, partly to increase the strength of the part and partly to be sure that it doesn’t chafe the fabric.
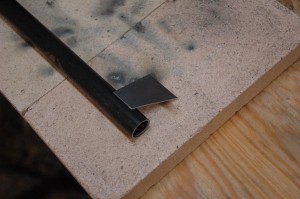
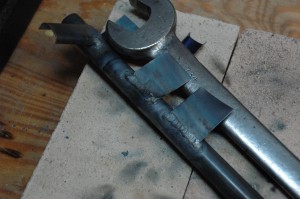
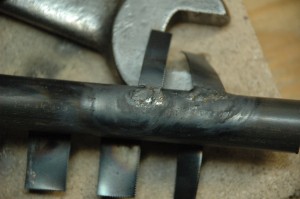
I was a little bit worried about welding on the longeron. Making hangar doors is one thing, but welding on an expensive fuselage is another. I had a scrap piece of 3/4″ .049 (Bob’s T11) tubing like that of the longeron, so I started practicing. Since the tube is .049 and the tab is .030, it took a little practice to learn how to keep the heat off of the thinner piece. You can see the result.
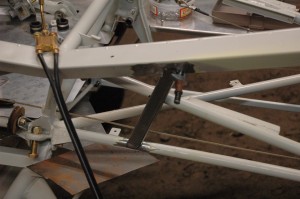
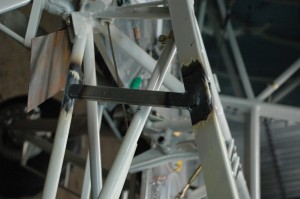
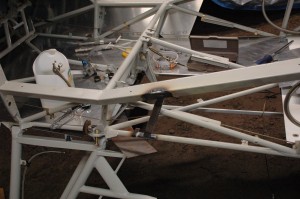
I used a 90 degree die grinder with a scotchbrite pad to remove the paint on the longeron and door sill, which was quite effective. In the end I was pleased with the welding, and now I just have to make the other side.