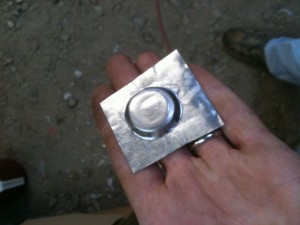
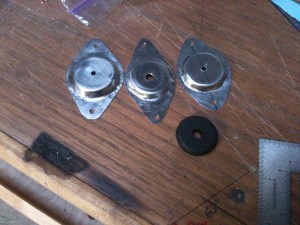
Today I tried a Tony Bingelis technique for making shields for firewall pass-through parts like engine controls and wires. The idea is to provide an equal level of fire protection for areas that use rubber grommets. I started by choosing a “die” from my die collection, also known as a socket set. I’ve found sockets to be handy as dies before, such as in straightening a kinked tube by forcing the socket through the middle. The outer diameter of the socket should be as large as the major diameter of the grommet, which is why it is handy to have several sizes to chose from. I used a Forstner bit to make the female half of the die in some scrap wood. That hole was about 1/4″ larger than the socket. I cut out a square of .016 stainless that was about 3 inches square, and clamped up the wood, stainless, and socket in the vice. With moderate pressure from the vice, the socket bottomed out in the wooden die, leaving a wrinkled flange area in the stainless. I used the little anvil section on the vice and light hammer taps to flatten that part out, essentially shrinking the flange. The stainless forms beautifully, and within a few minutes I had it looking like this:

I learned a few tricks in the process of making a few of these. First, start with a 3×3 square of material, even if you are going to trim it down to a much smaller size later. This makes the forming much easier, even though there is more waste. I haven’t tried it yet, but I’m hoping that this method will also work for two-piece shields. I’ll have to make two of these to get one two-piece shield, but I haven’t been able to find a commercially available option that has all of the dimensions that I need.

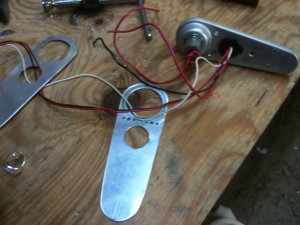
I also started making the aluminum plate that will serve as a mounting pad for the position lights. My plan is to attach this aluminum piece, then build up foam and fiberglass to make it all smooth and aerodynamic. This piece will have two nutplates, which will receive the two screws that the position lights require.


I also spent a few more minutes trying out some VHF Nav antenna ideas, but I don’t have any real progress to report.