I wanted a break from the wingtips today so I started working on some guards for the rudder cables. Since the cables run along the inside of the cabin, I wanted to protect them from passengers who are children, passengers who act like children, and shifting cargo. I also plan to use the guards to hold down the floor covering, once I finally find the covering that I’m looking for.
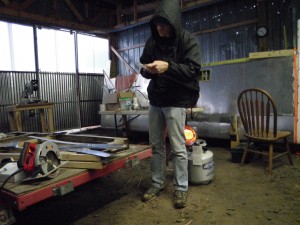
I started out by cutting some strips of .025″ 2024-T3 off of the 48″ stock. It sure would be nice to have a 52 inch wide combination brake, roller, and shear. Or, at least a shear! I cut them out with the snips, then deburred, rounded the corners, and polished the edges. I started with 3 strips, since I needed 4 total pieces at 30 inches x2 and 24 inches x2. The two bonus 18 inch pieces came in handy for the front 9″ panels and for test strips.
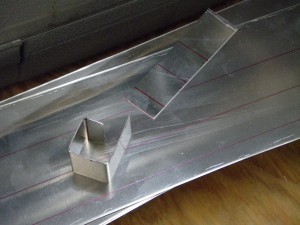
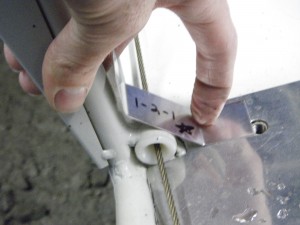
This was the first idea that I had. I had planned to drill holes in the top and thus be able to mount the guards with the same screws that held down the floorboard. I liked that concept, but this guard wasn’t very aesthetically elegant, nor was it very rigid. The best looking examples that I had seen used angled pieces, so I tried a few more samples.
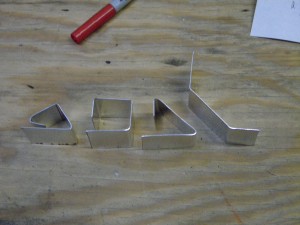
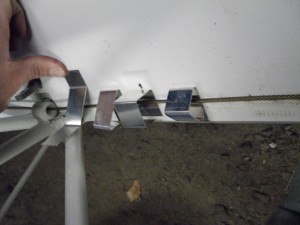
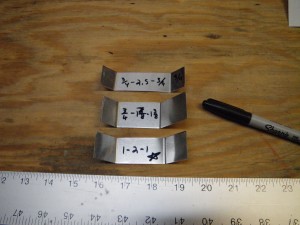
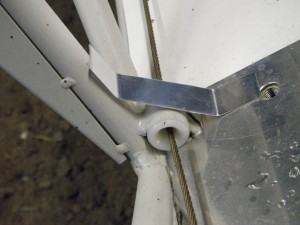
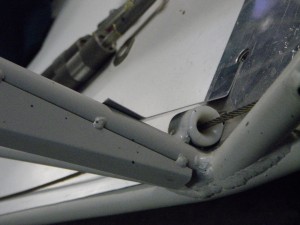
After seeing all of these in place, the only realistic choice is the one with two 135 degree bends. I’ll just end up putting a couple of extra nutplates in the floorboards, and that will be well worth the result. Now, to finalize the specifics…
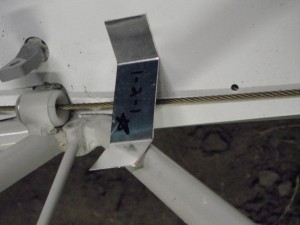
I know it’s kind of arbitrary to make the guard clear the fairlead, but since the OD of the fairlead tube is 7/8″, that gives the rudder cable more room to work without bringing the guard way out into the interior.
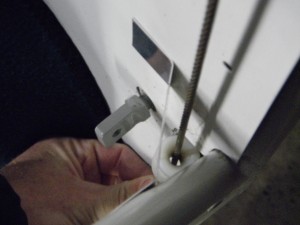
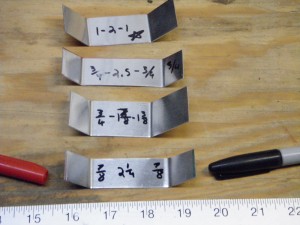
I experimented with a few different lengths. It was sort of like goldilocks and the three bears. Perhaps I should call this story alumilocks and the one bearhawk.
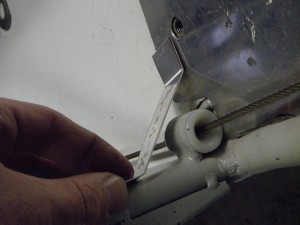
Here are the various test subjects. The best one has a 7/8″ flange on either side, leaving 2.25 inches in the middle.
With good results from the test strip, I bent the first 9″ panel. Since my little toy brake can only handle short pieces, this was a logical choice.
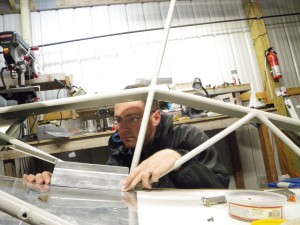
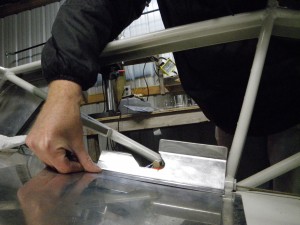
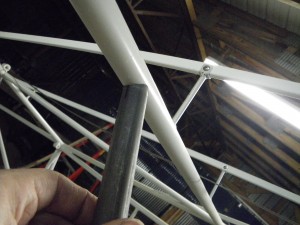
I knew that I would have to do some trimming, in this case to clear the front seatbelt mount and the front seat track.
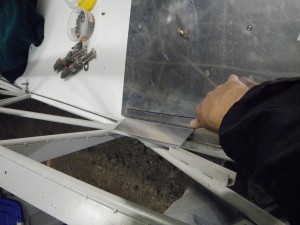
Here’s the test piece in place. Before I make the other side I guess I should put a front seat in and make sure that I don’t have any unforeseen problems.
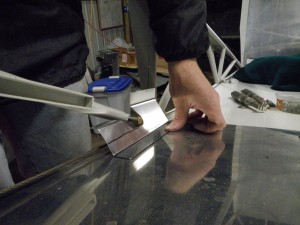
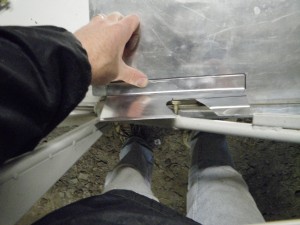
I had to stop there since I couldn’t bend the larger pieces. I’ve got some good leads on a bending brake that can handle the 30″ wide width.
Since I had a few extra minutes I figured I would make the support tube for the top of the fuselage. The stock Avipro fuselage has arrangements for a single shoulder harness attach for each front seat passenger. To use a dual shoulder strap (or a single y-shape) Bob recommends adding the tube from the rear spar carry through forward to the x cluster in the middle.
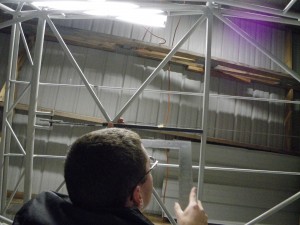
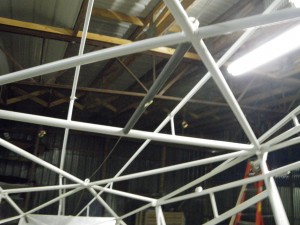
There’s not much to it. I can see why I keep hearing stories of people who buy a fancy tube notching contraption and then stop using it when they figure out how easy it is to fish-mouth with a grinder. While I was there I stood by my little heater and worked out how I’d like to incorporate the skylight. I think I’m going to reproduce the structure that happens under the fuselage at the trailing edge of the boot cowl (the trapezoid shape) over the top of the main spar carry-through. This will act as a rear support for the skylight. I’ll add extend the longitudinal tubes in the roof area near the trim wheel back to that point, and then add in another 3/8″ tube spanwise trapezoid somewhere up there where it starts to get curvy. I was glad to have some time to wrap my head around all of that and make a shopping list.