Today I spent most of the day working in the hangar and it was great fun. I spent about an hour sorting out the dumped pile of hardware, and this was a good experience. I got to be pretty fast with identifying the #6 and #8 nutplates. I also started going through the wing counting hardware and checking on things. I used the tackle box pictured in the last post to make an inventory of the #6 screws for the wing inspection panels. There are 94 screws for each of the fuel tank panels… I sure hope I don’t have to take those off very often!
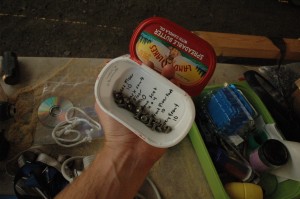
I also finished counting hardware for the floorboards and the rear bulkhead. I put them into a butter tub and listed the requirements for each panel on the bottom of the tub.Â
On the topic of floorboards, I disconnected the fuel valve and unhooked a few of the fuel lines. The Usher gascolator is 3.75″ tall without the quick drain valve on the bottom, which means that it won’t fit between the floorboard and the bottom of the airplane. It is nice to be able to keep the bottom of the gascolator above the bottom of the airplane for fire protection in the event of a crash that removes the landing gear. I might try and find another home for the Usher and buy one of Bob’s gascolators since his is short enough to fit by the valve. It looks like Richard’s solution was to put a quick-drain at the bottom of the fuel valve also.
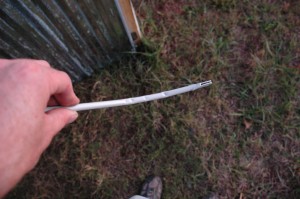
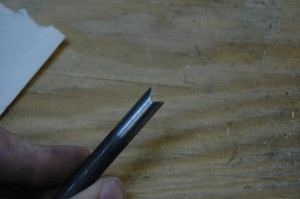
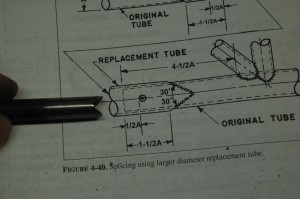
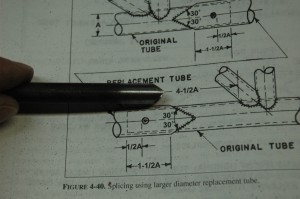
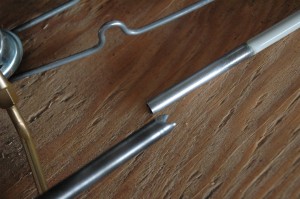
I also spent some time working on the elevator trim tab pushrods. I was concerned about the kinks in the bend, since they might pose as potential stress risers in service. To address this concern, I considered replacing the entire part, but it made much more sense to just replace the bent section. I got out the old AC 43.13 to see what it had to say about reparing tubing. I had a piece of tubing on hand that was larger than the 5/16, so I went that route.
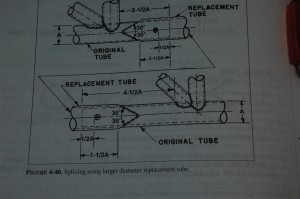
I made the calculations using the diameter of the original tube.
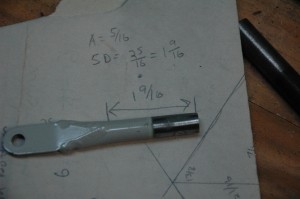
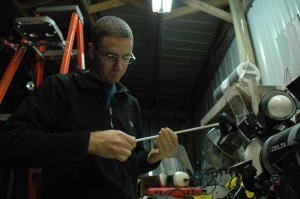
Look, it’s really me working on the stuff!
Next time- welding.