The exhaust clearance problem is going to require a little bit of fiberglass work. My strategy is to build up some foam on the pipes so that I’ll have a safe gap, then lay the fiberglass up right on that foam. To help make sure that the gap is a consistent 3/4″, I made up a few little foam pieces.
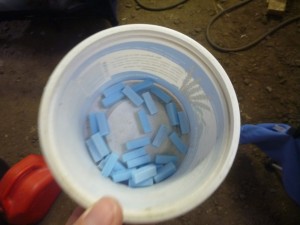
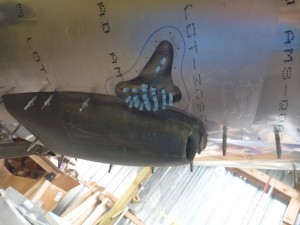
These are 1/4×1/4×3/4″ blue foam pieces. I applied a contact paper masking to the cowl, pipes, and scoops, and then glued the spikes in place.
While I waited for that glue to cure, I sanded the windshield fairing again. I painted it a few sessions ago, but it really didn’t look very good. When I wet sanded the paint away, I could tell why.
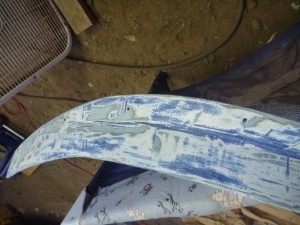
I just didn’t have a very good surface prep before the last paint job. Look at how many low spots are still blue, and how many high spots go right down to the original filler. A few rounds of sanding, priming, and filling will be worthwhile on such a high-visibility piece.
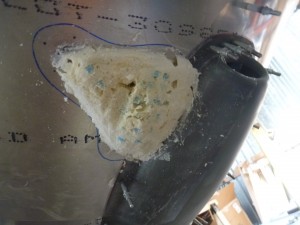
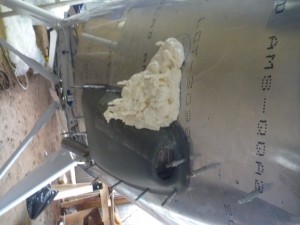
Since the glue was cured on the blue foam pieces, I came back and added a substantial blob of spray-can foam to the area where I’ll be doing the fiberglass work.
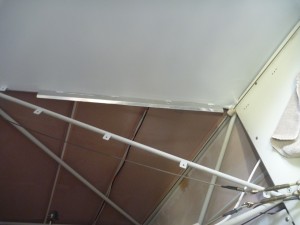
I’ll leave that to cure for a little while. I had a few jobs that were waiting on rivets, so I started those today. One was to rivet the covers on the main landing gear where I had to make access for the brake lines. I couldn’t quite reach all of the rivets with the tires on, so there are a few left for next time I have the wheels off. I also attached the strips to the aft cabin station. These will give the fabric bulkhead a little more stability.
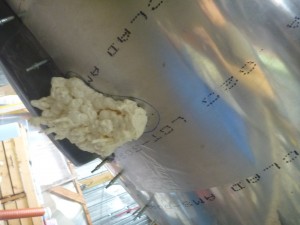
I carved off some of the foam to find that there was a big hollow bubble in the middle, so I added a bit more.
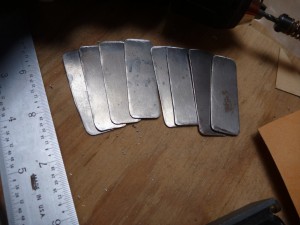
I should have probably applied much less, and that would have prevented the interior problem. Next I cut out the steel pieces that will support the cowl at the u-channels.
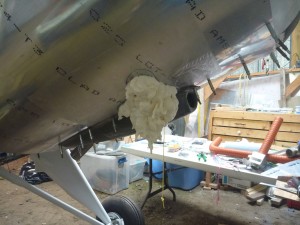
I did a little more rough trimming on the foam, and it’s starting to take shape.