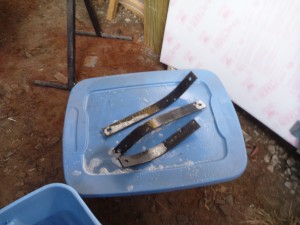
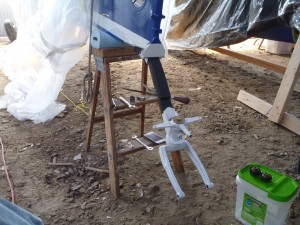
I started today by preparing and painting the tailwheel spring. I suspect that the paint will be somewhat short-lived on this part, but if it starts to come off, I’ll just paint it again. I cleaned off the light surface corrosion and applied a flat black rustoleum.
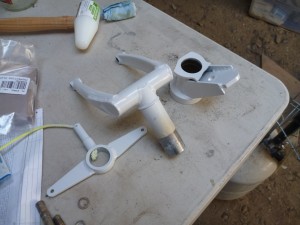
All of the tailwheel parts were ready to assemble, so next I put them together.
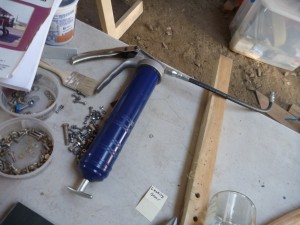
I also picked up a nice grease gun from Amazon to use on the various grease fittings.
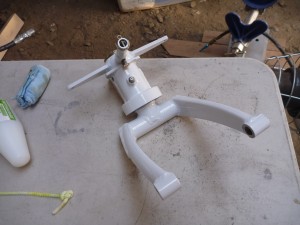
When I mounted the tailwheel and spring, I used 39 foot pounds on the big bolt. Mark G had this bolt come loose once, so I made an extra effort to make sure that it was installed correctly. I found that I had to grind a slight bevel on the aft end of the spring to clear the weld fillets on the tailwheel body.
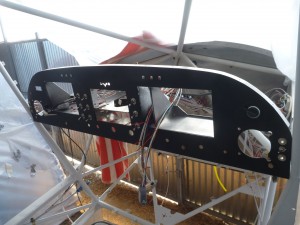
Next I reinstalled the instrument panel, with its fresh paint. That made a few easy tasks available, such as installing the annunciator lights, headset jacks, and switches.
Back when I wired the Garmin boxes the first time, I separated the multiple power inputs to separate fuses. In retrospect Bob N. recommended that those two power leads be combined to a single wire and fuse, so I made that change. I installed each of the avionics boxes, connected them, and powered them up for a test in unison. Did you know that the ELT remote has its own little battery? I sure didn’t, until someone happened to mention it in passing. Since our ELT has been sitting on the shelf for a little bit longer than initially expected, I thought it prudent to replace the battery now.

I was glad to see all of the panel lit up, and no smoke released. I’ve been using this battery charger in its “supply mode” to power the electrical system for this sort of testing.
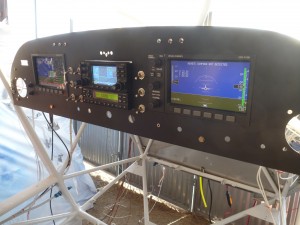
The intercom is the only remaining box that isn’t installed at this point. Tomorrow I’ll start with testing.