Today I continued work on the front baffles, including deburring the edges of the thick brackets. I think Vans cuts them out with an axe, or perhaps they hire that Jaws fellow from the James Bond movies. I started working on the layout for the landing light, which will go in the nose bowl.
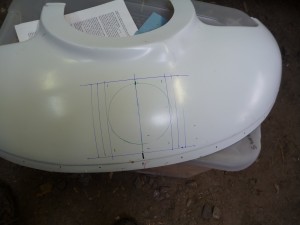
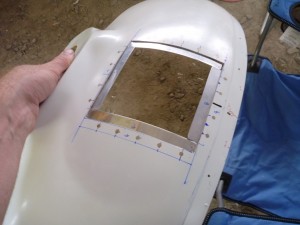
The idea is that I’ll cut out the fiberglass, install aluminum strips to support a lexan panel, then make a fiberglass back to the compartment where the light assembly is.
Here’s the left front baffle again
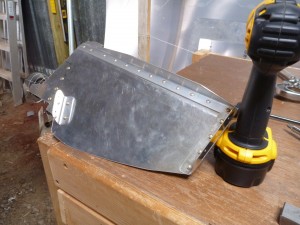
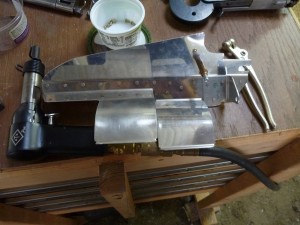
I riveted it all together a while back, but after looking at the plans I realized that I used the wrong ones! I was supposed to use 1/8″ but I used 3/32″ rivets. I added rivets to the front right baffle also. You can see how much more narrow it is, since the number 1 cylinder sits farther forward than the number 2.
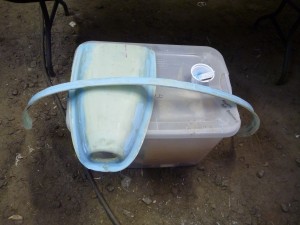
Next I sanded the filler on the windshield fairing and intake scoop again, and added another layer.
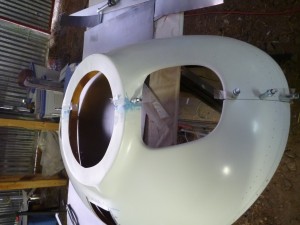
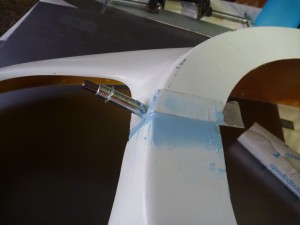
While I had a batch of filler mixed up, I also added some to the nose bowl seam. The original fiberglass parts had an uneven edge at the overlap. Rather than try to add material to the thin flange of the top, I added it to the thicker bottom piece. I masked the top half with a little bit of clear contact paper.
While that cured I pulled the engine off of the mount to install the oil pressure measurement fitting. I had read somewhere that I was going to have to install it before I mounted the engine, but for some reason I never did execute that plan. It only took a few minutes to do, and while I was there I also replaced the temporary hardware store bolts with aircraft-grade AN bolts.
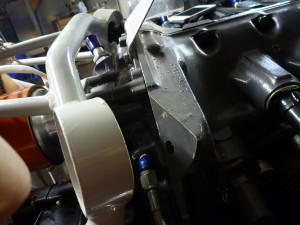
That’s it right in the lower middle of the picture, with the silver braided line attached.