Today I carried on with the disassembly, in a marathon building session that would indicate that Tabitha is out of town. I took out the control sticks, elevator bellcrank, rudder pedals, headset wires, and other things like that.
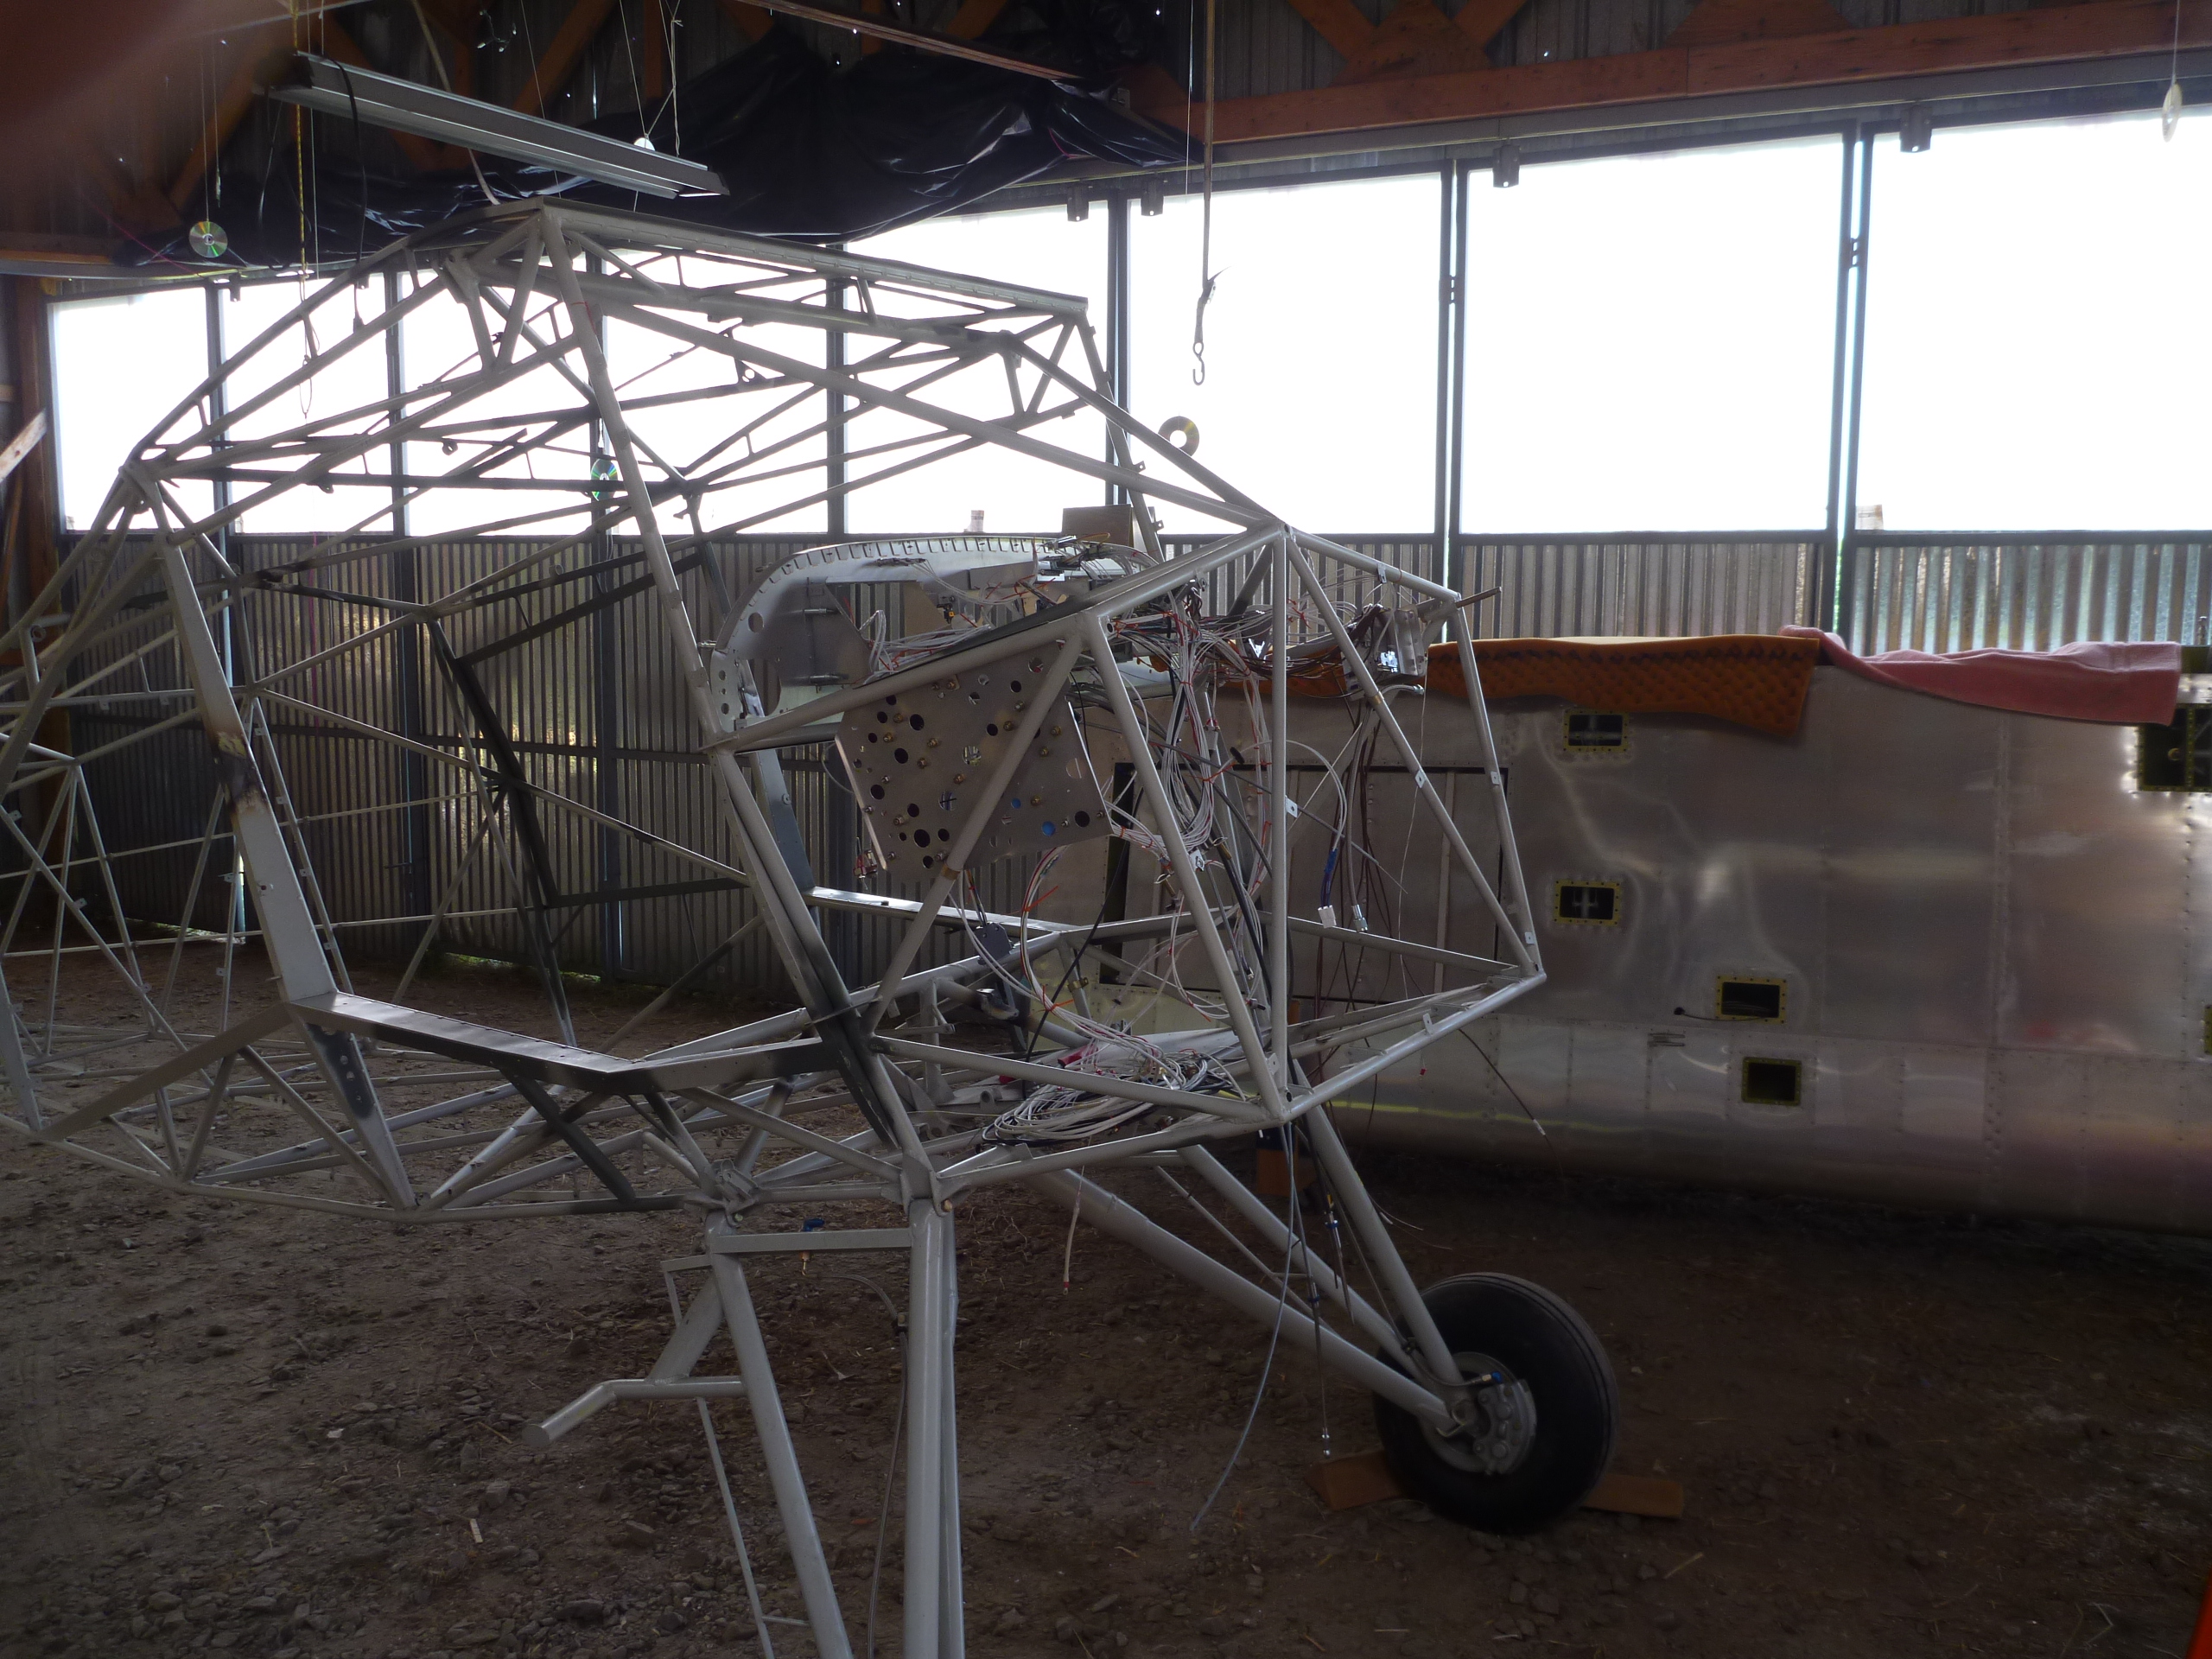
The wiring was going to be too much trouble to take out completely, so I just balled it all up and wrapped it in a trash bag.

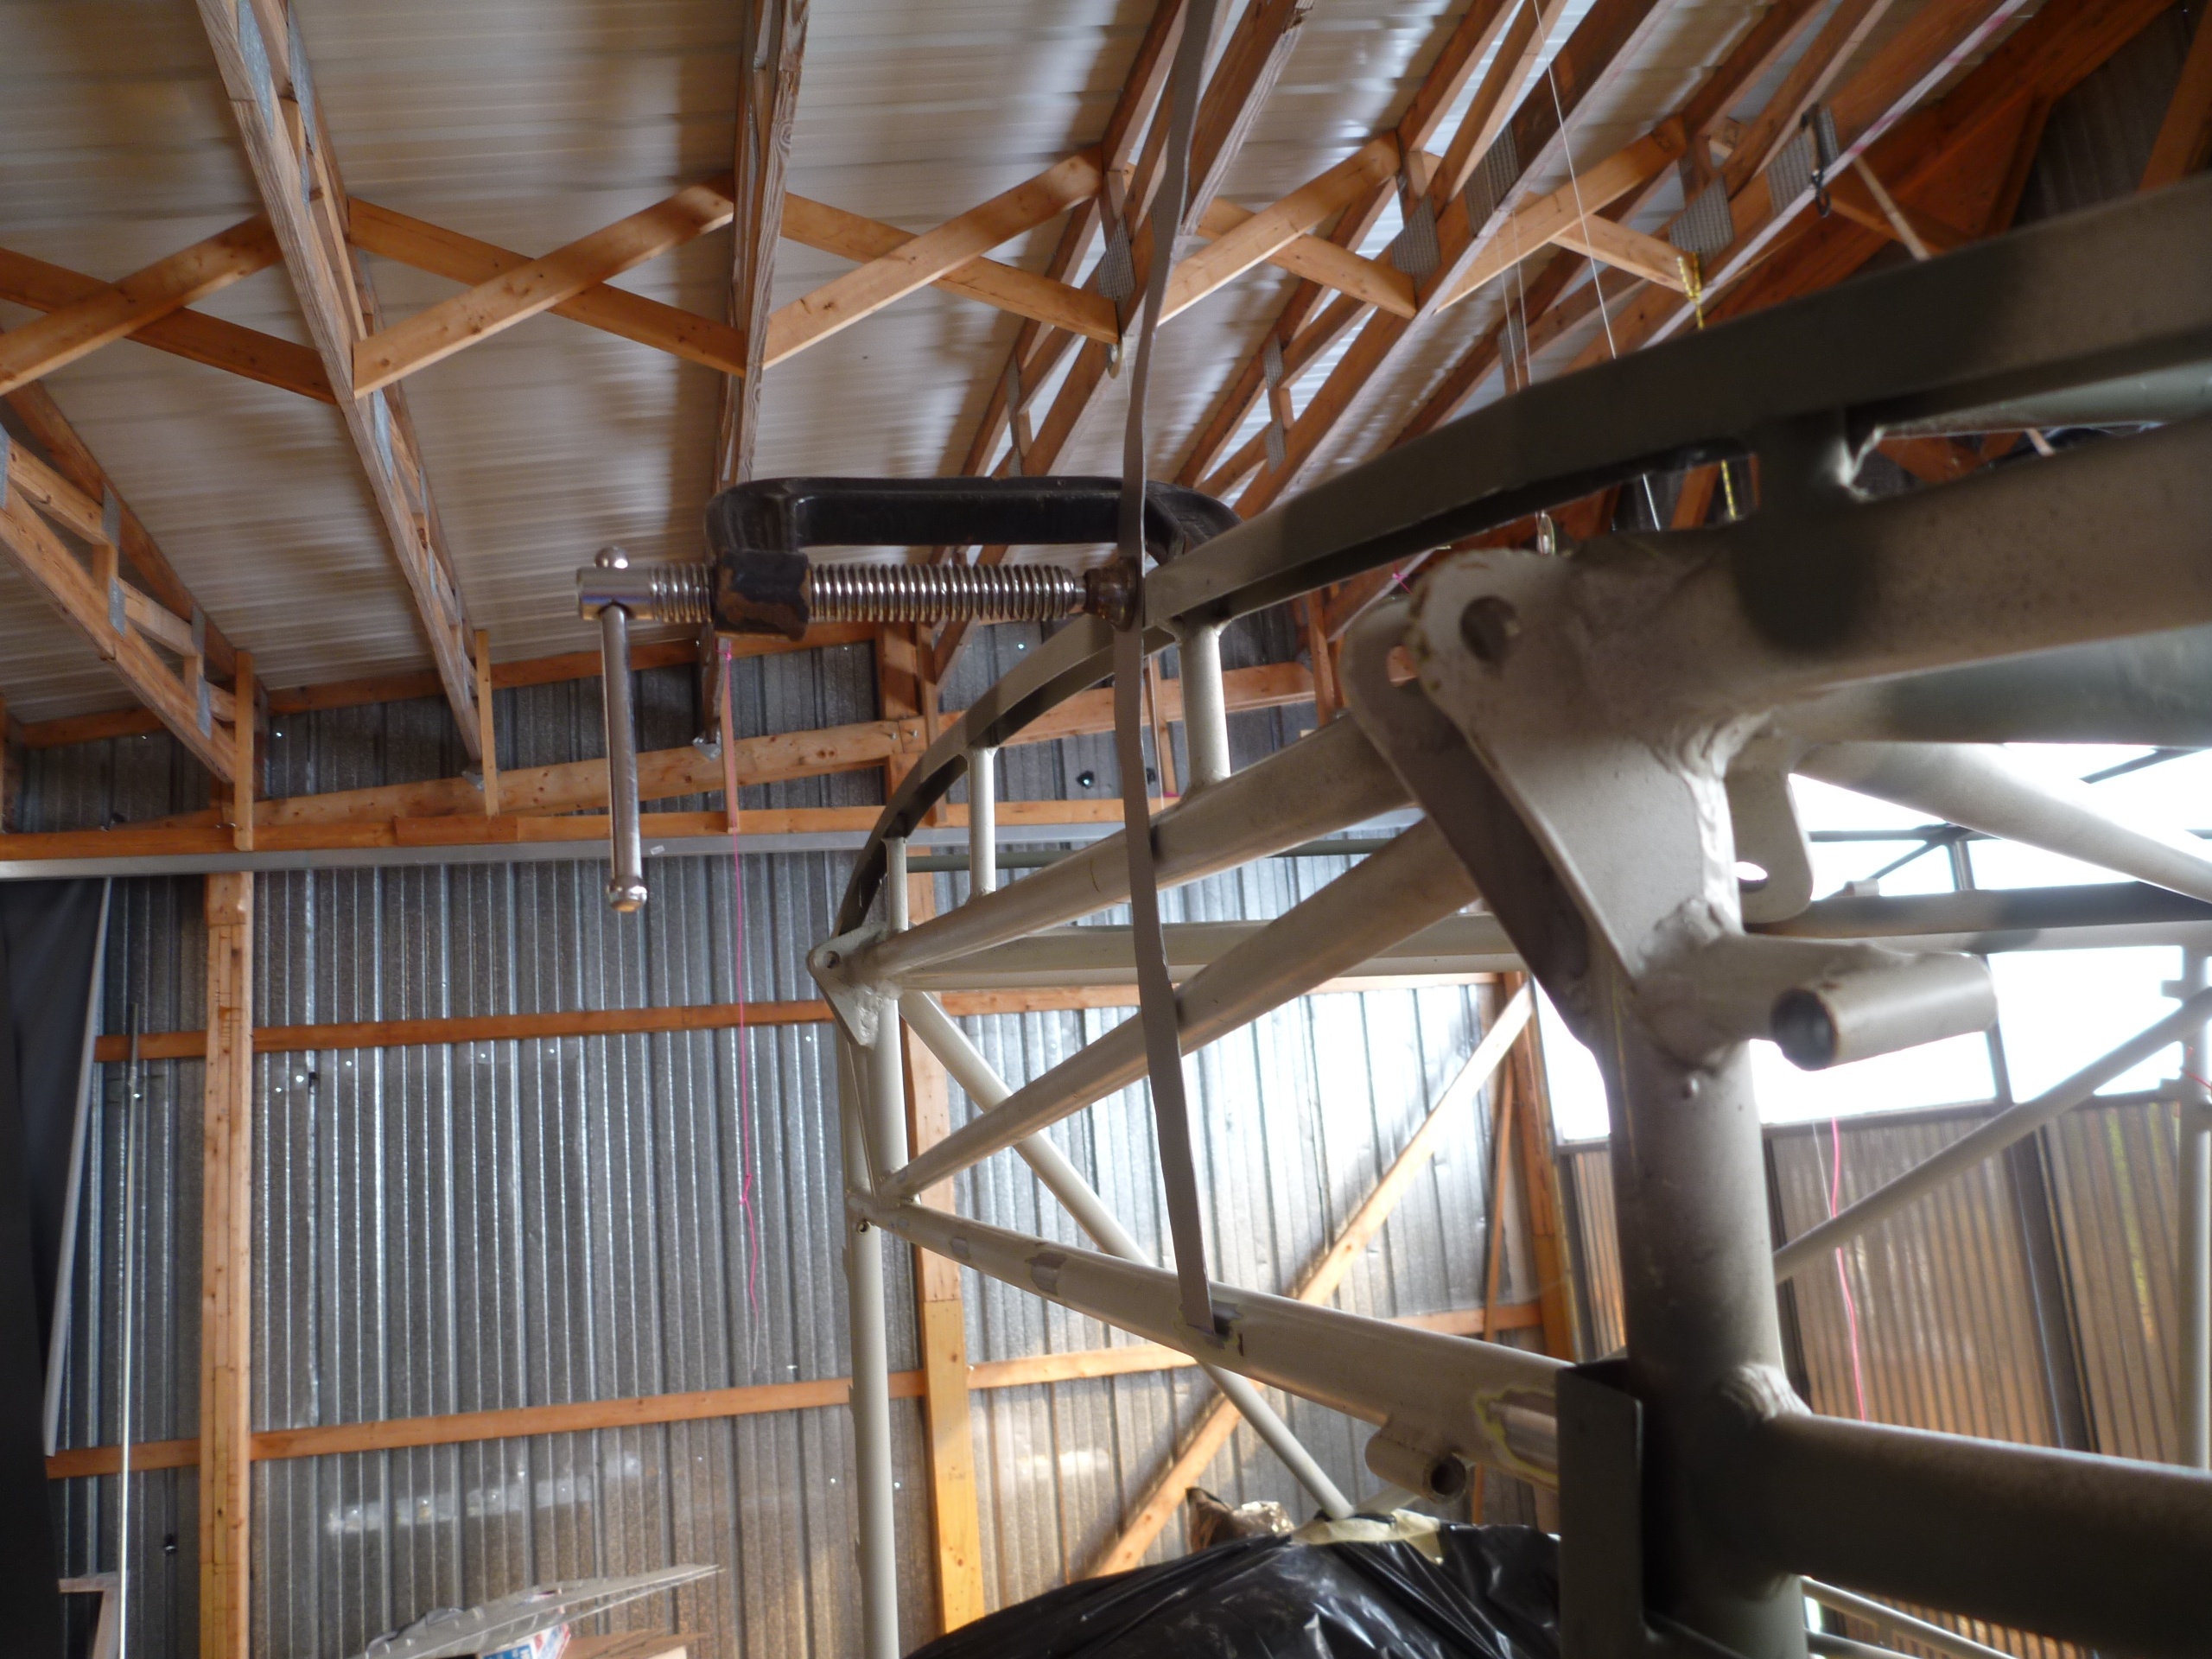
I removed the landing gear legs and set the fuselage on sawhorses. I welded on a tab to support the fire extinguisher, which will mount on the floor just in front of the main carry-through structure. Since we’re planning to leave the wing root section uncovered in the fuselage, the wing root fairing doesn’t have anything to collide with where it meets the fuselage. I added a few tabs there to allow for a vertical portion of the wing root fairing, which will seal the gap. I started with a long strip, then welded the end of the strip in place. Next I trimmed the strip off to determine the length of the tab. This made it much easier to hold the pieces in place for welding.

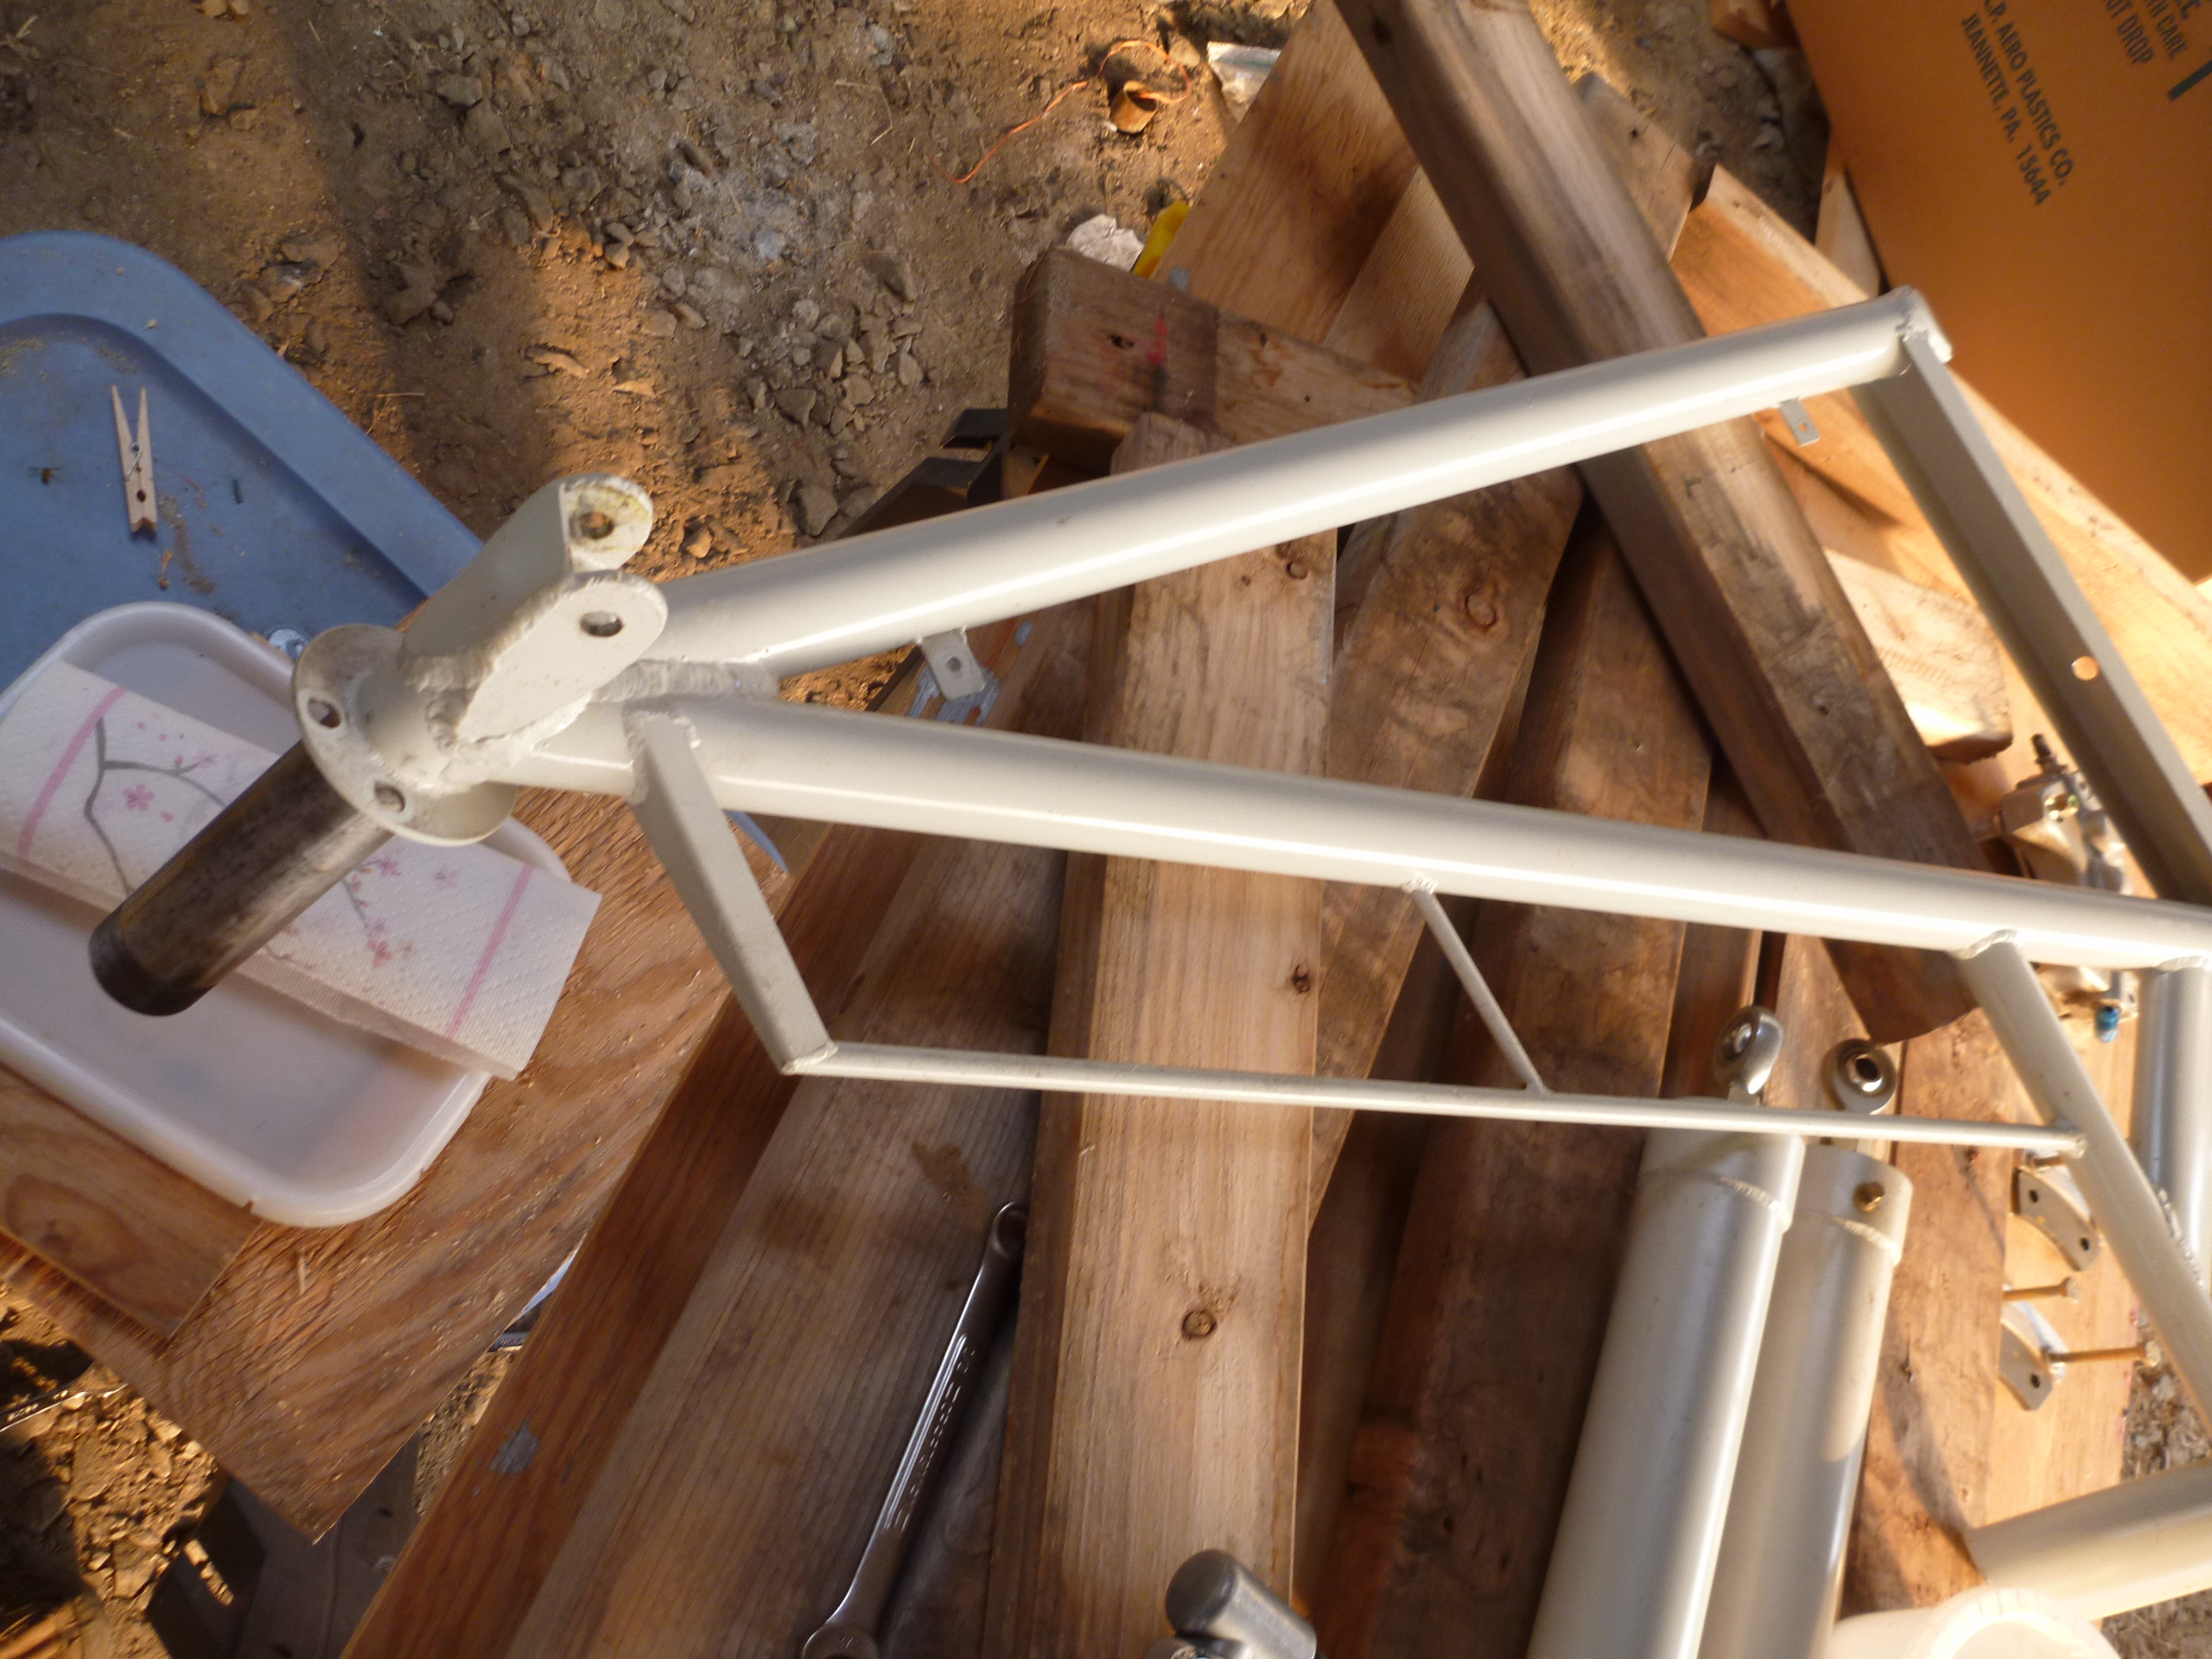
Next I modified the landing gear trailing edge to allow for larger tires.


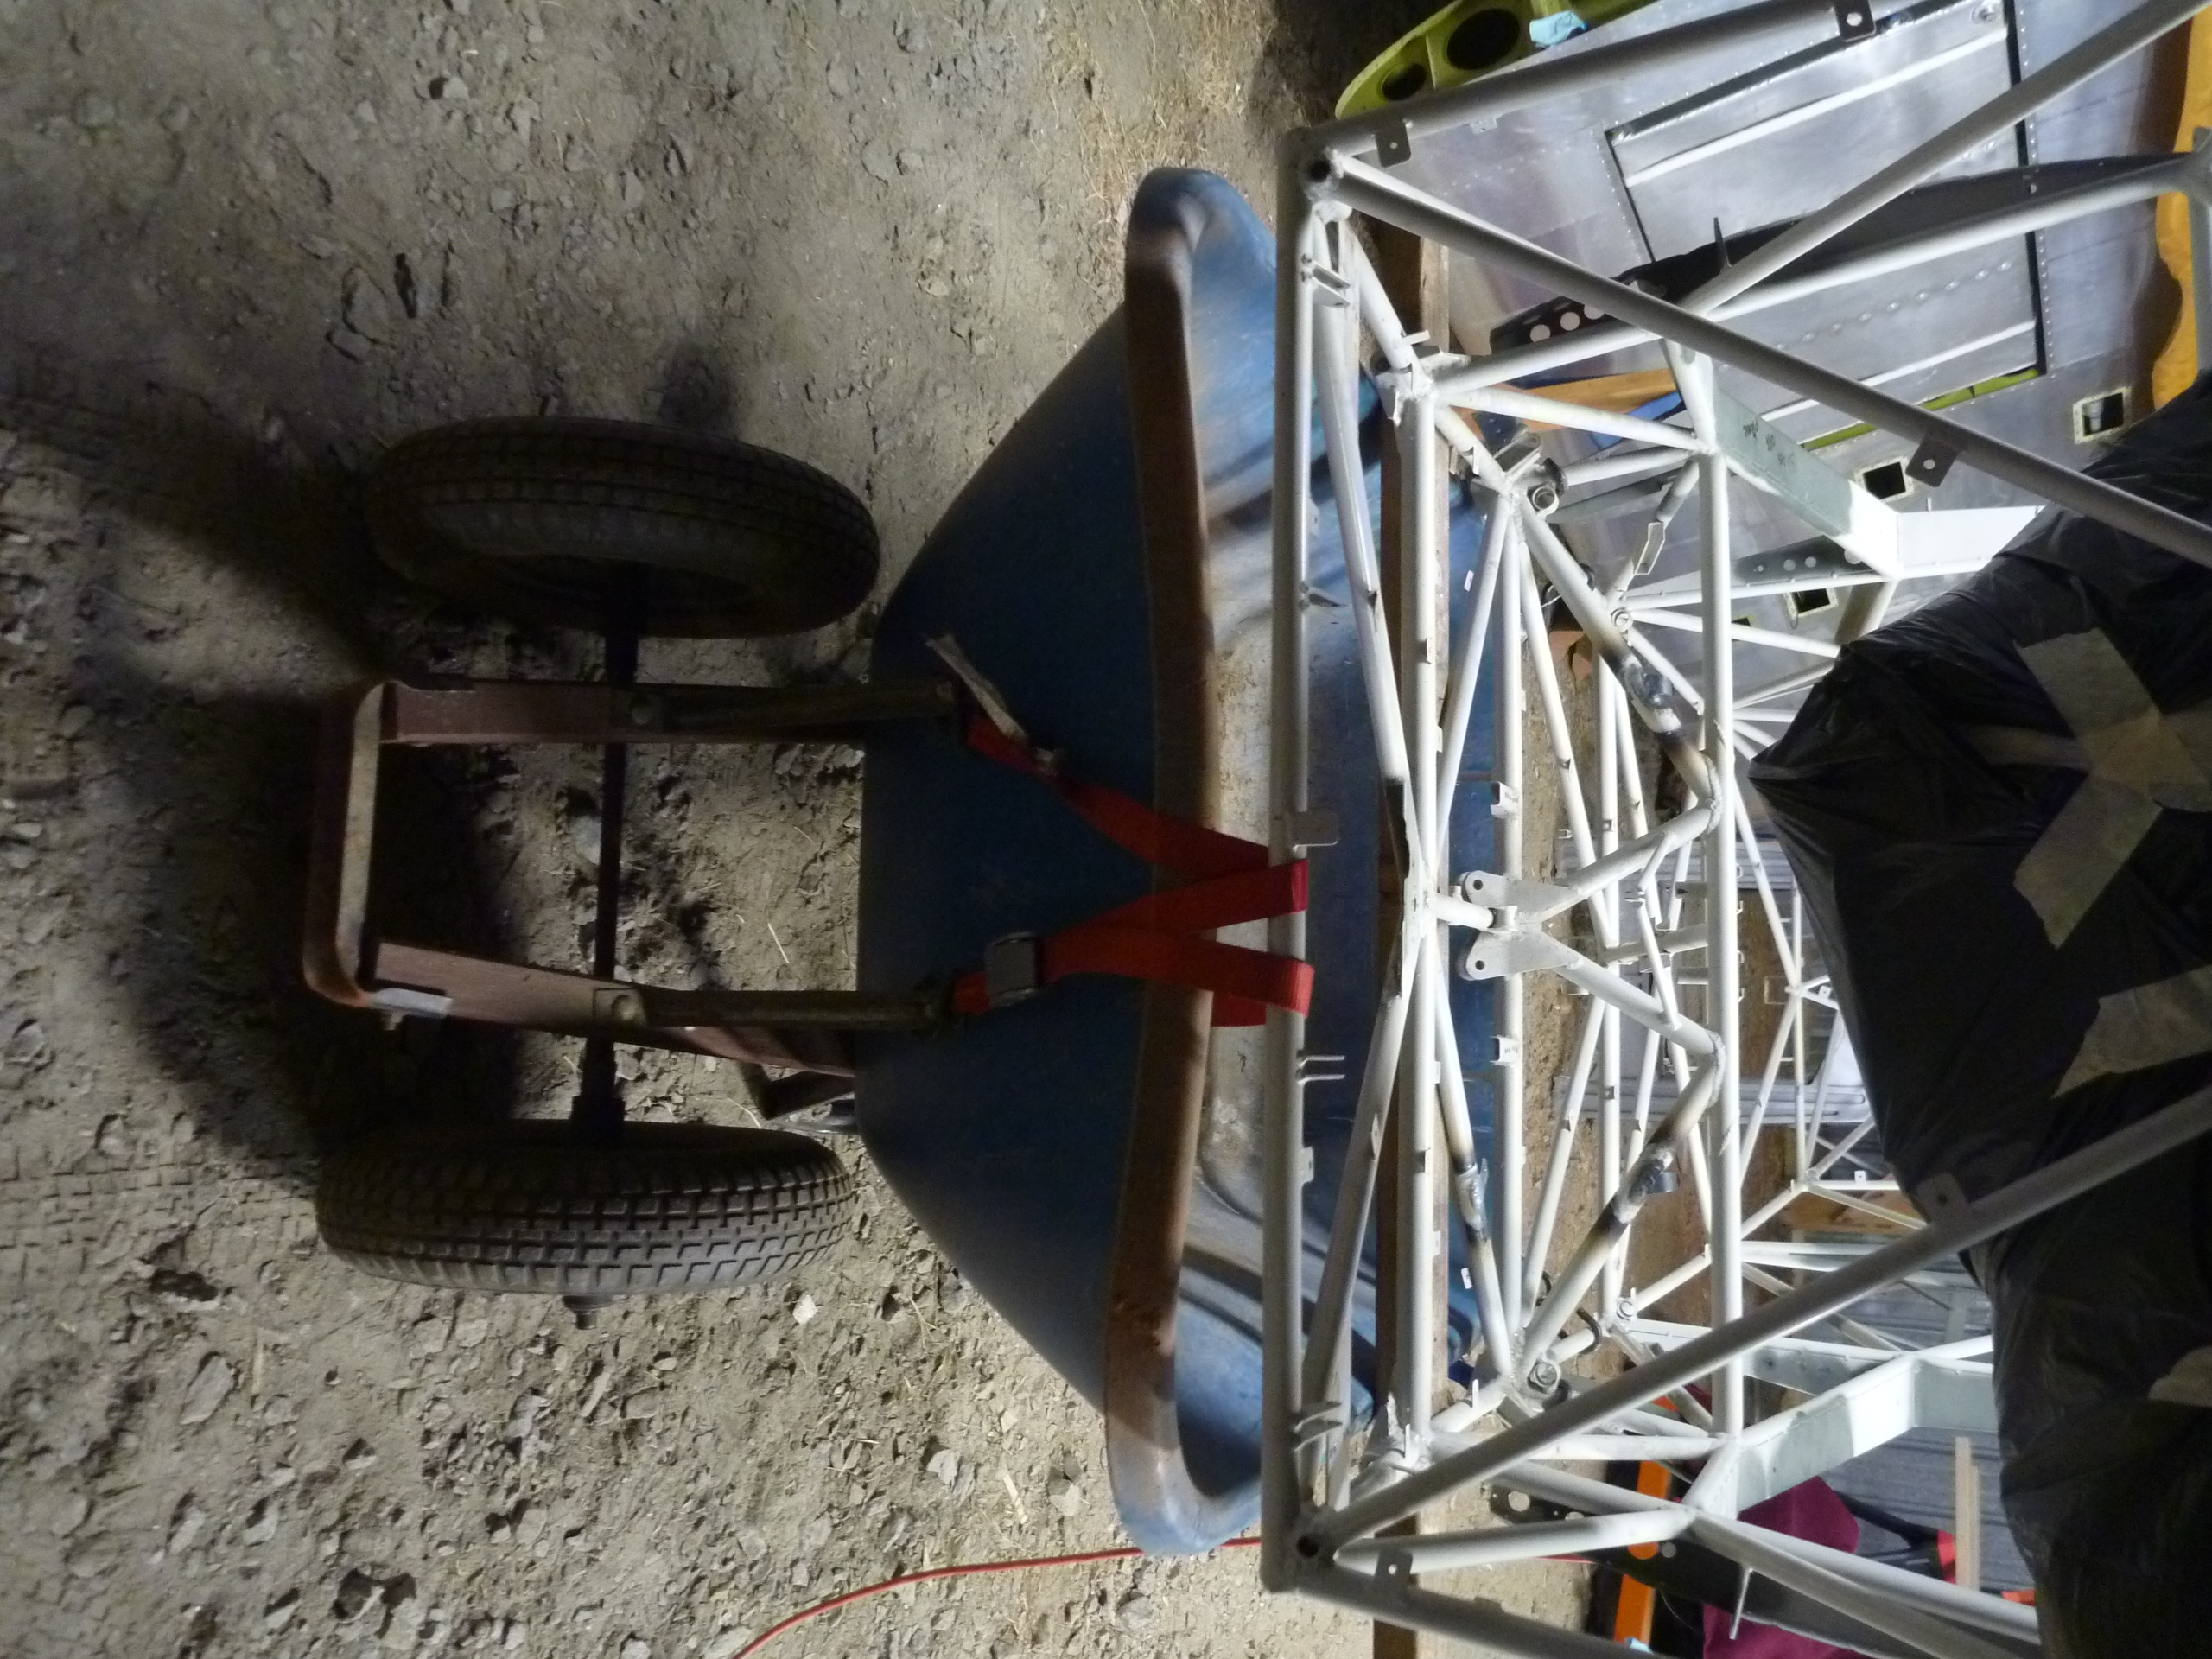
With both of those done, I needed a way to get the fuselage around by myself. This is what I came up with:

The fuselage is resting on a 2×4 that sits on the wheelbarrow. There is a strap that runs under the wheelbarrow handles, which makes it possible to lift the rear end of the wheelbarrow by lifting the tail.

these will make up the front portion of the rotisserie, which is a necessity for the next few building steps. I learned several months later that it was not a good idea to use the airworthy AN bolts. The moisture in the wood led to a little bit of corrosion on the bolts.