Making Exhaust Pipes
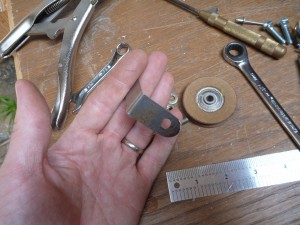
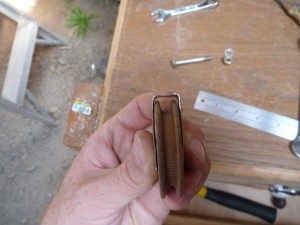
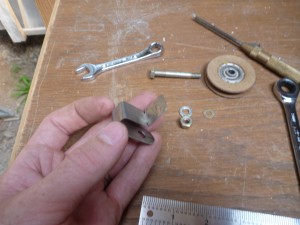
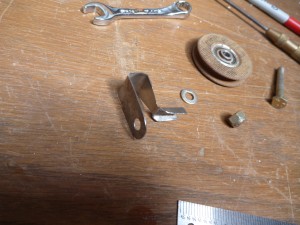
This morning I finished the heat smoothing on the last flap, so now those parts are ready to spray. While I was thinking about it, I also made a couple of cable guards for the flap cable pulleys. These are the final pulleys before the flap cable ends at the torque tube.
I started cutting out parts for the exhaust system. (Note from the future- I’m not sure if I’m going to end up using these parts- I might end up going with a “store bought” system instead). This is like the system that Bob has used for his prototype Bearhawk and several airplanes since. It’s very inexpensive to make, and easy to repair with the tools that I have. Since the EMT comes with a galvanized finish that contains poisonous zinc, I started by soaking the parts in phosphoric acid. I found the acid in the paint stripping section at Home Depot, and I’ve also used it for other rust removal jobs in the past. As with all other new techniques, the best way to start is with scrap material. I used these two small pieces to be sure that I was going to be able to weld them well. The short length helps facilitate inspection of the back of the weld.
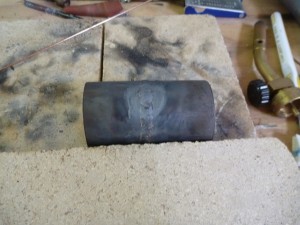
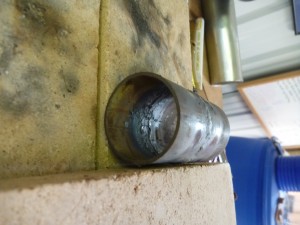
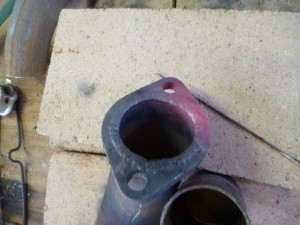
Since that went pretty well, I jumped right in to the real parts. I purchased the 1/4″ thick flanges from aircraft spruce, since they were inexpensive and would have been a real hassle to make. I held the pipe up to the engine and figured out about where it needed to be, then marked it and took both pieces back to the bench to weld.
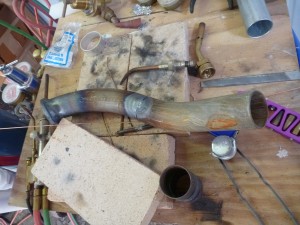
One certain limitation of this system is that the radius of the bends is hard to adjust.