While I was thinking about the aileron control cables, I realized that my previous location for headset jacks wasn’t going to work. I cut the old bracket off and this is what was left:
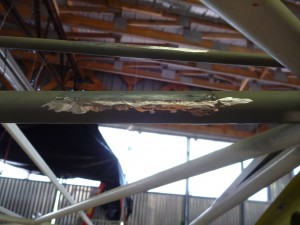
I used the die grinder and files to clean off the weld bead. It’s always frustrating when I end up making more work for myself, but such is the nature of building my own airplane I guess. I picked up where I left off last week with the landing light bracket, which involved using the rotary file in the dremel to finish enlarging the center hole. This is what I ended up with (after a few attempts to get the diameter correct on the back bracket hole)
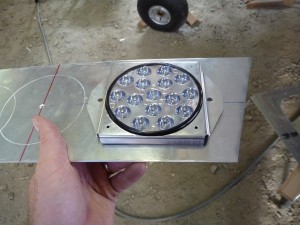
The idea is that there is just enough thickness in the LED unit to allow for a tight hold when I attach the front bracket with screws. I’ll need to figure out a way to attach this contraption to the nose bowl, preferably in a way that still allows for some aiming adjustment later on.
At this point I have enough of the cowling done to be able to trim the baffles to their final height. I had previously rough-cut them so that they weren’t touching the cowl metal, so all that I needed to do was make a mark where I wanted to cut. To make that line, I poked a small hole about 1.5 inches from the end of a hotel room key. Any sort of plastic would do the job just as well, it’s just that I have a pile of hotel keys available. I stuck the point of a marker in the hole, then ran the edge of the card along the inside of the cowl metal. Some of the lines ended up on the front of the baffles, and some on the back.
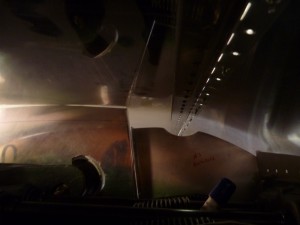
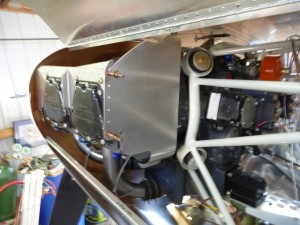
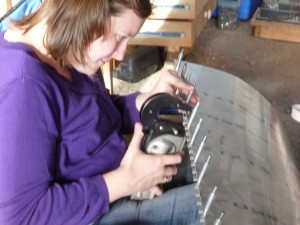
I trimmed the left side so that I could know where I would be able to put the oil cooler. Tabitha came out later in the afternoon to make more window plans. She laid out the new shape in the upper left window and we worked together to cut it out.
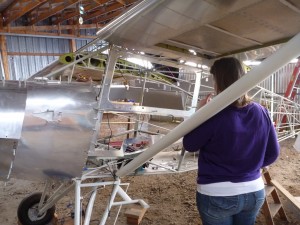
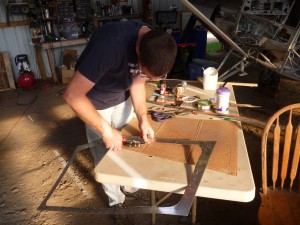
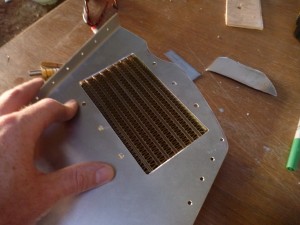
While she worked on that I marked where the oil cooler will go.
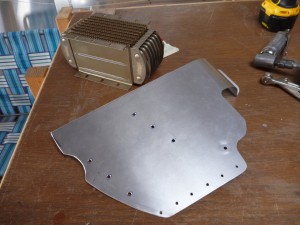
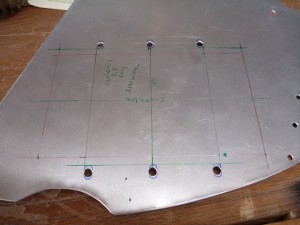
Note! This oil cooler mounting strategy proved to be inadequate in flight testing. The oil cooler is probably a little bit too small for this engine, but more importantly, it should probably be located back away from that cylinder a little. In the end I fabricated a mounting system that moves the cooler back about one inch. Also note that the ideal arrangement would be with the oil flow vertical. The vertical arrangement would give an outlet for trapped air to flow out of the cooler.
We’re both motivated to keep the project moving along.