Skip to content

Jared and Tabitha's Bearhawk Construction Log

The story of N805TB

Menu
  • Bearhawk Flight Training
  • Recent Posts
  • Search
  • Welcome to Our Building Log!
  • Privacy Policy
Menu

Instrument Panel

Posted on November 16, 2010March 8, 2011 by Jared Yates

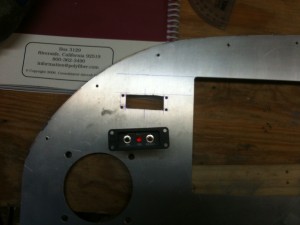
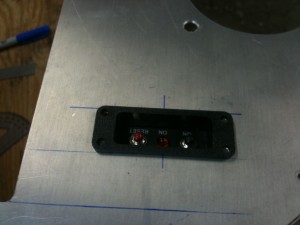
I started off today by getting some silver polyspray onto the patches. Don brought up the instrument panel, so I started with the deburring process while I waited for the polyspray to cure. I added the ELT controller to the left side, since it is something that is low on the ambidexterity priority list.
ELT Remote
I started by adding the ELT remote controller.

ELT Remote
I need to find some screws that are small enough to fit into those little holes!

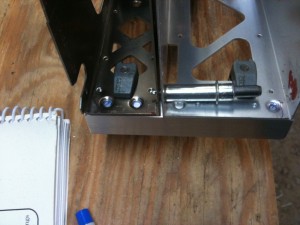
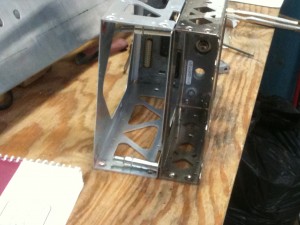
I attached the rack for the GNS430 and GTX327 together, then added aluminum angle pieces to use for attaching the racks to the panel.
Garmin Racks
The racks have built-in spacers for vertical alignment.

Installing Garmin Racks
The same screws that I'm using for the wing inspection panels fit into the racks without interference.

Somehow I gave Don Bandy the wrong dimensions for the middle hole. It ended up being a little bit short, so I trimmed a little off of the bottom.
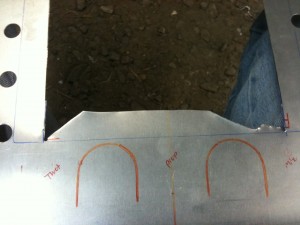
Enlarging the panel cutout
This was my method for enlarging the cutout in the middle of the panel.

I left to go get ready for the EAA meeting. On my way out the door for the meeting I got a call from jetBlue with a class date in 2 weeks!

Leave a Reply

You must be logged in to post a comment.

Navigation

  • The Most Recent Posts
  • Posts about Building
  • Posts About Flying
  • Commentary Posts
  • Bearhawk Flight Training
  • Buy Your Own Bearhawk Kit!
  • Our Bearhawkstore.com
  • Meet More Bearhawk Builders
  • Privacy Policy
© 2025 Jared and Tabitha's Bearhawk Construction Log | Powered by Superbs Personal Blog theme