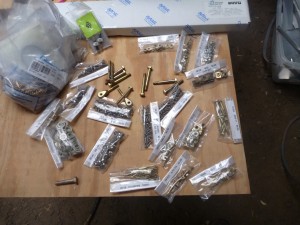
On the day that I was planning to leave to drive to Oshkosh, we got a huge amount of rain, and part of our driveway washed away. We had a big mess in the yard and lots of things to clean up, so I’ve lost a few weeks worth of building time. Today I was able to get a full day in to complete a few tasks that were held up while waiting on parts. Here’s the loot pile from B&B at Oshkosh:
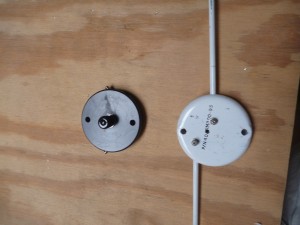
One of my unsolved problems was how to create the fairing around the VHF nav antenna terminals. The terminals stick out past the sides of the vertical stabilizer, so I was going to have to make a special fairing. While I was at Oshkosh I stopped by the RAMI booth to see what kind of antennas they had. One of theirs has removable elements and an internal balun, so that the feed line just connects right to the bottom of the antenna. This solves the problem all together, and since the elements are removable, it also helps quite a bit with making sure that I don’t poke my eyes out while I’m working on or around the tail.
Another big box finally arrived!
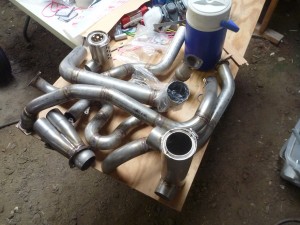
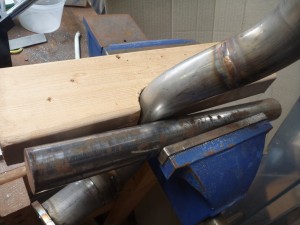
Here are the exhaust pipes, ready to install.
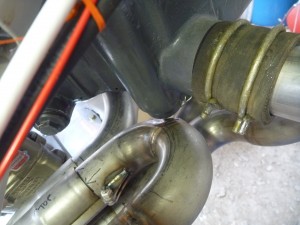
It all looks pretty good, although I’m going to have some minor clearance issues. One is around the right side sump drain. This is a plug that we won’t be removing in service, but it still sticks out a little. The other spot is where the number 3 exhaust pipe is a little bit too close to the number 3 intake tube. These areas were both tight with the PVC pipes too. If I had been able to mock up with actual diameter pipes, I would have considered routing the number 3 exhaust pipe inside of the intake tube instead of out outside of it. The exhaust builder said that a small dent in the pipe would be acceptable in these spots, as long as it was smooth.
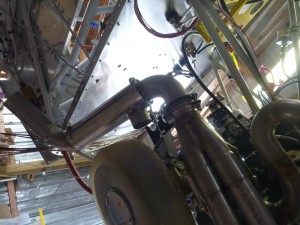
289- This is where I need more clearance
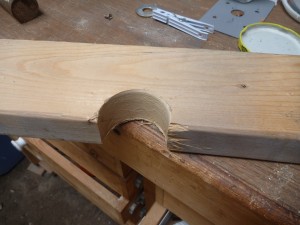
I made a form out of wood to support the back side of the pipe evenly.
I tried using the vice to make the dent, but that didn’t work especially well. In the end, the round-nosed hammer was more effective

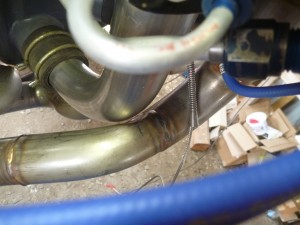
I had been holding off on completing many firewall-forward jobs until the exhaust system was on. One was to finalize the routing of the mixture cable, since it goes pretty close to the tailpipe. I finished the mounting for the mixture cable so that it is clear of the hot pipes.
I don’t know how I managed to mess it up, but I ordered the inlet and outlet for the cabin heat muff incorrectly. He made it just as I asked, but I asked for the wrong thing. I’ll need to have him make another muff with the inlet and outlet on the same radius.
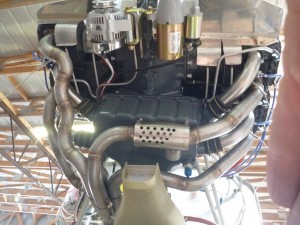
Note in the picture above that the carb heat muff is on the number 2 pipe. I ended up moving it to the number 4 pipe, because the duct material wasn’t as flexible as I had imagined it being, and it couldn’t make such tight turns. With the system in place, I installed the EGT probes. I also replaced the pin eyes on the flap cable turnbuckles with forks, since that’s what seems to be a more appropriate arrangement.