Skip to content

Jared and Tabitha's Bearhawk Construction Log

The story of N805TB

Menu
  • Bearhawk Flight Training
  • Recent Posts
  • Search
  • Welcome to Our Building Log!
  • Privacy Policy
Menu

FAB Assembly Continued

Posted on August 15, 2011June 29, 2012 by Jared Yates

When I incorrectly oriented the FAB top during the first assembly, I drilled holes that will need to be filled with the correct orientation. Many of those holes were close to where the filter retainer angles go, so I just made a few adjustments to help them serve double-duty.
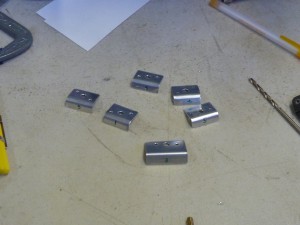
Since I had a few problem holes to fill, I made a new filter retainer that is slightly longer than the 1-inch standard.

This wouldn’t be necessary for someone who did it right the first time.
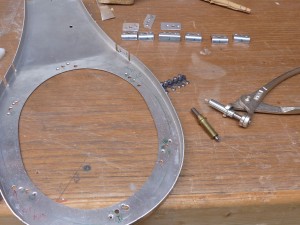
I also made a few backing pieces to aid in hole filling.

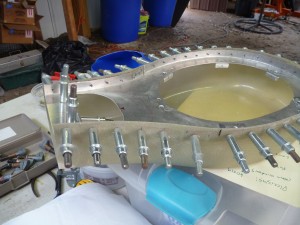
Next I positioned the thin aluminum top for riveting to the fiberglass. I attached the thick aluminum top to the thin top with regular AN-3 washers between the two. Then I set the filter in place and clecoed the flange around the perimeter. Those washers will make up for a 1/16″ squish on the filter to help ensure a tight seal between the filter element and its respective joining surfaces.
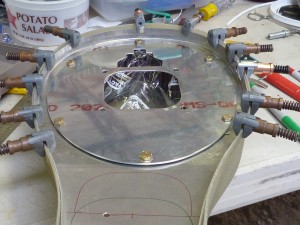
Top in place, with washers

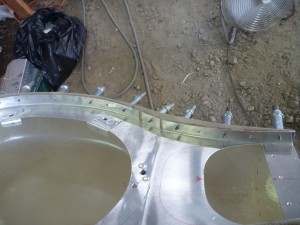
With several clamp clecos in place to help be sure that nothing was going to shift, I marked and started drilling the rivet holes.
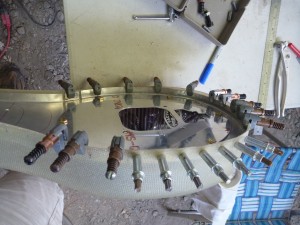
Replacing the clamps with clecos

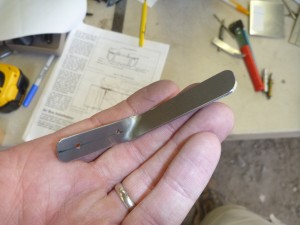
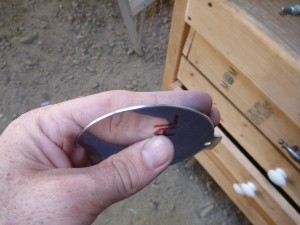
The length of hinge that Vans supplied for the carb heat door was made by Bandy Machining, which I thought was picture worthy, since that’s Tabitha’s old last name.
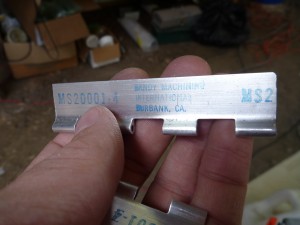
Hinge Stamp
Hinge Stamp

I cut out the shape for the carb heat door:
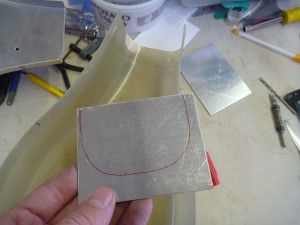
Carb Heat Door
Carb Heat Door

And started to prepare the steel arm
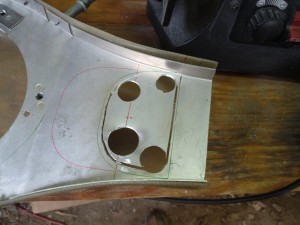
Carb heat actuating arm.

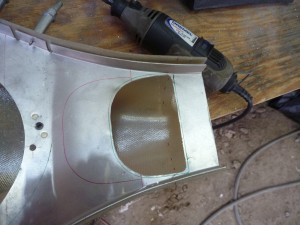
I cut the hole for the carb heat inlet, slightly smaller than the door.

Here it is cleaned up a bit.

I attached the hinge, with the one of the pieces inverted, as instructed by Vans.
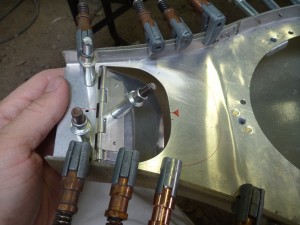
The inverted hinge half helps make the geometry of the door work better.

Then I drilled the rest of the perimeter holes.

I altered the spacing a little to be sure that I wasn't going to hit the slot in the aluminum piece.
I altered the spacing a little to be sure that I wasn’t going to hit the slot in the aluminum piece.

The fiberglass was slightly oversized at the top, so I took it over to the belt sander and trimmed it flush.
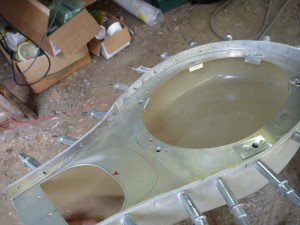
A few seconds on the belt sander and the fiberglass matches the aluminum.

After a little bit of head scratching I was able to locate the steel arm for the door. I primed it to inhibit rust a little.
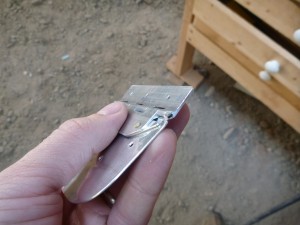
I had to trim the hinge some to clear the steel piece.

One optional FAB feature is a bypass door that will allow the engine to get air even if the filter becomes clogged. I can only think of two possible scenarios that would cause this- one would be flight through snow, where somehow the snow was able to get to the filter without melting. Another would be volcanic ash or some debris like that. Both of these are very remote cases, but perhaps there is another that I don’t know about yet. In any case, I had the parts, so I thought it was prudent to install the option. I started by deburring the edge of the little trap door:
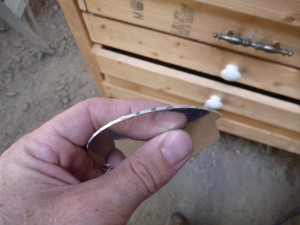
Machine Cut Part Before Debur,

And After
And After

Then I located the hole and drilled it using the fly cutter on the drill press.
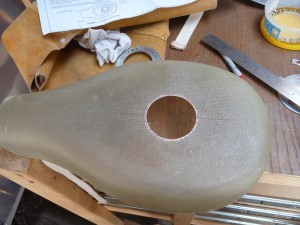
FAB alternate door hole

Leave a Reply

You must be logged in to post a comment.

Navigation

  • The Most Recent Posts
  • Posts about Building
  • Posts About Flying
  • Commentary Posts
  • Bearhawk Flight Training
  • Buy Your Own Bearhawk Kit!
  • Our Bearhawkstore.com
  • Meet More Bearhawk Builders
  • Privacy Policy
© 2025 Jared and Tabitha's Bearhawk Construction Log | Powered by Superbs Personal Blog theme