Skip to content

Jared and Tabitha's Bearhawk Construction Log

The story of N805TB

Menu
  • Bearhawk Flight Training
  • Recent Posts
  • Search
  • Welcome to Our Building Log!
  • Privacy Policy
Menu

FAB Assembly

Posted on August 14, 2011June 29, 2012 by Jared Yates

Today started with a few new parts arrivals. As I mentioned in the entry from a few days ago, I drilled the top oval plate for the filtered air box incorrectly. I wrote about much of today’s work back in that entry, but I’ll include pictures here.
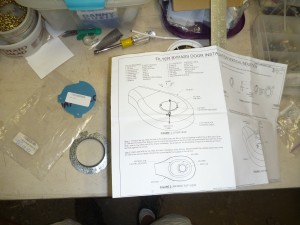
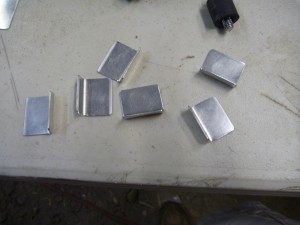
FAB Alternate Bypass Door Parts
FAB Bypass Door Parts

The folks at Pegasus Auto Racing have an adapter that will convert the 1/8″ NPT outlet of the oil pressure sender to a 37-degree flare so that I can attach a hose to it.
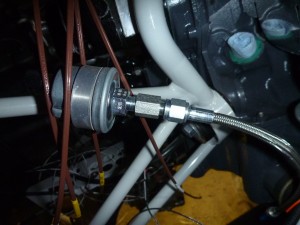
Pipe thread to flare adapter
Oil Pressure Sender Adapter

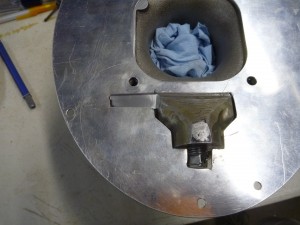
In my last version of the FAB top, I cut a big hole to clear the cast lump on the bottom of the carburetor. This made a large slot that came very close to the edge of the FAB top, which was a situation that would likely lead to a crack later on. I read that some RV builders just filed off that section of the casting and didn’t have any trouble as a result.
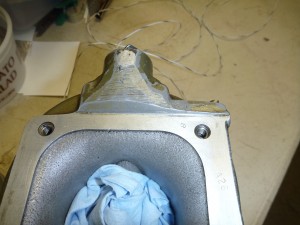
Carburetor Casting
Carburetor Casting- Note the bump just above the upper right hole.

So that’s what I did too. I used power tools to get it close, then switched to a hand file, then finally to a scotch-brite wheel in the die grinder to polish it smooth. I was especially concerned about damaging the rest of the gasket face, so I worked very carefully. I thought it turned out pretty well!
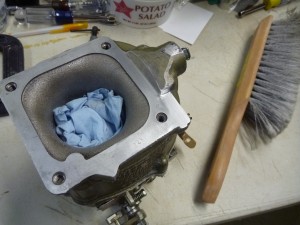
Carbuertor Casting Bump Removed

This picture of the old FAB top shows how much material I won't have to remove out of the new FAB top.
This picture of the old FAB top shows how much material I won’t have to remove out of the new FAB top.

Even though the new hole in the top is smaller than the old one, there is still a hole for the drain spout. I cut that shape into the new top as I did the last one, by drilling the corners and cutting to connect the dots with the dremel.
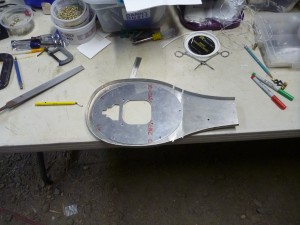
The new top with the carb drain cutout, this time with the correct orientation of the thin aluminum piece.

Next I cut the angle piece supplied by Vans into 6 1-inch pieces. These make little tabs that hold the filter in place.
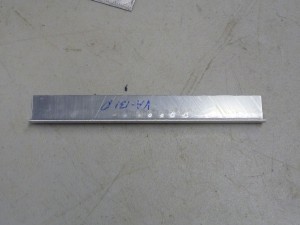
6-inch bent piece...
6-inch bent piece…

...Cut into 6 1-inch pieces.
…Cut into 6 1-inch pieces.

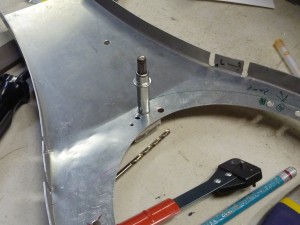
I spaced them as listed in the instructions and drilled for nutplates, using the nutplate jig.

Since I have a few bad holes in the thin aluminum to piece, I’ll try and make some adjustments to the filter retainers to help fill them.

Leave a Reply

You must be logged in to post a comment.

Navigation

  • The Most Recent Posts
  • Posts about Building
  • Posts About Flying
  • Commentary Posts
  • Bearhawk Flight Training
  • Buy Your Own Bearhawk Kit!
  • Our Bearhawkstore.com
  • Meet More Bearhawk Builders
  • Privacy Policy
© 2025 Jared and Tabitha's Bearhawk Construction Log | Powered by Superbs Personal Blog theme