Update from the Future:
April 2018- It seems that I probably should have put a fastener on the vertical section of the cowl door also, not just the horizontal section below. Here is more detail: https://bearhawk.tips/3308
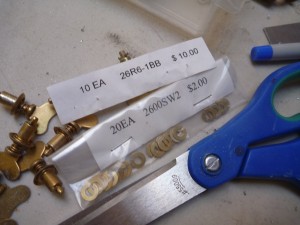
To update the parts list, the wing camlock studs are 2600-3w along the bottom, and 2600-5w going through the fiberglass flange. The retaining washers are 2600-sw2, and the receptacles are 26r6-1BB.
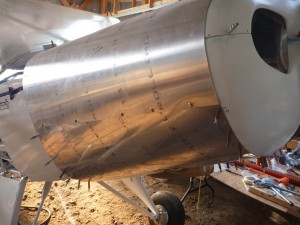
I had initially planned to only install four camlock fasteners, but upon visiting David Bice, he pointed out that the seal between the cowl door and the lower cowl could be a potential leak of cylinder cooling air. That sounded wise enough, and since the fasteners had come in a pack of 10 instead of 8, I had two extras burning a hole in my parts drawer.
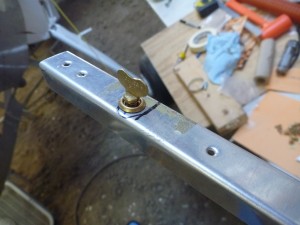
I started with a test in just the u-channel. This just required a 1/4″ hole in the aluminum to allow the body of the fastener to pass through.
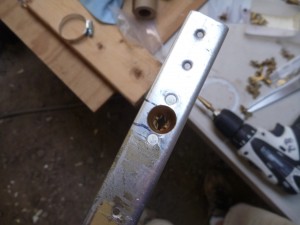
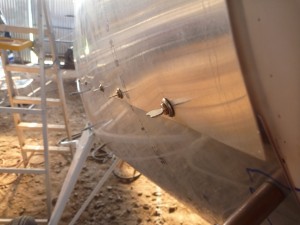
It looks like the length is just right. I used the receptacle as a drilling jig to drill the rivet holes. Then I enlarged the center hole with the step drill. All that was left was to add the rivets.
On subsequent fasteners I riveted through the channel and the cowl material, for a couple of reasons. First, if i ever need to replace one of these receptacles, I’d rather drill two rivets than the whole line that attaches the cowl sheet to the u-channel. Also, my plan to dimple the lugs on the receptacles did not work so well, so the two layers of aluminum provide a better countersink medium.
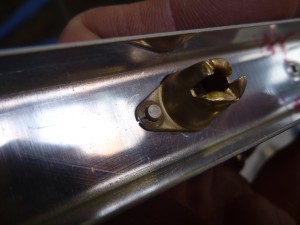
I think the crack was in part because the receptacles were pretty old. Some of them dimpled fine, but two cracked. I installed the rest, and ordered replacements for the others.
After those were done I made some aluminum backing strips for the nose bowl at the horizontal split.