Skip to content

Jared and Tabitha's Bearhawk Construction Log

The story of N805TB

Menu
  • Bearhawk Flight Training
  • Recent Posts
  • Search
  • Welcome to Our Building Log!
  • Privacy Policy
Menu

Child Labor

Posted on August 23, 2011June 29, 2012 by Jared Yates

Windshield Installation
Since today was a nice warm day in the hangar, I started working with the windshield. I took it out of the box, set it in place, and it fit just as it was supposed to. I don’t think it is going to need very much trimming at all. I did spend a while smoothing the edges, just to help prevent cracks in the long run.
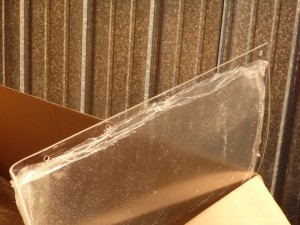
Bearhawk Windshield Holes
I peeled back enough of the protective coating around the edges to be able to drill the holes for the screws on the side posts. These holes are larger than they need to be, and each is carefully deburred. I used the special plexiglas bits and it all went exactly as advertised.

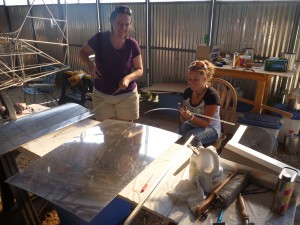
I made a few bent pieces of aluminum to add to the boot cowl just aft of the windshield. I learned that on my first exhaust pipe I didn’t leave enough room for the nut when i welded on the flange. I fixed this with the dremel, and on future cylinders I’ll use a little bit less filler metal around the holes. Tabitha’s cousin was in town, so they both came out to work for a little while.
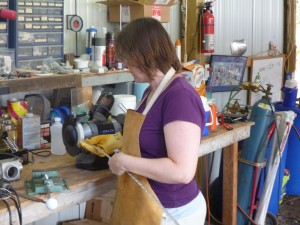
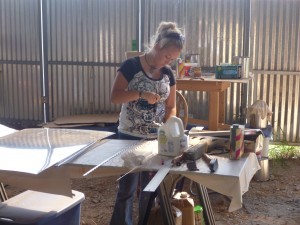
Tabitha trimmed the cowling hinge

Rebecca deburred hinge holes

Then they worked together on dimpling

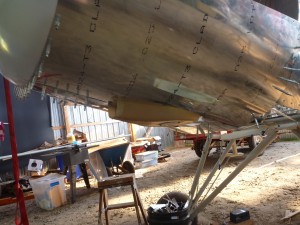
Bearhawk FAB Cowling
Here’s the final position of the FAB with the bottom cowl pieces on

It was nice to have some extra help!

Leave a Reply

You must be logged in to post a comment.

Navigation

  • The Most Recent Posts
  • Posts about Building
  • Posts About Flying
  • Commentary Posts
  • Bearhawk Flight Training
  • Buy Your Own Bearhawk Kit!
  • Our Bearhawkstore.com
  • Meet More Bearhawk Builders
  • Privacy Policy
© 2025 Jared and Tabitha's Bearhawk Construction Log | Powered by Superbs Personal Blog theme