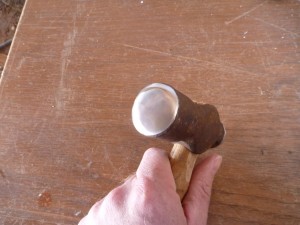
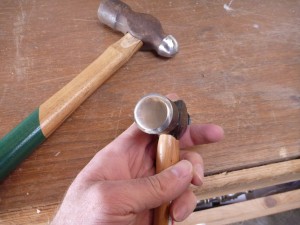
Last time I set the big rivets in one of the aileron hinges. I started out today by polishing the faces of my hammers so that I could do the same job without leaving any marks on the shop heads of the rivets. I started at the belt sander, removing enough material to get a consistently scratched face. Then I used a coarse scotch-brite wheel in the die grinder to smooth those scratches out. A medium scotch-brite wheel yielded a surface that wasn’t quite as shiny as a mirror, but certainly very nice.
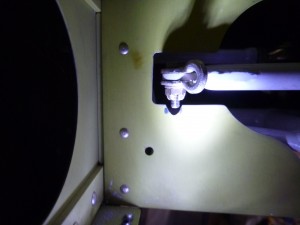
There are five of these rod joints per wing, and I finished the replacement for the ones on the left wing. I also spent a little time cleaning the dust out of the trailing edge area, which was fairly thick from me storing the wings nose-down in their cradle for a while. Next I went through the left wing systematically, checking to be sure that the right bolts were in there, and that they were torqued correctly. I found that one of the bolts on the aileron bellcrank was hitting the rib, so I removed a little material.
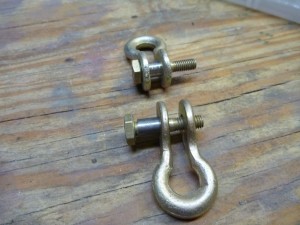
The next job for today was to make some little steel bushings for the shackles that attach the flap cables to the inboard flap torque tube arms. For extra clearance Bob calls for a #4 size shackle here, but only a 3/16″ bolt and a 3/16″ hole in the arm. This means that I’ll have to make some steel spacers to bush the 1/4″ hole in the shackle down to the 3/16″ size of the bolt.
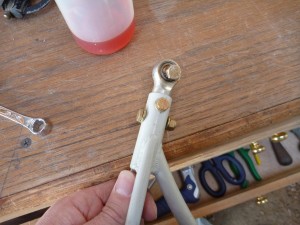
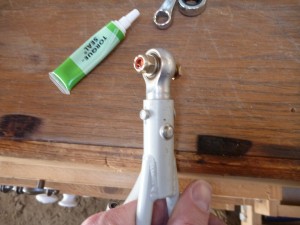
I made a few practice nicipress fittings in anticipation of making the aileron cables. I’m not really impressed with how they are turning out, so I’m going to see if I can get away with modifying my inexpensive crimping tool.
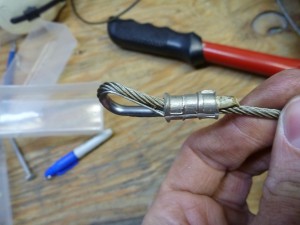
The one above is bad because I didn’t keep the thimble inside of the sleeve. Some of the others were too big to fit into the no-go gauge.