I cleaned up and primed the fuel line support that I welded on last time:
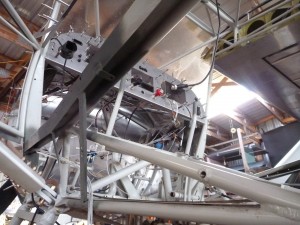
Then I made one just like it and installed it on the right. While I had the primer out I sprayed a coat on the intake scoop to see how my fiberglass work was coming along. Sometimes it’s hard to tell without a coat of paint.
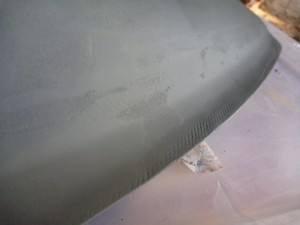
As you can see, it needs more work.
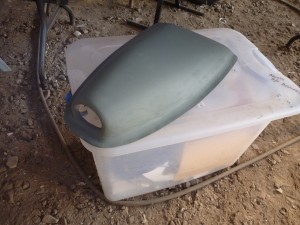
This is one of those areas where the part is certainly airworthy, but if I spend more time sanding and filling, it will look much better. Next I started working on the gas strut that will hold the forward cargo door open. The aft cargo door is held open by gravity, so it doesn’t need a strut. I found some threaded balls to use on the ends of the strut, and though the front ball will bolt onto the door sill, the rear ball will have to attach to the door frame somehow. I didn’t want to weld the ball on, since there’s no telling what kind of metal it’s made of. This seemed like a good job for brazing. Being that I haven’t ever brazed before, I tried a practice joint with some exhaust scraps.
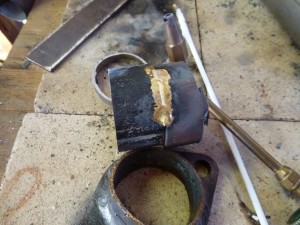
I heated both parts until they were just starting to glow, then applied the fluxed brazing rod as I would solder. It seemed pretty straight forward, so I moved right on to the real parts.
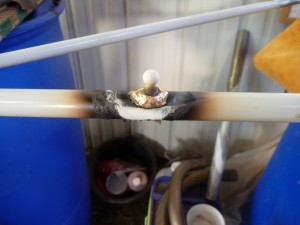
Here’s the end result:
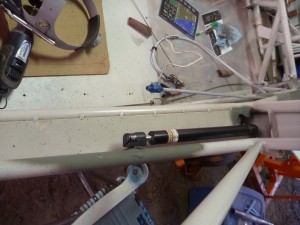
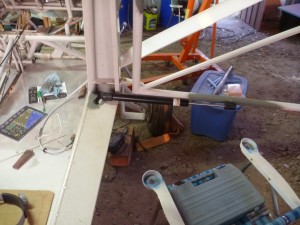
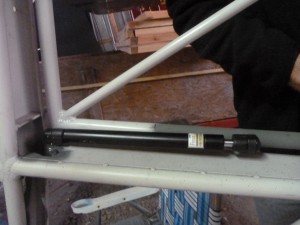
I used a 10-pound strut, which was the smallest that I could find. So far it holds the door open, but that’s without the skin or window. If it doesn’t stay open with the extra weight of those items, I’ll get a 20-pound strut instead. Both have the same external dimensions.
I’m planning to use a small section of aluminum between the skylight and the windshield. I cut the piece out of .020 sheet, and installed the GPS antenna.
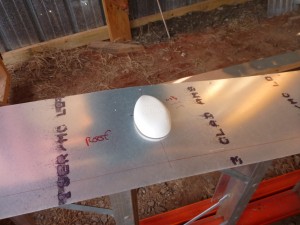
I’m planning to bend the sheet at the red line, then insert that tab into the windshield channel. The back of the aluminum piece will go over the skylight front and will be secured by the same screws that hold down the skylight.