I’ve noticed that the control sticks have a little bit of play around the fore-aft aligned bolts that they pivot on. I thought it would be worth trying to correct this, and after considering several options, the most viable seemed to be to enlarge the hole slightly and use a specially-made bolt of a larger dimension. I started by having Alan help me make the bolts. We used his lathe to turn some 5/16 bolts down to match a piloted reamer that I found on ebay.
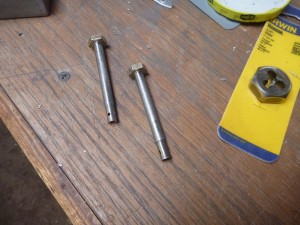
We turned the area to be threaded down to 1/4″ so that the die would work properly.
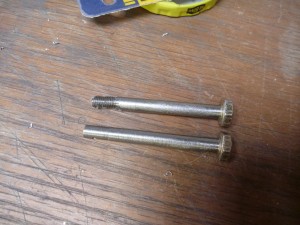
Then I used the die to cut threads onto one of the bolts. So far, this process was working really well. Next I enlarged the hole, first in the control stick mount. That went well too. Then I enlarged the hole in the control stick itself, which didn’t seem to go as well. I’m not sure if it was my reaming technique, or if it is that the hole is already larger than the reamer in some areas, but I still have some play there. It seems like an acceptable amount of play, so for now I’ll leave it alone. If it turns out to be excessive during flight testing, I suppose I could remove the sticks and weld additional material into the hole, then ream that with more precision. I also made some new skylight support strips out of 1/8″ thick aluminum. These should have plenty of rigidity. I found some 2″ wide strips, and used the table saw to rip them into narrower strips. I’m still working on getting these to work just how I’d like. I added rivets to the back of the boot cowl, using solid rivets where I could, and steel blind rivets where I couldn’t. I set the windshield in place so that I could make a mount for the glideslope antenna. I was trying to think of a good material to make the mount out of. The material would need to be non-metalic. Before I got to the point of buying something, I realized that my large pile of scrap polycarbonate had the answer. I used plastic wire ties to hold the antenna to the front of the polycarbonate mount, then slipped the back of that mount into the same channel as the windshield, up under the windshield. This served the dual-purpose role of holding the antenna in place and tightening the fit a little of the windshield in the channel. Since I didn’t stuff covering fabric in that channel, and since I’m using a thinner rather than thicker windshield, there is a little bit of extra room in there.