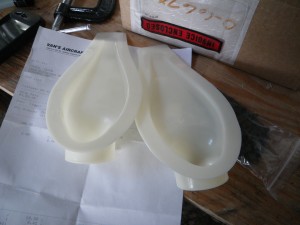
I needed to bend the new aft cable guards again, so this time I took some pictures of the process that I described earlier. Thanks again to Brad and Joel for letting me use their machinery! The weather was nice, so I put the blanks into the car that Dad was driving down to the IPJ airport. His airplane was down there getting a new engine and he was helping them get it installed. He was going to be there all day, so I rode a motorcycle down there at around lunch time so that I could borrow their brake.
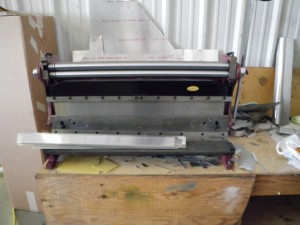
Theirs is the combination brake, shear, and roller from Northern Tool. I’d love to have one in my shop, but I probably wouldn’t use it enough to justify the cost. In fact, I’d rather have the larger version that could handle a 48″ wide sheet of aluminum, but even the cheap Chinese version is close to $1000 and 700 pounds- I definitely wouldn’t use that one enough to justify the cost! This one is very handy, but has some important limitations.

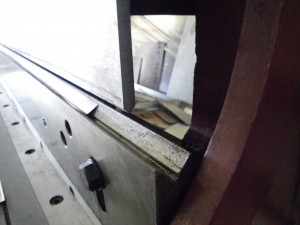
The primary limitation is that the bending dies don’t have any radius. As you can see from this picture, they are quite sharp. Since the 2024-T3 Aluminum is so hard, it tends to crack if bent under these circumstances.

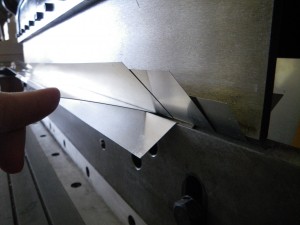
In this picture you can see the corrective action (as outlined by Bob in the early Beartracks) which is made out of some aluminum flashing. I used one piece on the bottom (just to prevent scratches from the sharp edges) and a handful of pieces on the top. If this were my own brake, I would modify the dies to have a 1/8″ radius permanently, but since it isn’t, I just use these pieces instead. The above picture actually also shows a blank in place and ready for bending. I bent the two pieces as before and enjoyed a fantastic spring ride back home. Everything is really starting to bloom and grow again, and the little two lane roads are full of lots of great yards and gardens to see.
