Skip to content

Jared and Tabitha's Bearhawk Construction Log

The story of N805TB

Menu
  • Bearhawk Flight Training
  • Recent Posts
  • Search
  • Welcome to Our Building Log!
  • Privacy Policy
Menu

Battery Bus & P-Leads

Posted on February 16, 2011November 14, 2011 by Jared Yates

Today I continued with more wiring. I finished the SD-8 ammeter wiring that I started yesterday, and made a cable for the starter:
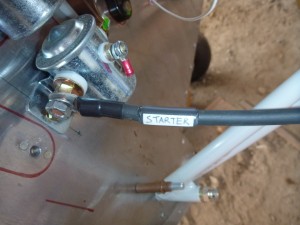
Starter Cable
This clear double-wall heat shrink will preserve the label for a while.

I found a covered fuse block to use for the battery bus. Since it is on the engine side of the firewall I was worried about an uncovered block getting dirty. The only thing I don’t like about it is that each fuse feeds separately. To fix this I bent all of the tabs on one side:
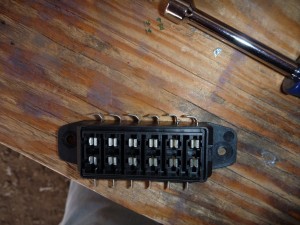
Covered Fuse Block Modification
The top row of tabs will become the feed side.

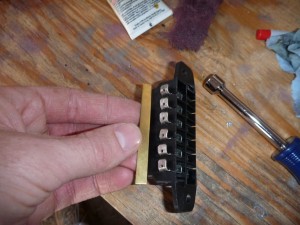
Then I cut a piece of brass into a 1/4 inch strip and rounded the corners a little:
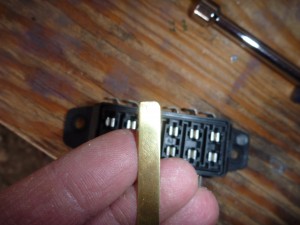
1/4" Brass Strip
This was from the same stock that I used to make the forest of tabs.

Brass Tab
The tab is just a little bit longer than the contacts.

I soldered the brass piece to the bent tabs, very carefully. I was able to get good melting without any of the plastic housing.
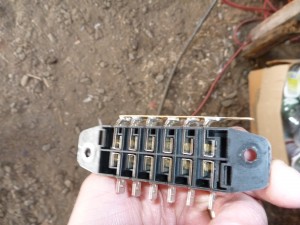
Soldered Tab
I also potted the back side of this with high-temp silicone, just to keep out contaminants and prevent shorts.

Next I started working on the P-leads for the mags. These bendix mags use a special terminal end.
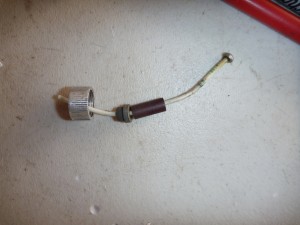
Bendix Magneto P-Lead Terminal
This is the stub of the old p-lead terminal.

New kits are available to build the p-leads, but since I have these old ones I’ll just use the parts to make mine. The far right side is a soldered end that includes a small washer. I was able to melt the solder and extract the washer from the old ends. I used shielded wire and connected the shield to a ring terminal and grounded it on one of the screws on the back of the mag housing.

I’ve also been working on the wire conduit in the wing. I cut a notch to allow entry for the Dynon magnetometer cable, but that made a weak spot in the conduit tube. I cut a piece of aluminum tube for reinforcements:
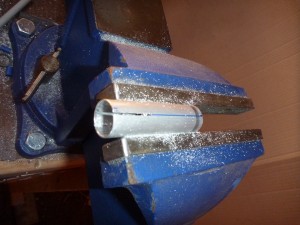
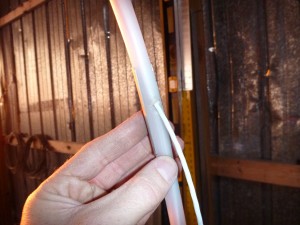
Reinforcement for Plastic Conduit
Half of this tube will make a good reinforcement. I used a reciprocating saw to make the cut, but a bandsaw would have worked well too.

Reinforcement for Plastic Conduit
I roughed up the plastic and aluminum, then attached the reinforcement with JB Weld.

I added rubber grommets to each of the holes in the wing ribs, then reinstalled the conduit.

Leave a Reply

You must be logged in to post a comment.

Navigation

  • The Most Recent Posts
  • Posts about Building
  • Posts About Flying
  • Commentary Posts
  • Bearhawk Flight Training
  • Buy Your Own Bearhawk Kit!
  • Our Bearhawkstore.com
  • Meet More Bearhawk Builders
  • Privacy Policy
© 2025 Jared and Tabitha's Bearhawk Construction Log | Powered by Superbs Personal Blog theme