Skip to content

Jared and Tabitha's Bearhawk Construction Log

The story of N805TB

Menu
  • Bearhawk Flight Training
  • Recent Posts
  • Search
  • Welcome to Our Building Log!
  • Privacy Policy
Menu

Battery Box, Tail Pieces

Posted on September 1, 2010January 12, 2011 by Jared Yates

Today I spent a little bit more time convincing myself that the tail alignment issues aren’t going to be important. I did find a minor difference between the kit and the plans when I measured the length of the tubes that hold on the horizontal stab pieces.
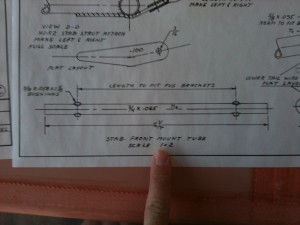
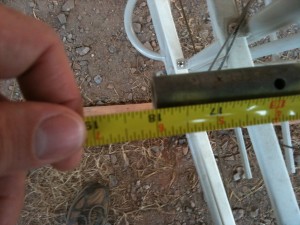
Span of the front stab tube
This is the dimension on the plans for the spanwise length of the tube that holds on the horizontal stabilizer halves.

Measuring the Tube
Here's the actual tube width.

The only potential complication from this tube being long might be with the possibility for interference with the welds inside of the stab tubes. The longer tubes would provide more support, and as Mark pointed out, the welds shouldn’t be a factor since the tail was installed correctly at the factory before the kit shipped.
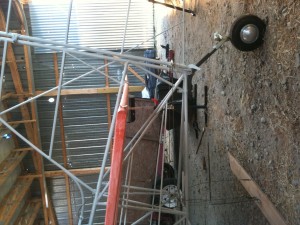
Making the elevator trim horns line up
This is what the stab halves look like if I apply pressure to make the elevator trim horns line up. Obviously that isn't the right arrangement.

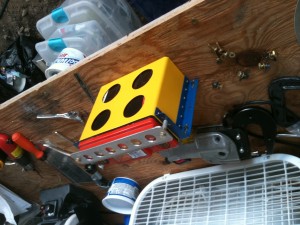
As you can read in the previous post about tail stuff, I’m not really worried about this stuff anymore. I can make everything line up except for the elevator trim horns, but they aren’t going to be moving very much or very often. Their misalignment will introduce a little bit of friction to the system, which it needs anyway. I moved on to the battery box, which was ready for assembly and installation, now that the kindergarden paint is dry. Why paint something black and black when you can paint it blue and yellow? Especially with the odyssey batteries being orange.
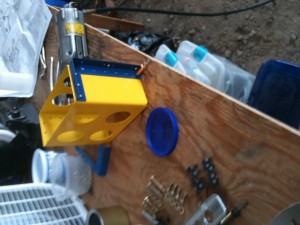
Bearhawk Battery Box
Here's the battery box, finally.

Battery box with PC680
The strap across the top does not get any paint.

I also made some progress on the flap handle change. I didn’t see any point in remaking the whole handle, since the arms and the hole reinforcements were the only parts to change.
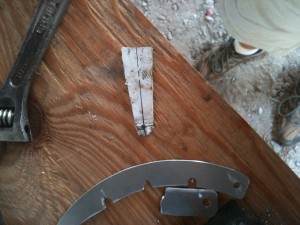
Bearhawk Flap Handle Update
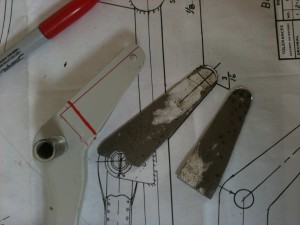
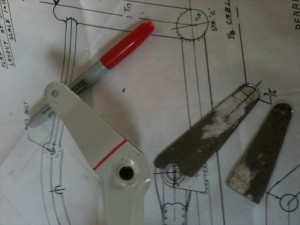
In the top of half of this picture you can see the new steel flap handle arm. In the foreground, you can see the flap handle that the kids who broke into the hangar decided to practice their dremel skills on.

Bearhawk Flap Handle Update
I made photocopies of the plans, then glued those copies to the steel plate to use as a template.

Bearhawk Flap Handle Update
After some careful positioning and measuring, I was able to mark the old flap handle with locations for where I should attach the new arm pieces.

Mark asked me to keep up with how much time I spent working on the flap handle, so I took lots of detailed pictures. Since those pictures are gone, I won’t be able to know an accurate elapsed time, but the time would probably vary considerably depending on tool availability. Having access to a metal-cutting bandsaw would have expedited these steps by at least an hour.

Leave a Reply

You must be logged in to post a comment.

Navigation

  • The Most Recent Posts
  • Posts about Building
  • Posts About Flying
  • Commentary Posts
  • Bearhawk Flight Training
  • Buy Your Own Bearhawk Kit!
  • Our Bearhawkstore.com
  • Meet More Bearhawk Builders
  • Privacy Policy
© 2025 Jared and Tabitha's Bearhawk Construction Log | Powered by Superbs Personal Blog theme