I noticed that the turnbuckles that come in the Wicks hardware kit (or at least, the ones that came in ours) are all the same. They have a pin eye on one end and a cable eye on the other.
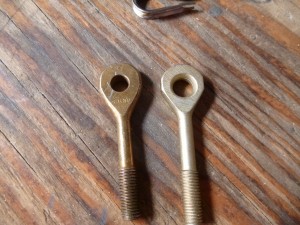
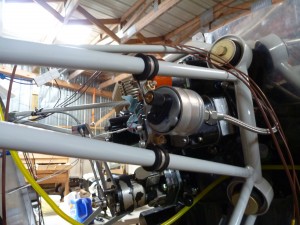
In all but one of the cases on this airplane, that’s exactly what is needed. The exception is in the aft aileron cable, since the turnbuckle there joins two cables. It may be possible to use the turnbuckle as provided if I were to put it on one end of the cable, and then build a continuous cable all the way across the airplane to the other wing. This would be terribly inconvenient when taking the wings off though. Instead I ordered a replacement cable eye, so that now the turnbuckle has a cable eye on both ends. I also ordered a second -23 adel clamp for the oil pressure sender, so that I can attach it to two engine mount tubes. This seems much more secure than one.
I also rerouted my carburetor heat cable and removed the mixture cable. I had both of these exiting the firewall down low in the middle. The problem with that location is that there is a very short straight stretch between the firewall and the respective control.
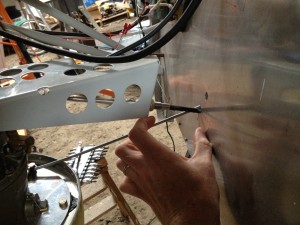
Since the engine moves around in its shock mounts, this is going to transfer all of that motion to a short length of cable. The solution is to route the cables so that they exit the firewall about a foot higher, then form a nice sweeping bend down to the forward end. This is easy for the carb heat, but not so easy for the mixture. I’m going to need to swap my threaded end cable for a plain end cable so that I can have more clearance between the control and the firewall. I’ve also decided to remake the fuel lines again, in hopes of getting a better end result. I started with installing the lower right fuel line, which I’ll not need to remake. Our new baby finally came about a week ago, so my hangar time has been a little bit sparse!