I found a great deal on a set of seatbelts on eBay. These are military surplus Amsafe units that were stocked by the military for off road vehicles. These are almost the same as the ones that I use in airliners, with the only difference being that these don’t have a release option for the shoulder harnesses only. The buckles are 5-point, but the eBay auction only included the parts for the 4-points. I’ll have to buy a few extra parts to make these work just as I’d like, but hopefully in the end it will mean a significant cost savings over the other options, and a much nicer finished product. I started with the front seats. When I bolted in the lap belt and buckled it up, this is how much slack was left over:
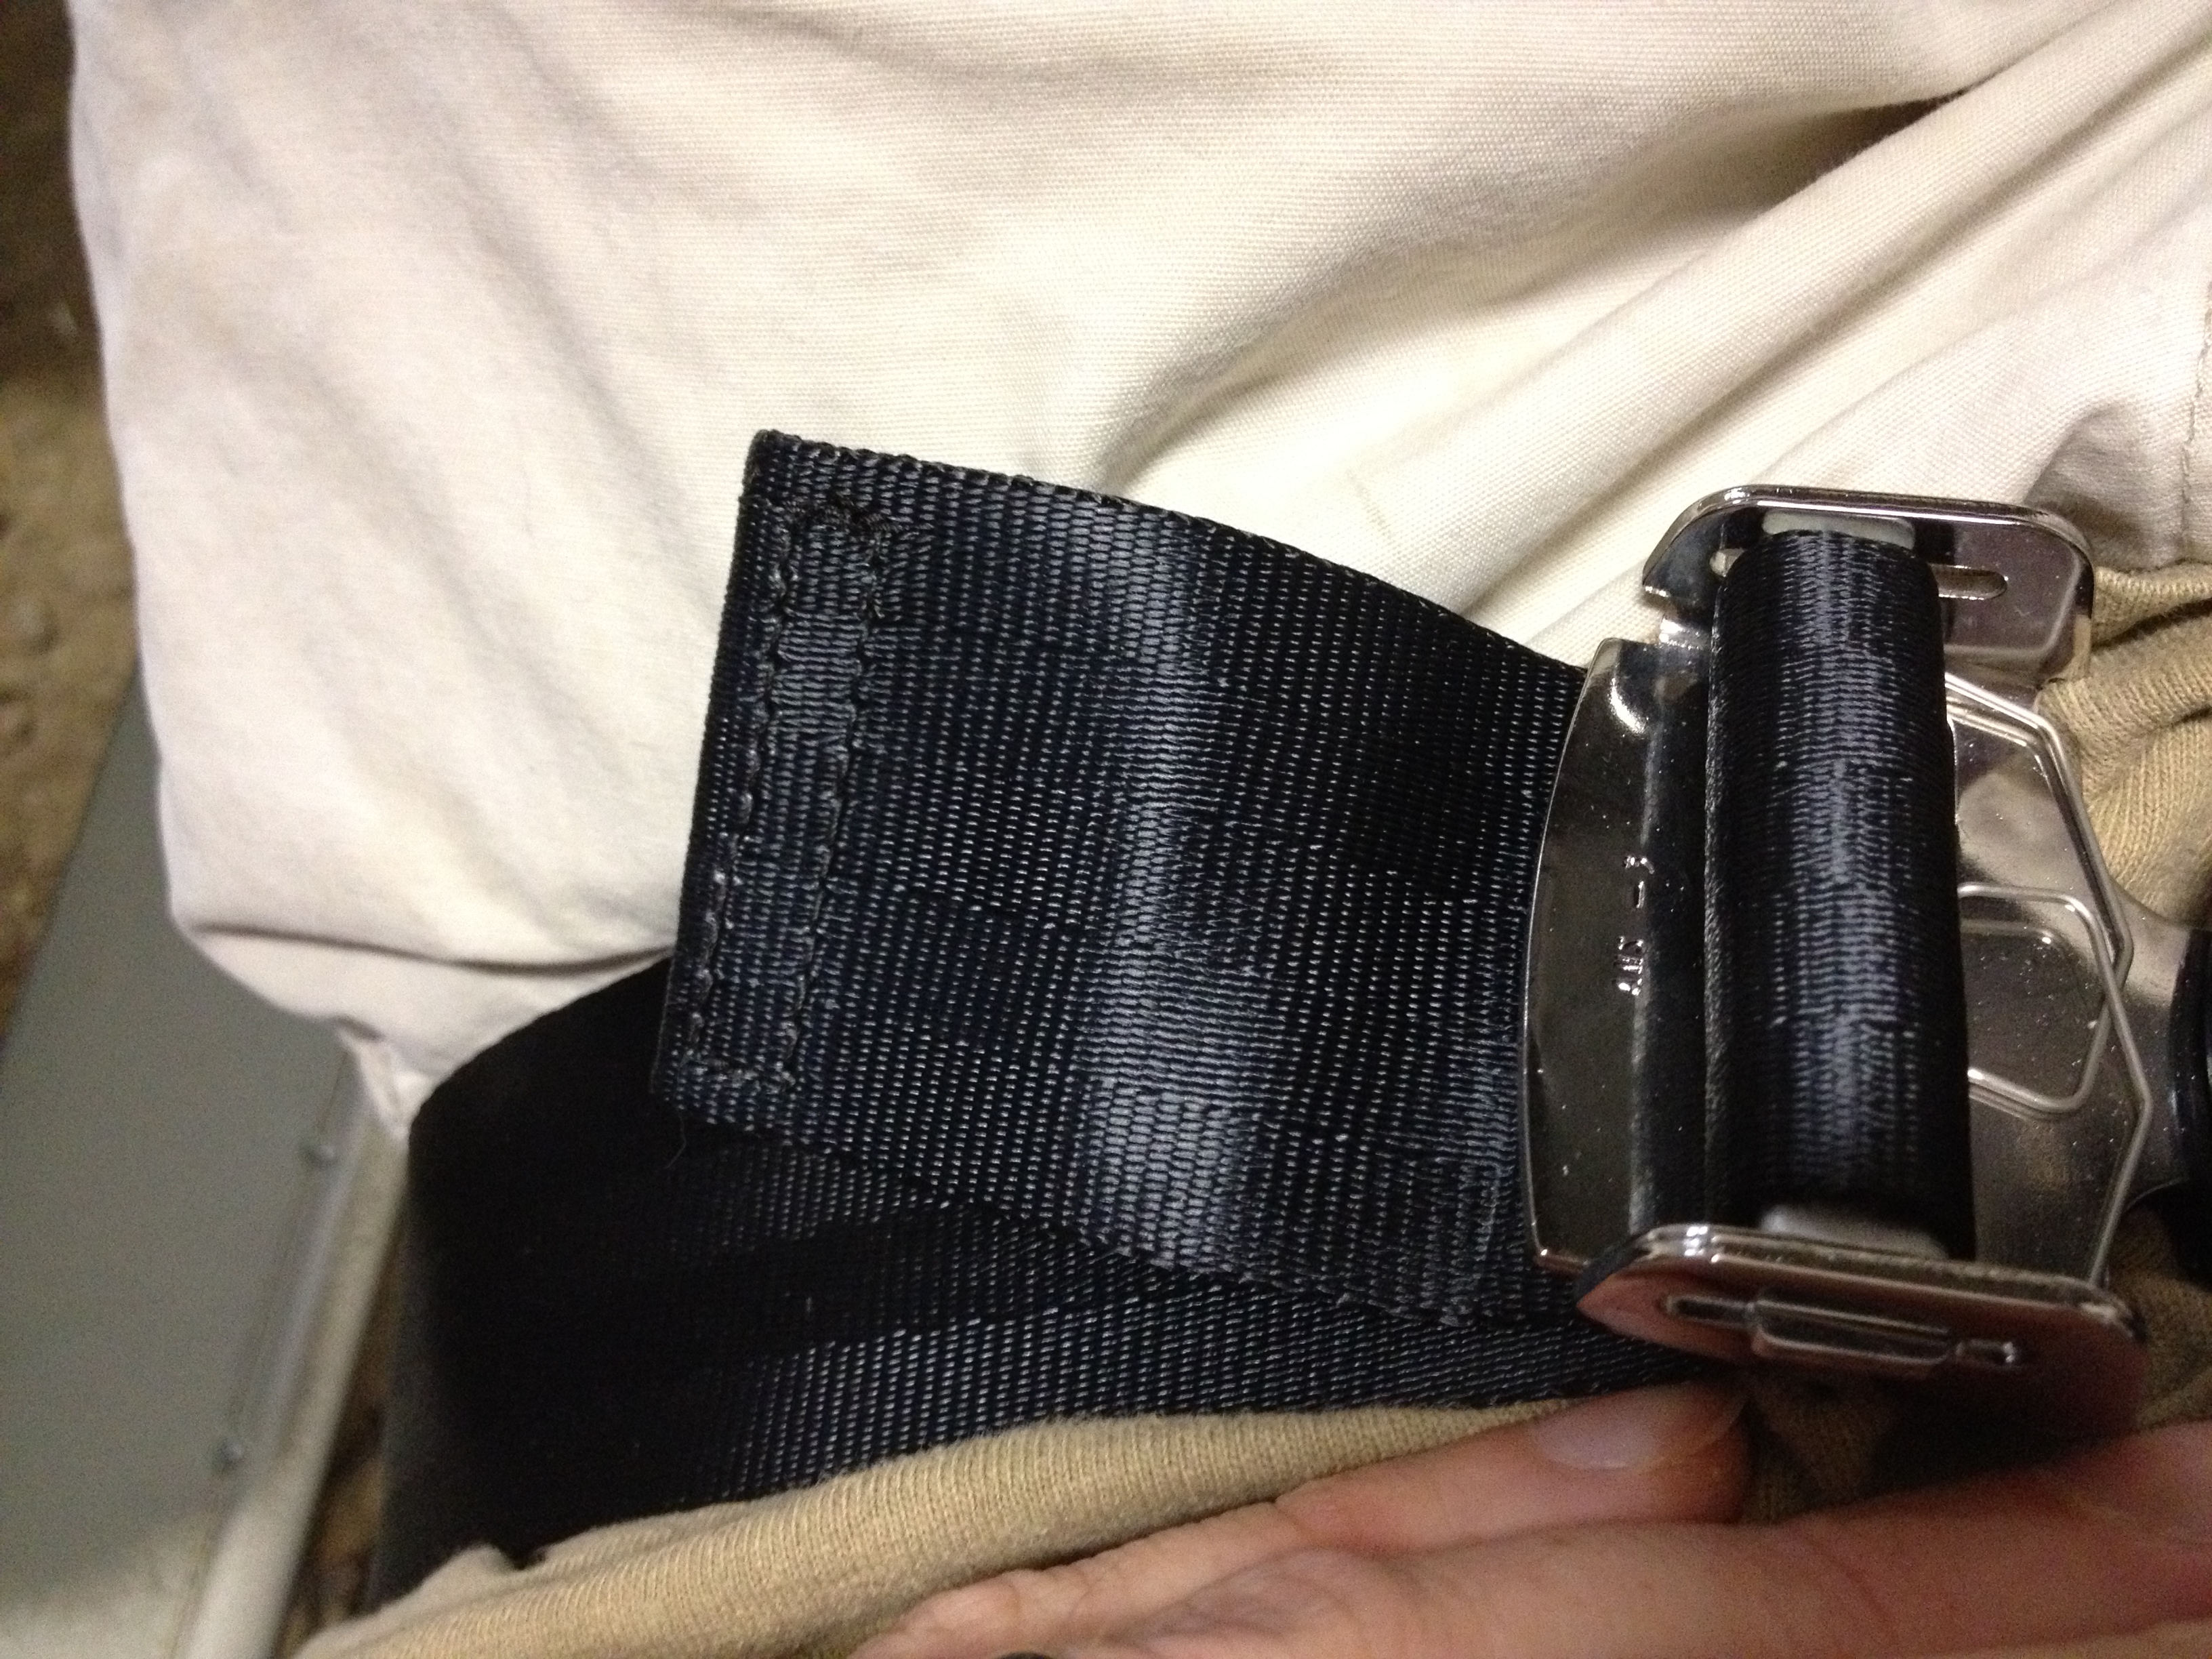
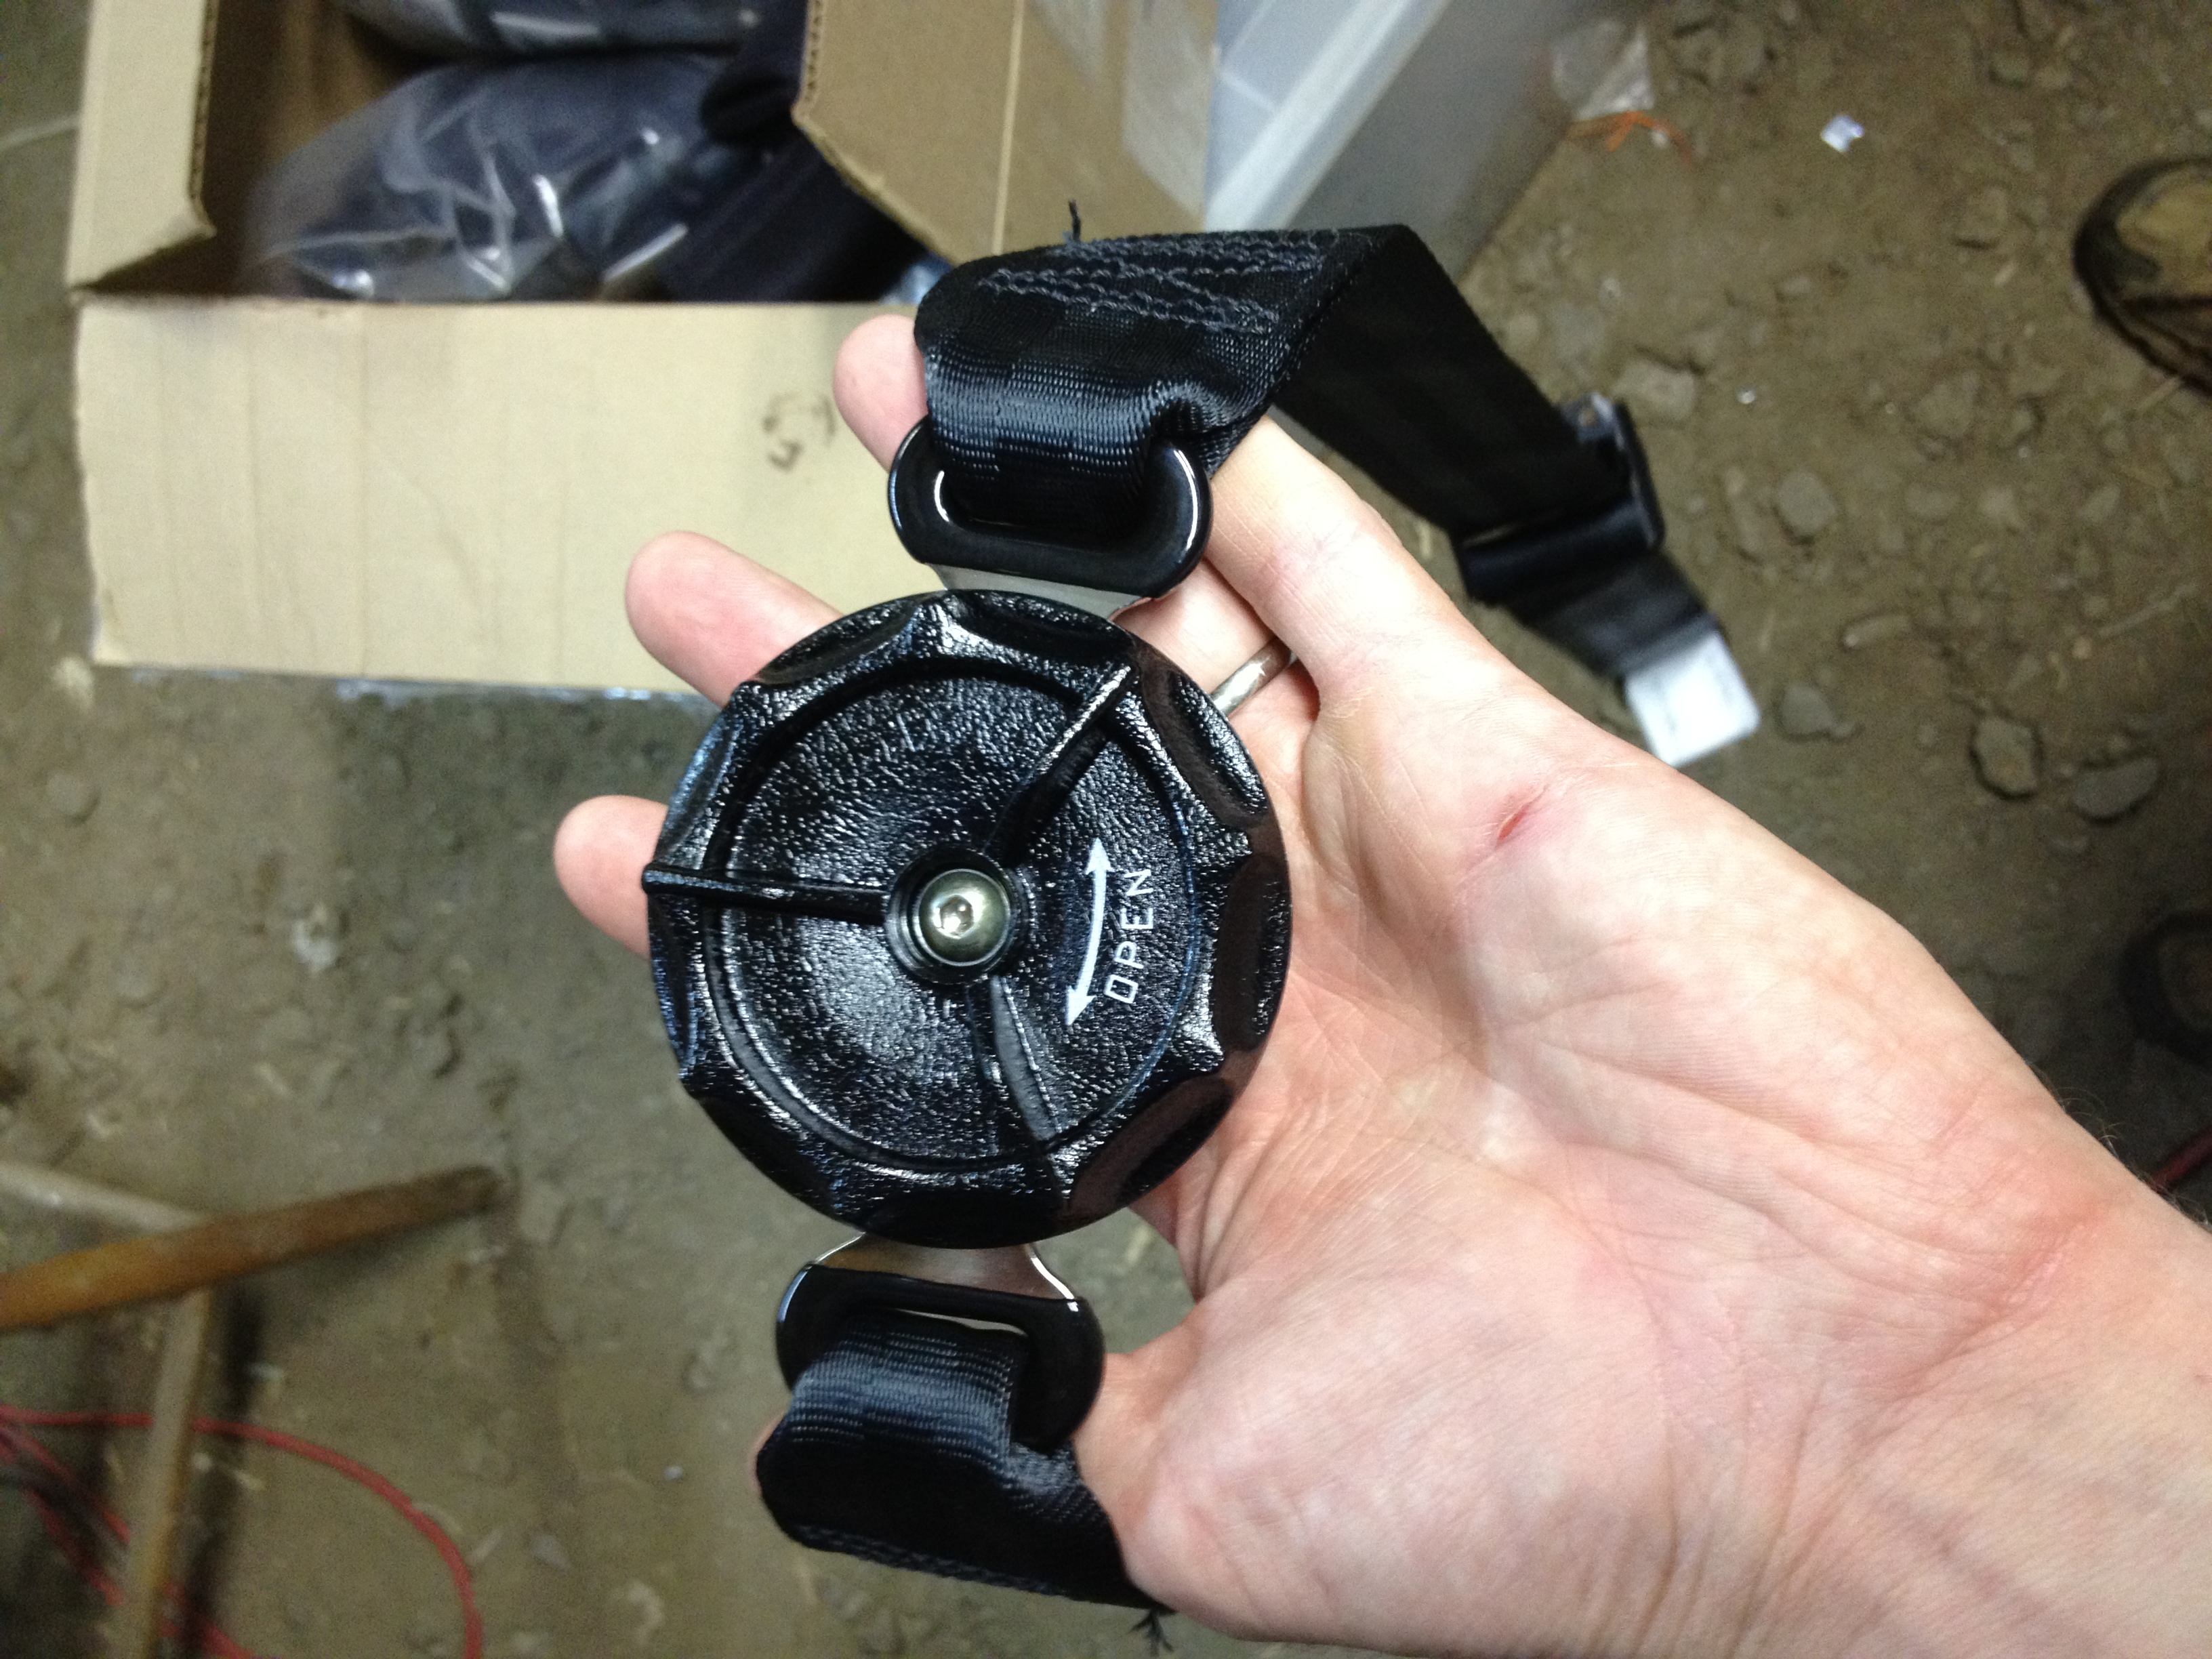
Obviously that’s not enough. While I’m not as skinny as I used to be, I’m still fairly skinny by comparison, so we’ll need more adjustment here. The solution is to put the shoulder harnesses in as lap belts, since I’ll be replacing the front shoulder harnesses with inertia reels anyway. The only problem with that plan is that the left lap belt is permanently attached to the buckle. This seemed like something that I could overcome, so I started taking the buckle apart.


To get the buckle out, I loosened the 6 torx bolts, then pressed down on the latch from above. Then I put the shoulder harness buckle in instead:
Now I just need to round up a few more buckles and some inertia reels.
As I mentioned in a previous entry, the threaded-end mixture cable that I was planning to use wasn’t going to work. I was able to trade with a local EAA Chapter member for a bare-wire mixture cable, so I put it in today to make sure it was going to work. I also got a good deal on a pair of aluminum eyeballs, though they were 1/8″ holes. I enlarged the holes to fit the mixture and throttle cables.
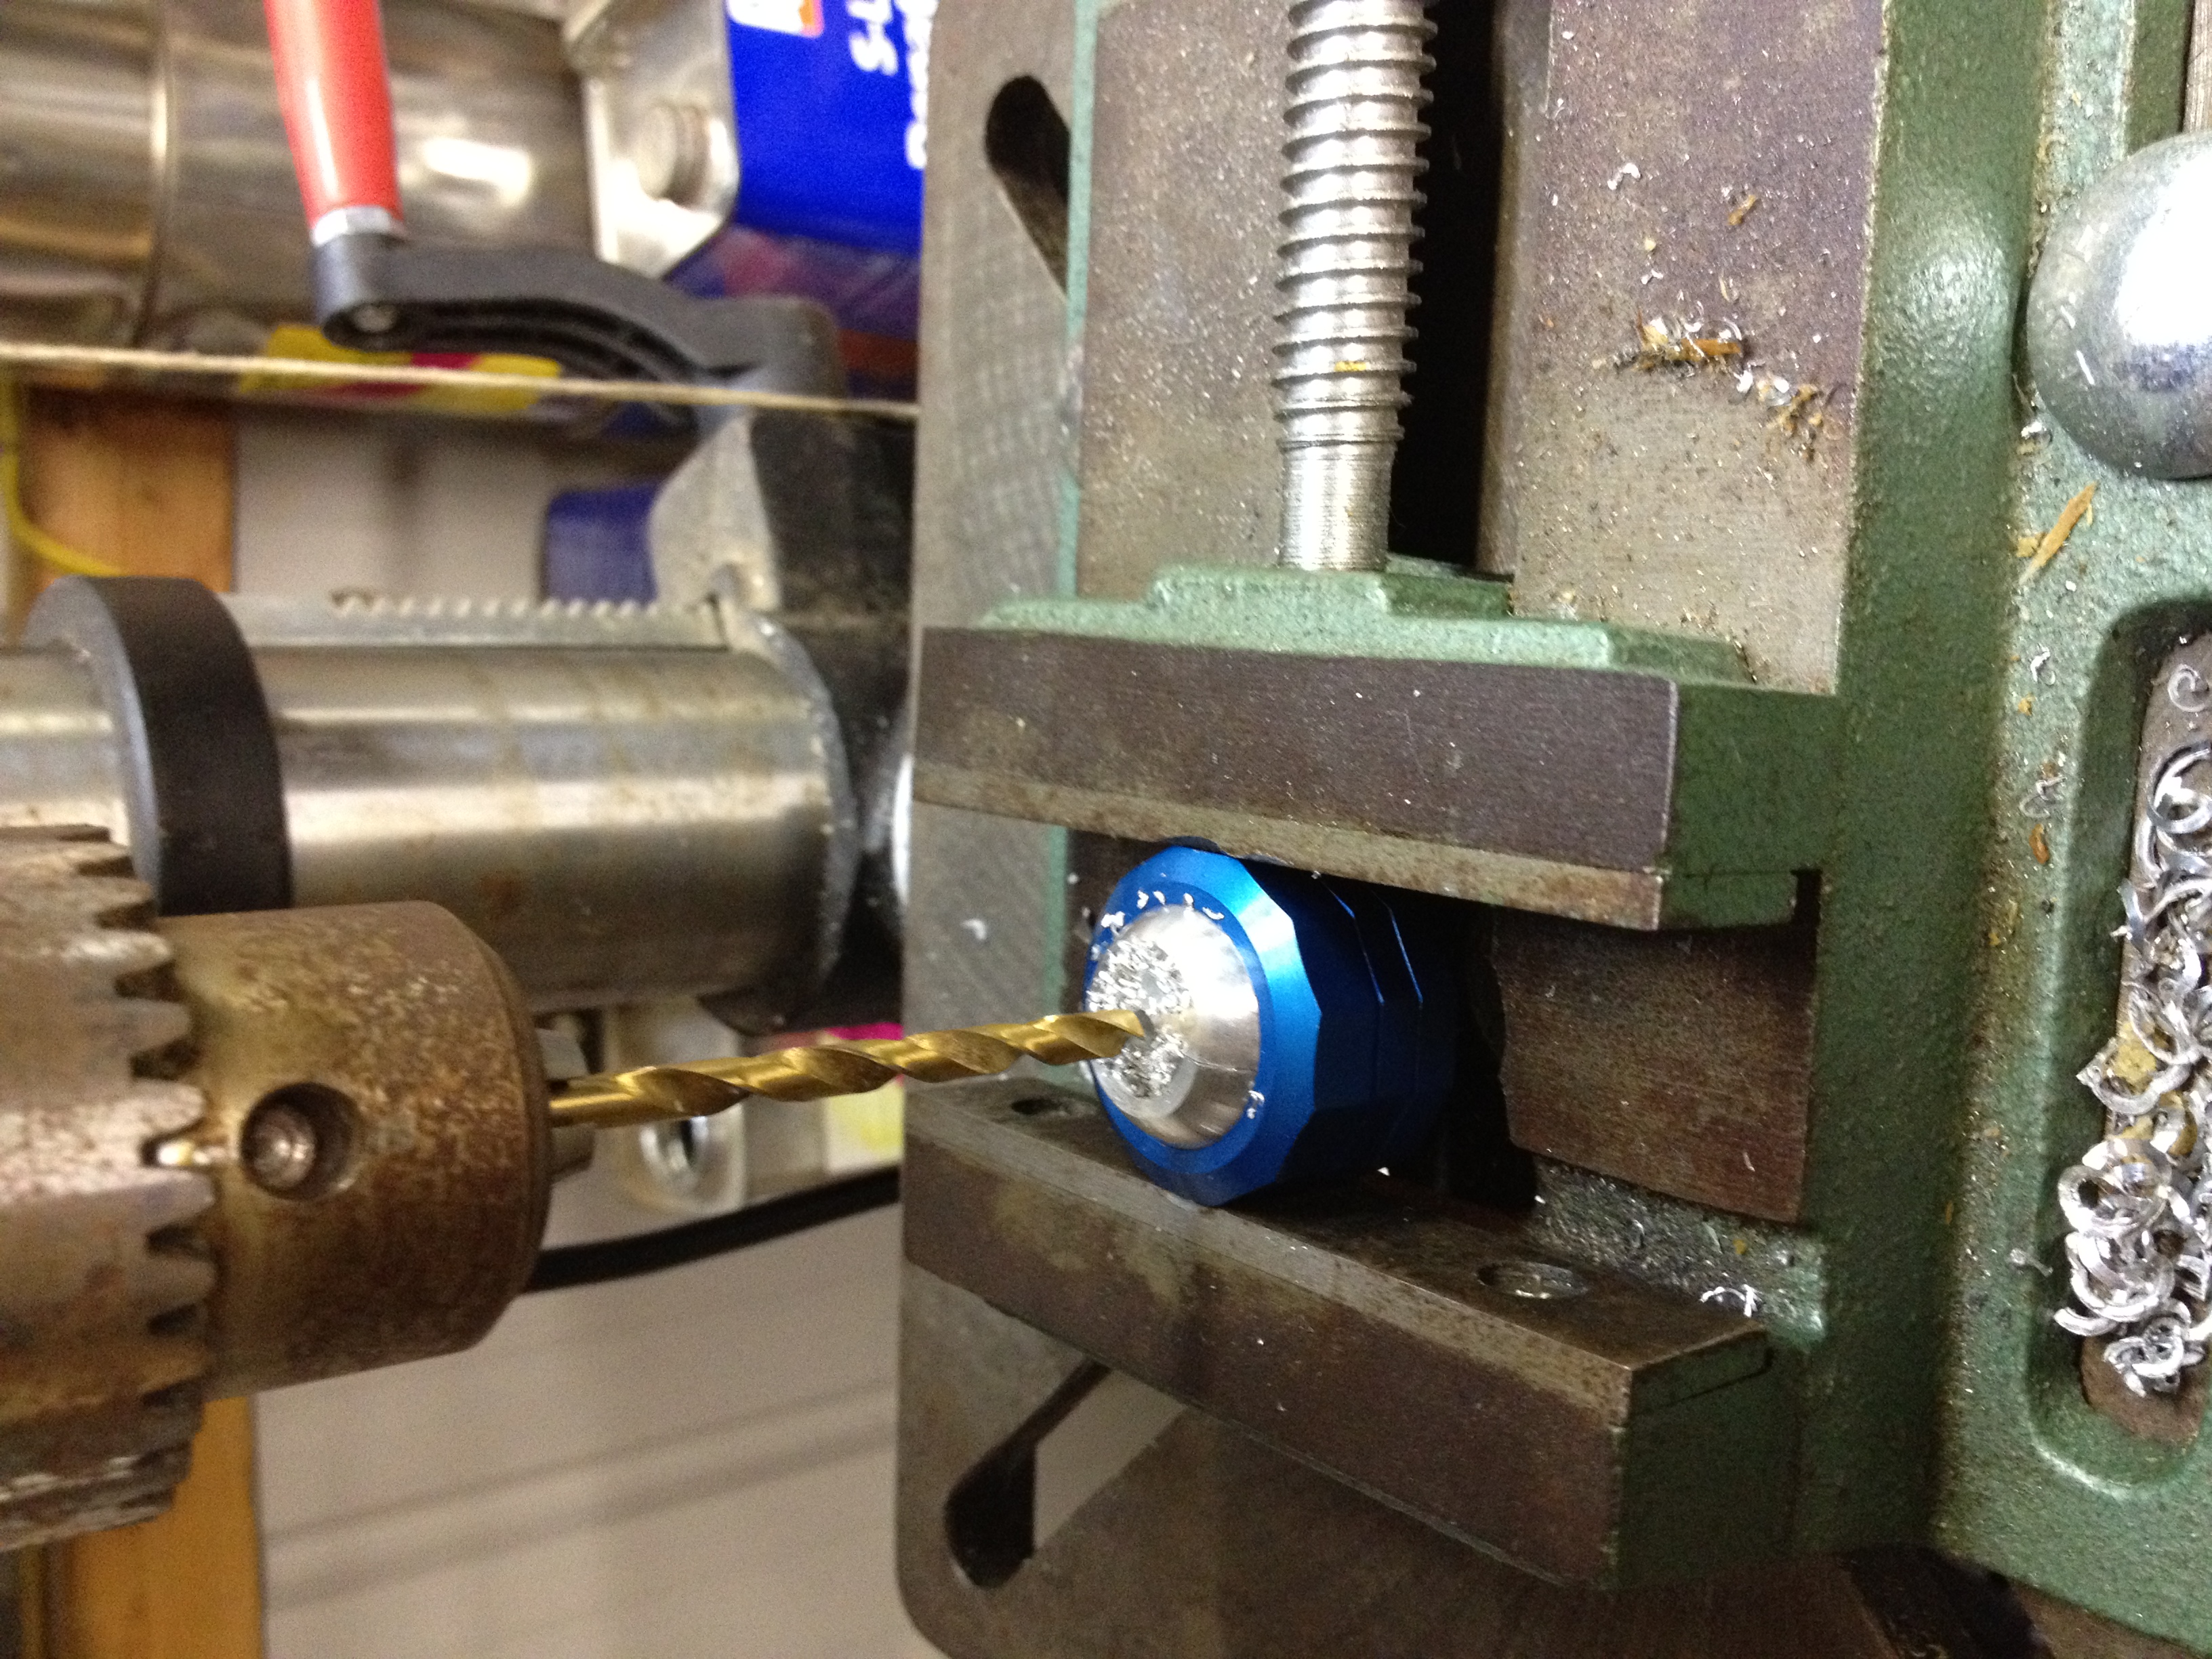
I used a letter B bit for the final hole.

While I was there I did a few other minor things, including a preliminary check of the landing gear alignment and installation of the quick release pins for the back seat.