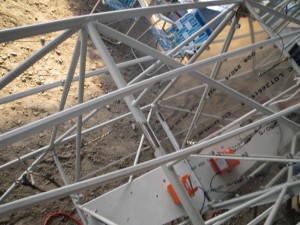
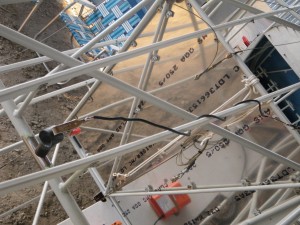
It’s been a while since the last building entry, but I’ve been out of town more than usual. I just got back from Sun-N-Fun with a new list of ideas and a few new parts.
One of my SNF finds was these LED position lights. If I didn’t already have the aeroflash lights, I would have probably gone with a different setup, but since I do, I wanted to find some LEDs to replace the four incandescent bulbs. I had seen these before in the Aircraft Spruce catalog, and the guy who sells them to Spruce had a booth at the show. His price was a little better, so I got a set.
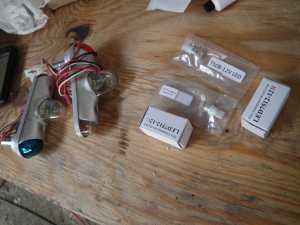
I took the cover off of the nav lights and took this picture.


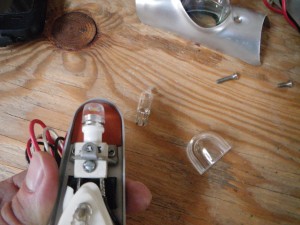
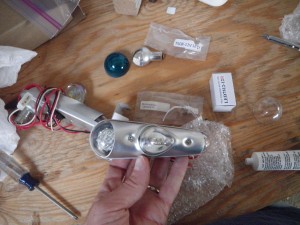
On the red side I found that the gasket wasn’t properly installed you can see what I mean at the pointy end of the strobe insulator.
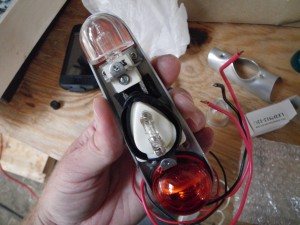
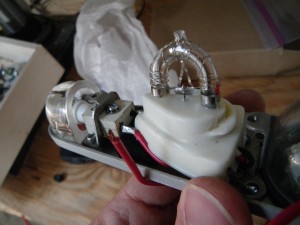
When I put it all back together I put the gasket on correctly and also made sure that the white insulator was correct. I wonder if it came from the factory this way.
I realized that I should probably take some documentation pictures of the engine and accessories, because I always find myself with questions when I’m away from home.
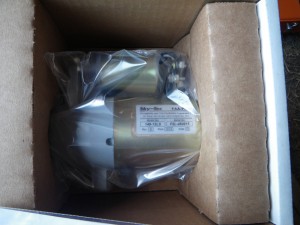
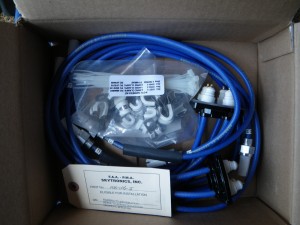

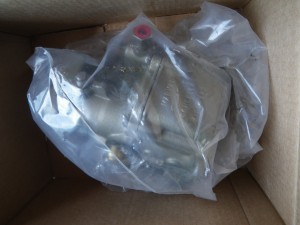
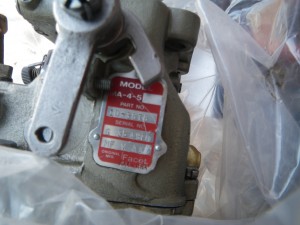
I also found a baffle kit for sale second hand. This one wasn’t related to sun-n-fun, but I hadn’t had a chance to go through the kit to make sure that it was complete.

To change gears again, I finally had enough lead to fill the aileron balance tube. I ran safety wire from the corner of the bench to the tube, then leaned the tube slightly down and to the right as shown in this picture.

This is a 1″ tube, which is larger than the 3/4″ tube originally designed in the plans. The diameter change is to improve the aileron if I recall correctly- it doesn’t really matter, since my ailerons have a 1″ hole in them. Back with the old 3/4″ tube, builders had to fill the entire tube with lead in order to get the required 5.5 pounds. I’m glad that another builder pointed out that the 1″ tube definitely does not need to be full. Without this tip I might have not thought about that until it was full of lead. I started to wonder if this uneven weight distribution would be a problem. I asked Bob, and he said to just leave the tube at it’s full length so that it will have more attachment points, and not worry about it. I’ll probably have to drill some of the lead out to actually balance the aileron. If I leave the 1″ hole open during covering, I will still be able to get a long drill bit into the lead. I can make small covers to pop-rivet over the 1″ holes when that is done. This will also come in handy if I need to recover the aileron later.
While I had the torch out, I figured I would also weld a cap onto each of the control sticks. This will make it much easier to mount a push to talk switch on the top. In this picture I’ve cleaned the paint off in preparation for welding.

