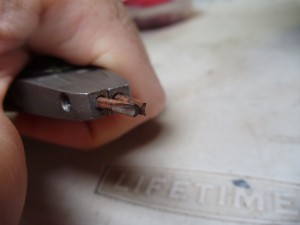
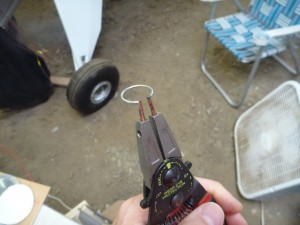
I started re-installing the control cables today, and after a little bit of trying it became obvious that I was going to need to be able to get the fairlead clips on with the limited access that I had in the fuselage. I came up with the idea of modifying my snap ring pliers so that I could apply a spreading force to the fairlead clip. I installed the removable ends in backwards, as to not damage the end intended for snap rings. I used the bench grinder to flatten the sides, then used the Dremel cut off wheel to cut a little groove into each one.
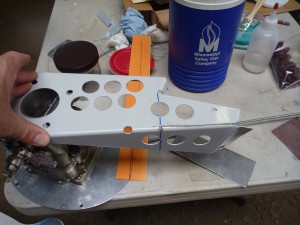
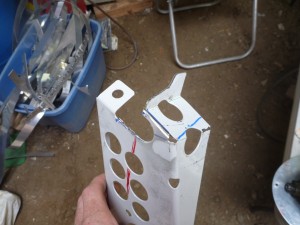
I used these, along with a few other tools to re-install the forward part of the flap cable, the elevator cables, and rudder cables. I reinstalled the two triple pulley arrays and torqued their bolts appropriately. While I had the torque wrench out, I also put the ends back onto the right wing strut. On the forward side of the firewall, I started making preparations for the exhaust work. The plate that I was using to support the mixture and throttle was designed to work with a mixture control that has a ball on the end. Since I have made plans to use a mixture with a solid wire end, I don’t really need for the bracket to stick so far aft. This is especially true since the long bracket causes the mixture cable to bend in an unnecessarily tight radius. I started by bending the original mounting flange out of the way. Then I used some poster board to come up with an alternative arrangement. I transferred marks to the bracket and used the reciprocating saw to cut the upper left corner of the bracket off.

Then I bent the side around to form a new flange.
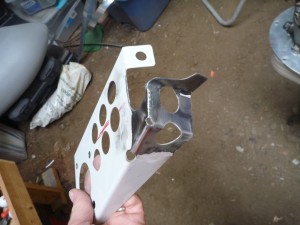
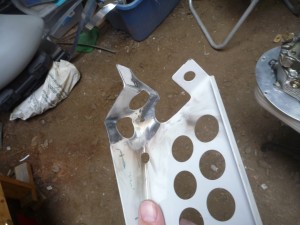
I did a little bit more trimming and grinding to make a tab for the new cable.
Then I cleaned the paint off and welded a new bead on the back.
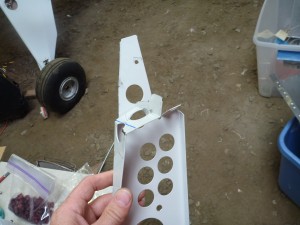
Then I cleaned the area and painted it. I installed the carburetor, and used a gasket on either side of the bracket. I installed the airbox and the ignition harness, and connected the throttle and mixture. I added cotter pins to the main landing gear bolts, except for the top of the shock struts. Those will need to be adjusted when I get everything put together, so in the mean time I ran orange lacing cord through the area where the pin will go, just so that the lack of a pin will be that much more obvious.