Previously I wrote about building the paint booth, but today I added the airflow system. There was an old furnace under our house that had a nice big blower. I spent some time under there with the reciprocating saw and extracted it for the paint booth.

A couple of 2×4 scraps and a stub of electrical wire brought it back to life.

My plan is to use that blower to pull air out of the booth, and this large stand fan to force air in.

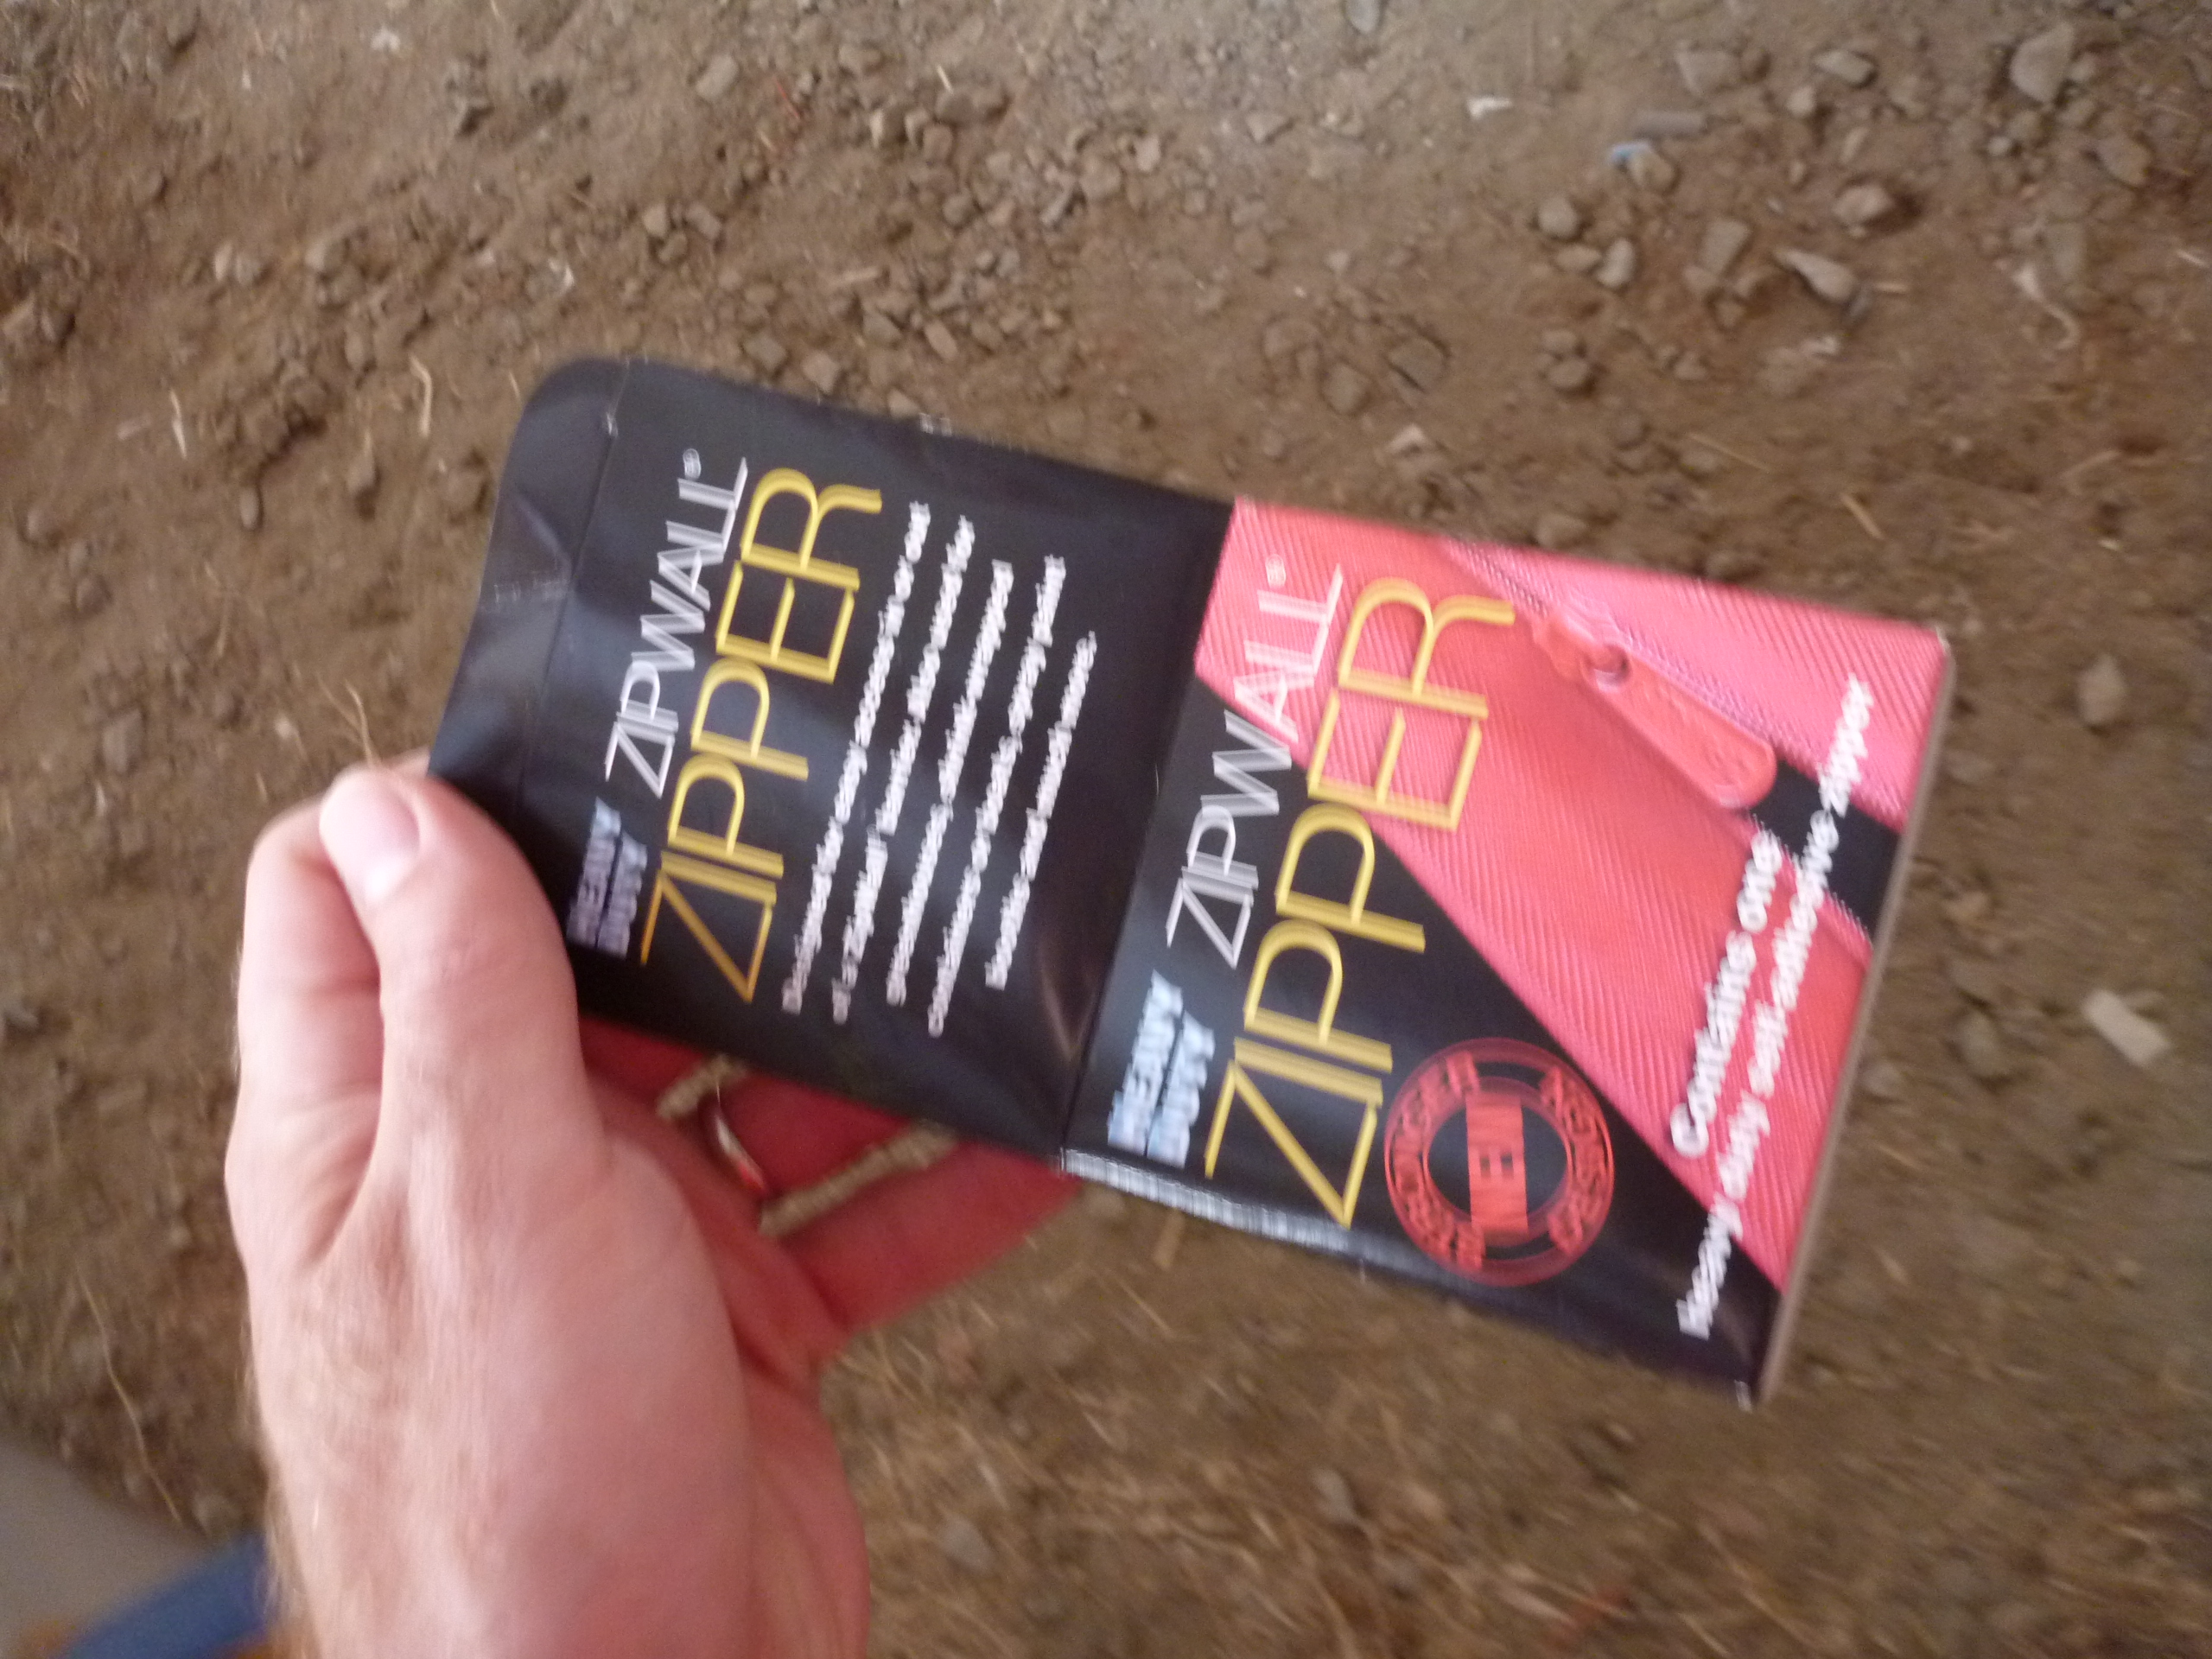
The airflow was pretty good with having the fan just pointed at the filters, so I didn’t bother with anything else. I stopped by the Sherwin Williams store to pick up some paint can lids with pour spouts (nobody else seems to have them) and looked in the clearance corner. They had this nifty stick-on zipper for $10, which seemed worth a try.

The hole in the end won’t be big enough to get the large pieces like the wings and fuselage in, those movements will be fairly infrequent. Next I marked the lines and precoated for tapes on the top of the fuselage.

It’s not easy to mark a line parallel to a curving stringer! Fortunately accuracy isn’t super critical for these lines.