Skip to content

Jared and Tabitha's Bearhawk Construction Log

The story of N805TB

Menu
  • Bearhawk Flight Training
  • Recent Posts
  • Search
  • Welcome to Our Building Log!
  • Privacy Policy
Menu

Sanding Filler

Posted on October 19, 2011July 8, 2012 by Jared Yates

I started today by sanding the filler from yesterday. This fiberglass work is a lot like drywall- one layer at a time makes it smooth in the end. While we were at the picnic I asked Bob about how he makes the mating surface of the exhaust flanges flat. He said he uses the belt sander, so I tried the same. It worked very well, though I did have to take a few breaks to let things cool.
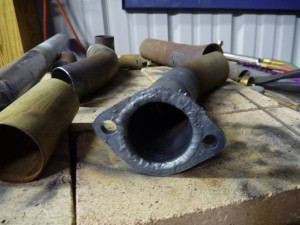
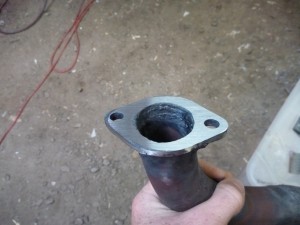
EMT Conduit exhaust pipe
Exhaust Pipe Flange After Welding

Exhaust Flange After Sanding

I tacked on the flange for the number 3 pipe:
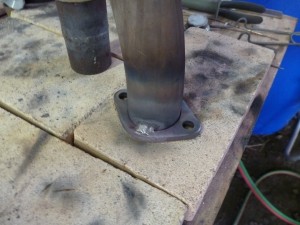
Number 3 Exhaust Flange Tack

And then continued with headrest lightening holes. I used the step drill to make 3/4″ holes for the punch bolt:
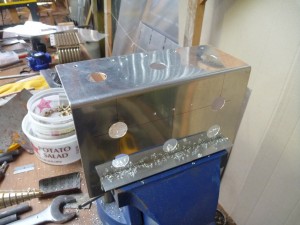
Pilot Holes for Conduit Punch

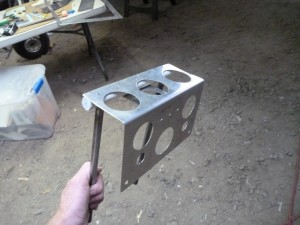
I thought that the finished product turned out fairly well:
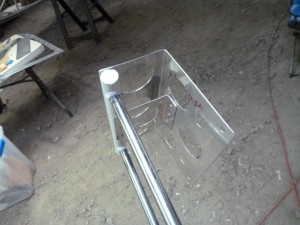
Finished Headrest Frame

Finished Headrest Again

I spent a few more hours working on more exhaust pipes and making more pilot lightening holes in the other headrest parts.

Leave a Reply

You must be logged in to post a comment.

Navigation

  • The Most Recent Posts
  • Posts about Building
  • Posts About Flying
  • Commentary Posts
  • Bearhawk Flight Training
  • Buy Your Own Bearhawk Kit!
  • Our Bearhawkstore.com
  • Meet More Bearhawk Builders
  • Privacy Policy
© 2025 Jared and Tabitha's Bearhawk Construction Log | Powered by Superbs Personal Blog theme