Skip to content

Jared and Tabitha's Bearhawk Construction Log

The story of N805TB

Menu
  • Bearhawk Flight Training
  • Recent Posts
  • Search
  • Welcome to Our Building Log!
  • Privacy Policy
Menu

Right Aileron Covering

Posted on August 9, 2011June 29, 2012 by Jared Yates

Right Aileron Covering
Today was a good covering day, so that’s what I did. The first step, as with the other primed control surfaces, was to wet-sand the outer surfaces to smooth the paint. Then I carefully cleaned off two years (at least) worth of dust and spider webs.
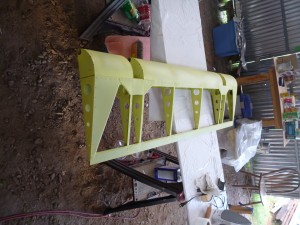
Clean Aileron
Clean Aileron

Next I applied reinforcing tape to the rivet heads, and precoated the leading edge skin with a layer of polybrush.
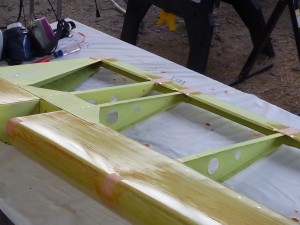
Reinforcing Tape and LE precoat

Then I adhered the fabric and shrank it, eventually to 350 degrees.
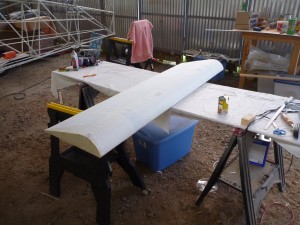
Shrunk Fabric
Shrunk Fabric

Then I brushed the first coat of polybrush.
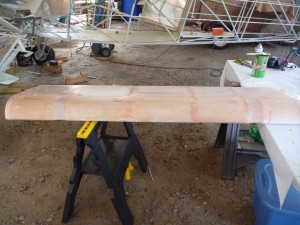
First coat of Polybrush

That was all the time that I had today, so tomorrow I’ll pick up with the stitching and taping. It seems like one control surface is almost a day’s worth of work now that I’ve done a few.

Leave a Reply

You must be logged in to post a comment.

Navigation

  • The Most Recent Posts
  • Posts about Building
  • Posts About Flying
  • Commentary Posts
  • Bearhawk Flight Training
  • Buy Your Own Bearhawk Kit!
  • Our Bearhawkstore.com
  • Meet More Bearhawk Builders
  • Privacy Policy
© 2025 Jared and Tabitha's Bearhawk Construction Log | Powered by Superbs Personal Blog theme