I was able to get some good working time in today. The two areas of interest were the wingtip and the seats.
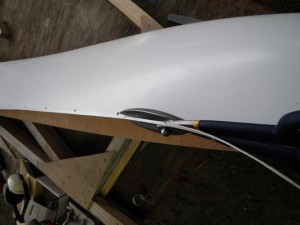
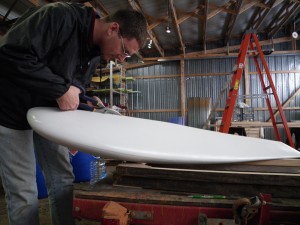
Back when I was at Bob’s this fall, I noticed that the fiberglass wingtips on his new Patrol LSA prototype were really smooth, with no waves between the rivets. I asked him how he did that, and he said that he put a protective piece of wood on the trailing edge (where the aileron would go) and used a ratchet strap to pull the wingtip tightly aft and down to the wing. Today since I was finished with the underlying AL support strip, I got out the ratchet strap and did some drilling.

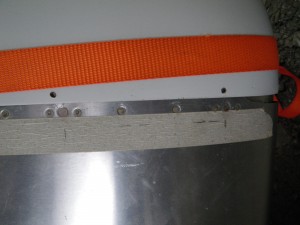
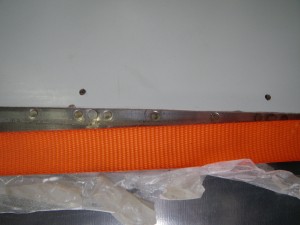
I’ll have to say that the ratchet strap did make a big difference, which was cumulative as I worked my way aft. There was probably a half-inch difference at the aft section. This is certainly better, but I’m still not all that pleased with the finished product. It still has some waviness.
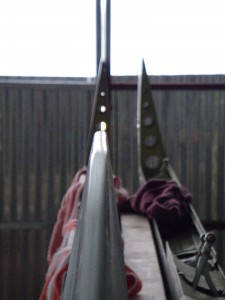
Before I did any drilling, I wanted to make sure that the trailing edge of the wingtip was going to be parallel with the trailing edge of the rest of the wing. After all, if it was tilted, it would be acting like a miniature aileron all of the time. Since I’m trying for a flush mount, I had to trim the inboard side of the top of the wingtip so that the trailing edge would line up while the edges were flush with the skin.
After it started to get too cold to work in the hangar, I went back home to check on my chemistry project. I was wanting to weld some nuts onto the seat backs that would accept thumb screws. These thumb screws would hold the headrests in place, though for now the headrests are pretty snug as it is. I was worried about welding the zinc plated nuts and having zinc fumes, so I did some Googling. It turns out that zinc is very reactive and will dissolve in just about any acid. Steel also dissolves in most acids, which is a problem since the base metal of the nut is steel. Fortunately, phosphoric acid is one that will dissolve the zinc and leave the steel alone. This is handy, since I can drop the nuts into a jar and come back later without coming back to an empty jar. I left them in there for a few days, until they had mostly stopped bubbling.
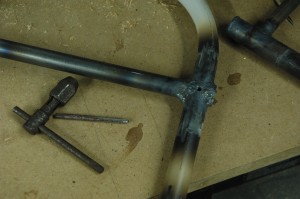
First, I drilled and tapped the actual seat part. These threads were deep enough to hold a finger-tight screw in place, but certainly not deep enough for use in service. I threaded the nut onto the screw, put the screw into the seat hole, and lightly snugged the nut down tight to the seat part. This would help ensure that the threads would be lined up.
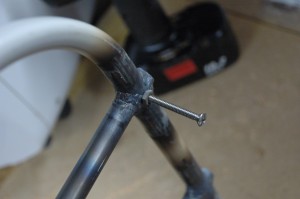
I was reading the conversations on the Bearhawk email group about problems with welding nuts. Lots of folks were having problems with distortion of the threads during welding, so I took some of the advice of the more experienced welders to try and mitigate the distortion. For starters, I put a screw into the threads when I did the welding. Also, I tacked on four sides and tried to keep the puddle away from the middle of the nut as much as possible. Finally, I took the screw out as soon as I finished the weld, so that it wasn’t stuck there forever.
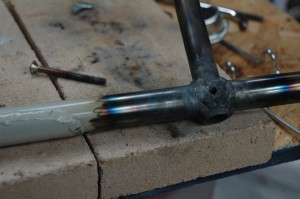
After the part cooled completely, I chased the threads one more time with the tap and everything was ready to paint.