Today I was able to get away for a few minutes to finish prepping the seat frames for paint and apply a coat of epoxy primer. Today was one of the first days that we’ve had lately with a warm enough temperature.
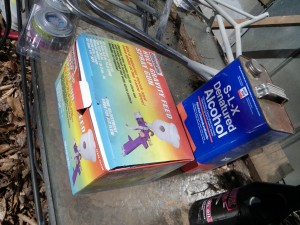
This was my first time to use the little Chinese paint gun that I picked up a while back. I didn’t know how it was going to work, so I did some practice painting with some alcohol that I had on hand- simply because it was cheap and not water.
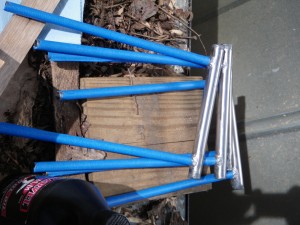
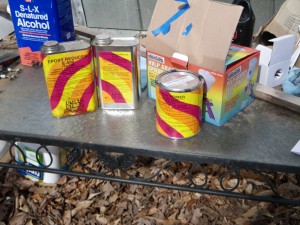
It was good to get a feel for how each of the different knobs changed the spray charactaristics. Since I was painting tubes, I adjusted the fan pattern to the narrowest setting.
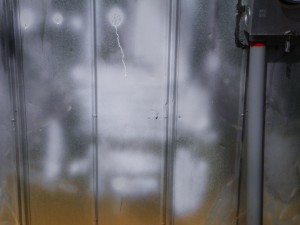
I followed the directions on the can for mixing the polyfiber primer and poured it into the cup. For practice I painted a section of the side of the clubhouse. I wanted to see how much spray it would take to make the paint run, so you can see a couple of nasty spots. Feeling well prepared enough, I started spraying the seats. The most difficult but yet most important thing to remember was to keep the gun far enough away from the work- about a foot or so. When I started to get distracted I would find myself holding the gun way too close and getting too much paint on.
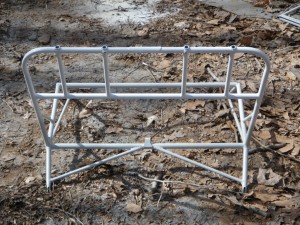
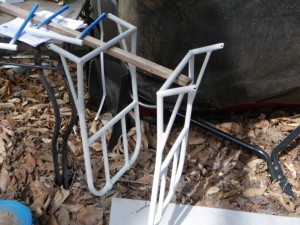
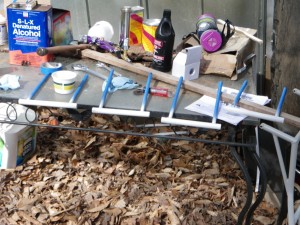
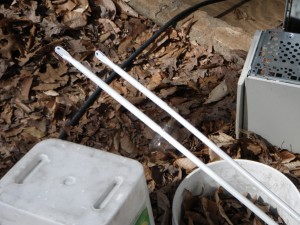
In the end I was quite satisfied with the finished product. Using the spray gun was easier than using a rattle can, mostly because of the “air only” trigger setting. I could keep the air flowing all the time, and then just spray the paint when necessary.
I cleaned the gun with some reducer, and then left to go to work.