Today I picked up where I left off yesterday, adding a few more parts to the power distribution panel.
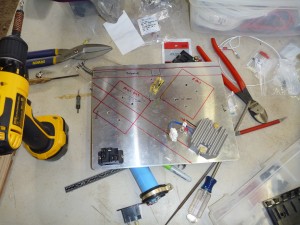
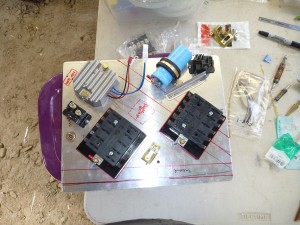
Next I started making a few parts to mount the audio amp and the low voltage warning.
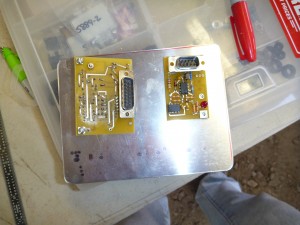
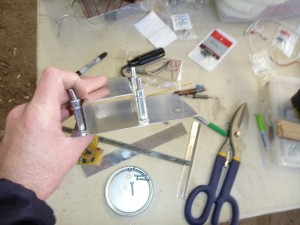
The next challenge was to cut a hole with the odd shape of the d-sub.
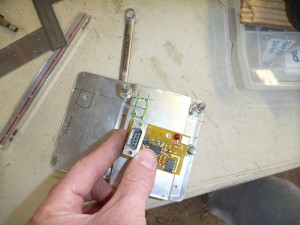
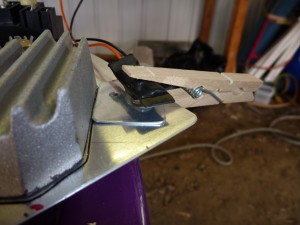
The crowbar overvoltage module for the SD-8 doesn’t have any easy mounting options, so this is the best that I could come up with:
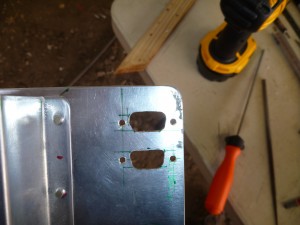
I also cut two more odd-shaped holes for the Dynon serial cables. These will be for firmware updates and that sort of thing.
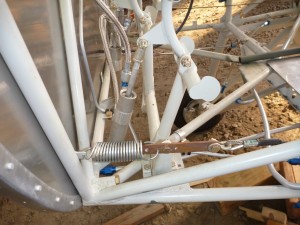
I allowed myself to become a bit distracted from electrical work to address a couple of other issues. First, the steel tabs that I made for the rudder cables were starting to rust. I took them off and dropped them into a bucket of phosphoric acid that I was also using to start prepping exhaust conduit parts.
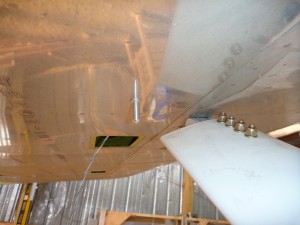
I also installed the Dynon OAT probe. This is the probe version that connects to the D180, not the version that connects to the magnetometer. I wanted to put it somewhere with the minimum drag penalty and minimum damage risk, so I chose the spot right behind the wing strut junction. I figure that the air through there is going to be so turbulent that the drag penalty will be minimal, and it will be out of the way of birds and bugs.
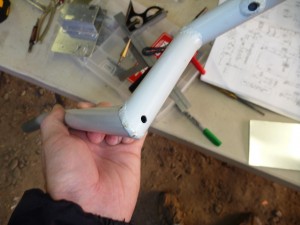
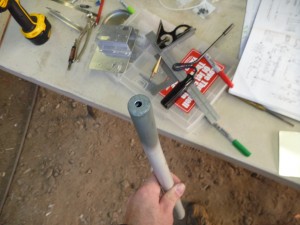
Next I drilled the control sticks for the push-to-talk switches.
Today was a good day with lots of time in the shop. Several months ago I found that 4 hours was about all that I could work. Now it seems that I’m only limited by the need for food and restroom breaks, and weather extremes. I’d rather just be out there working all day.