Today was a long run to get the last round of parts into the paint booth for priming. I say the last round, but I actually mean the last round before the first flight. There are still a few bonus parts like fairings that we’ll paint later, after the plane is flying. I started with more work on the skylight. I drilled a few extra holes to make the fastener spacing 4″ on the outboard side of the outboard skylight panels. These fasteners will go through the wing root fairings and the polycarbonate, into the square channel under the skylight edge. Where the bottom wing root fairing meets the wing, I made some aluminum strips to serve as a landing point for the rubber gasket on the wing root fairing. I added tabs for this strip some time ago, before blasting and painting the fuselage. Today’s effort was just a matter of drilling the aluminum and steel, and adding a rivet at each tab. Next I prepped the parts that will go into the booth in this round. That starts with wiping with a solvent, scrubbing with phosphoric acid, and then washing. Only the aluminum parts get the acid step.
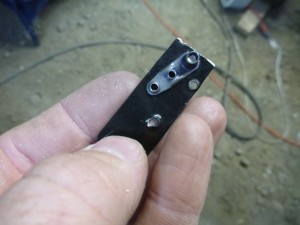
Next I riveted a few parts together. This included the upper nosebowl to the cowl top, the lower u-channels on the lower cowl, the doublers in the thin areas on the lower cowl, and the fiberglass scoop and bump for the intake and exhaust clearance. When I put the cowl on for one last check, I found a problem with the steel cowl supports. I had made them long enough to host a standard nut plate, but it became clear that I should have instead made them to support a one-lug nutplate.
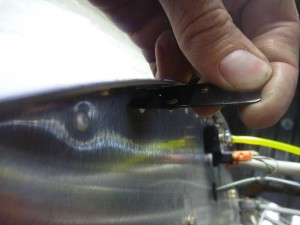
The solution was to remove the two-lug nutplate, cut off some of the steel, and install a one-lug nutplate.
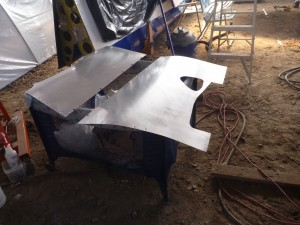
Here’s what the lower cowl looks like all riveted together.
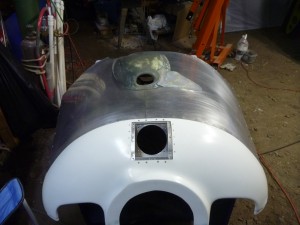
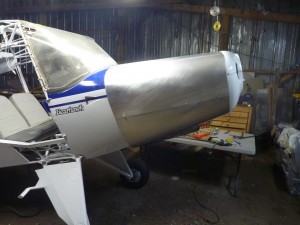
And now that the steel problem is fixed, I can put on the whole cowl to make sure it all fits.
Then I took it all apart again (at least to the big pieces) and sprayed the last of my supply of EP420 on to them. I had just a little bit of paint left over in the end, but since it is a two-part epoxy it will cure in a matter of hours. I’ll have to order more when it is time to paint the next parts!