Today I continued with the fabric covering for the interior. I divided the cabin area roof into four sections, with the first being as shown below:
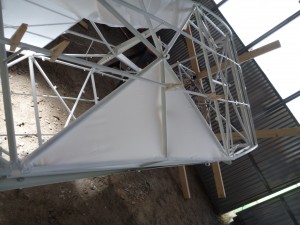
I didn’t account for my back seat shoulder harness tab when I did this piece.
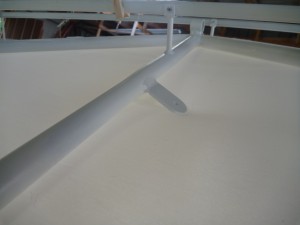
When I do the other side I’ll cut a small slot and slide the fabric over the tab during installation. On this side I’ll have to cut a pretty big hole to make room for the tab. It will be hidden behind a big reinforcing patch anyway.

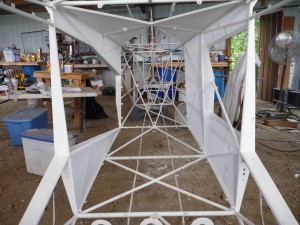
This section of the roof is a concave shape- the only one on the airplane. That’s why I’ve arranged the covering into these triangle shapes. The next pieces will require some stitching to keep the panels from pulling off when I shrink them later.
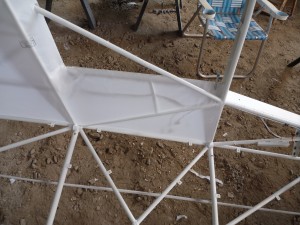
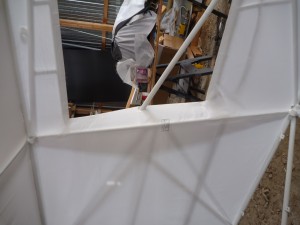
The area around the front of those two big triangles gets a little bit weird because of the overlaps.
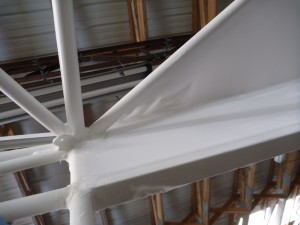

I’ve marked this triangle to fit in on the front section of the ceiling. This piece will go on as an overlap joint with cement, since there aren’t any tubes to wrap around.