Skip to content

Jared and Tabitha's Bearhawk Construction Log

The story of N805TB

Menu
  • Bearhawk Flight Training
  • Recent Posts
  • Search
  • Welcome to Our Building Log!
  • Privacy Policy
Menu

Electrical Distribution Panel

Posted on February 10, 2011November 13, 2011 by Jared Yates

I deburred the lightening holes in the electrical panel, and removed all of the sharpie ink from layout planning.
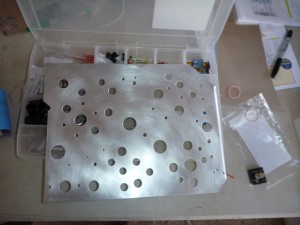
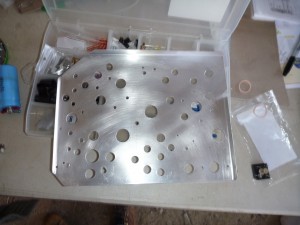
Electrical Distribution Panel
Deburred and Clean

Electrical Distribution Panel

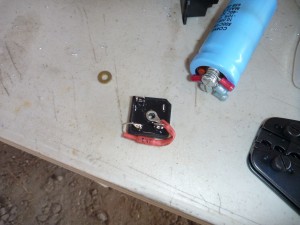
Next it was time to get to work populating that panel. I started with the diode bridge for the SD8 circuit.
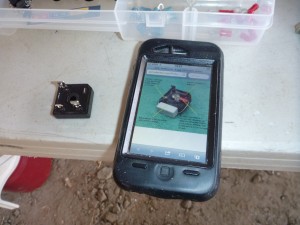
SD-8 Diode Bridge
SD-8 Diode Bridge

First up is the resistor:
SD-8 Wiring
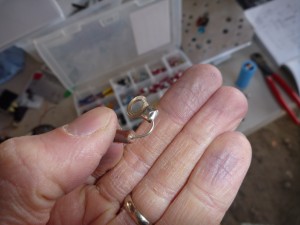
I soldered the solid lead components instead of using the crimper.

Soldered ring terminal
Like this. Then I covered as much of it as I could with heat shrink.

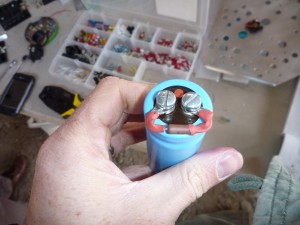
Here’s the resistor for the capacitor:
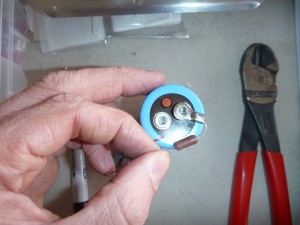
SD-8 Capacitor
A little heat shrink will help limit shorts.

SD-8 Capacitor
SD-8 Capacitor

Here are most of the other components:
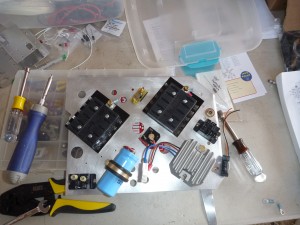
Electrical Panel
There are two problems here. First, I had to remove the jack on the middle of the right side. That was for alternator diagnostics, but with the Plane Power alternator that isn't available. Second, the ebus diode, just above the junction of the two fuse blocks, wasn't well enough insulated, so I changed the mounting later.

From left to right, top to bottom: Main bus fuse block, ebus diode, ebus fuse block, alternator diagnostic plug (later removed), SD-8 Diode Bridge, ebus relay, SD-8 Relay, SD-8 Capacitor, SD-8 Regulator, and SD-8 Crowbar overvoltage module.
And the back:
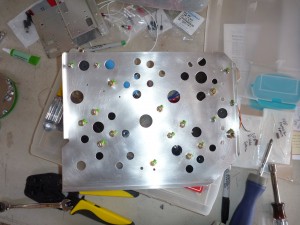
Back of Electrical Panel
The components also add a lot of stiffness.

I’m attaching that panel to the fuselage tubes with adel clamps, so I thought I’d make a copy of a tool to help install those clamps. The V on the end goes into the threads of the bolt that secures the clamps, relieving tension on the nut after compression. That makes a 3 hand job into a 2 hand job.
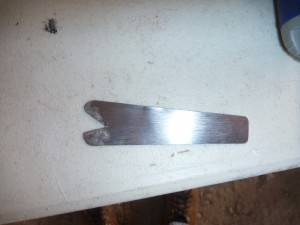
Adel Clamp Tool
Adel Clamp Tool made from thin stainless.

Here’s the panel in place. I didn’t realize at the time, but it’s going to crowd the duct for the right front seat passenger vent.
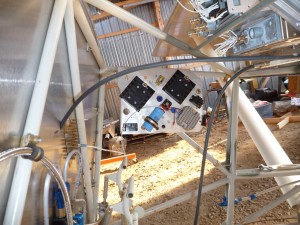
Panel in Place
Electrical distribution panel in place

Since the weather was nice I also cleaned and primed the steel straps that connect the rudder cables to the rudder pedals.
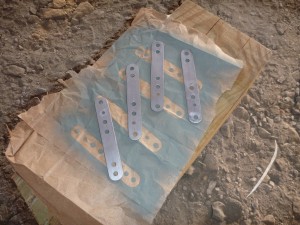
Rudder Cable Straps
Here the other side is ready to paint.

Leave a Reply

You must be logged in to post a comment.

Navigation

  • The Most Recent Posts
  • Posts about Building
  • Posts About Flying
  • Commentary Posts
  • Bearhawk Flight Training
  • Buy Your Own Bearhawk Kit!
  • Our Bearhawkstore.com
  • Meet More Bearhawk Builders
  • Privacy Policy
© 2025 Jared and Tabitha's Bearhawk Construction Log | Powered by Superbs Personal Blog theme