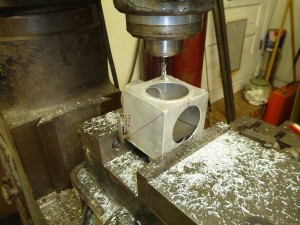
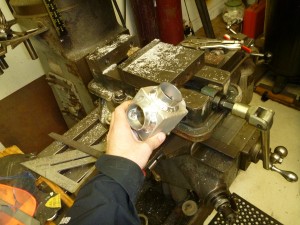
Today I stopped by to visit my new friend Alan Waters. I asked him to weld some flanges onto my adapted cabin heat box, but instead he offered for me to come over and do it myself. This was an awesome opportunity that I didn’t want to miss! This box needed an additional hole and flange, and one of the existing flanges was too large. My plan was to cut kerfs into the flange so that I could shrink it down around a 2″ tube, but Alan suggested that we just cut the old one off with his milling machine.
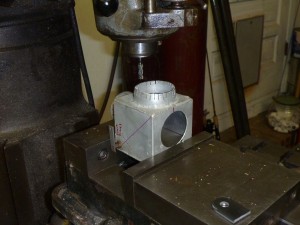
The Bridgeport milling machine was like an etch-a-sketch, with one wheel to control left-right and one to control front-back.
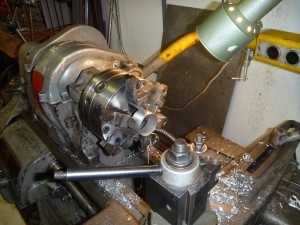
Alan was showing me how to use his lathe, so we trimmed the ends of the tube flanges.
With the pieces ready to weld, he set me up with some practice parts and his TIG machine. I hadn’t used a TIG machine on aluminum since I became comfortable with steel welding, but it is much easier than I remember. Well, until I touched the electrode to the aluminum, then it made a mess. Alan was very patient and talked me through several practice beads.
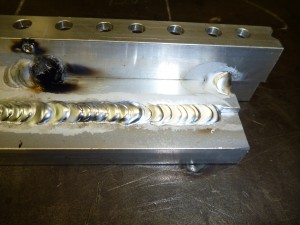
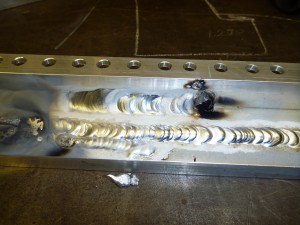
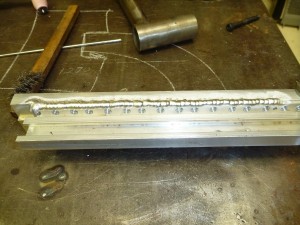
With a few hours of practice, I tried welding the part. I got distracted at one point and burned a big hole in the flange.
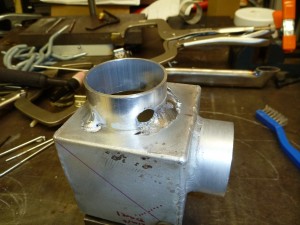
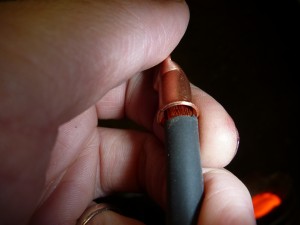
In the end the box is just what I need, and best of all, I learned a lot from Alan. I was also able to make a quick trip to the hangar in the afternoon. The picture below shows why I’d rather not use the crimp-on terminals that I got from the welding place.
While I was playing with those, Tabitha did a bit more filing on the window frame areas.